Content
- Steps
- Part 1 of 4: Train Your Pet to Take Photos
- Part 2 of 4: Taking Photos
- Part 3 of 4: Work with your pet while shooting
- Part 4 of 4: Improve Your Own Skills
- Tips
- Warnings
Your pets are adorable and of course you want to take their pictures to post them on the internet or decorate your home with them! However, regardless of whether the animals behave calmly or never sit still, it is quite difficult to photograph them. You will have to work with your pet to get it to look at the camera. In addition, you will need to be very quick when taking photos in order not to miss a valuable shot!
Steps
Part 1 of 4: Train Your Pet to Take Photos
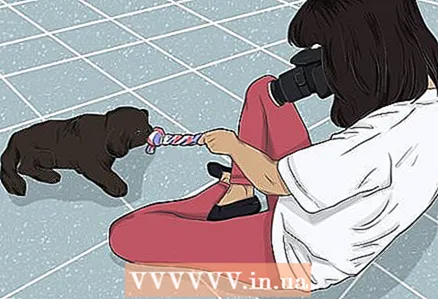
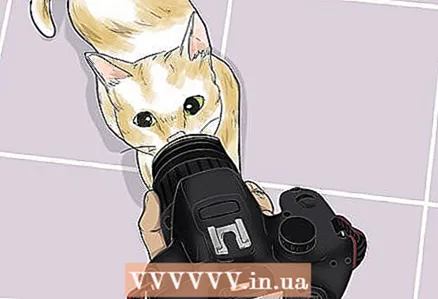 1 Let your pet sniff the camera well. Every time animals see something new for themselves, they feel curiosity (especially cats). Allow your pet to sniff your camera well to reduce the risk of such cravings while shooting.
 - If you are not photographing your pet, then also allow the animal to sniff you well so that it can feel more comfortable while taking the photo.
 2 Let the animal get used to the flash and the sound of the camera shutter. Sometimes the flash can help make the animal freeze for a second, which is useful when you need to get a still frame. However, both the sound of the camera shutter and the flash can distract a pet to the point of ruining shots. Therefore, you need to take some preliminary shots so that the animal gets used to the peculiarities of the camera.
 - Try to photograph the ceiling a couple of times so that the animal listens to the camera shutter and sees the flash.
 3 Allow your pet to explore the photo area. If you decide to go outside or take your pet to a new place for him, he will definitely want to explore the surrounding space. Give the animal a few minutes to look around! This will keep your pet from being so distracted as you get ready to start shooting.
 - If you are keeping your pet on a leash, walk slowly around the photo zone with it, allowing you to calmly sniff the territory.
- If you are in a confined space with a small animal, give it a minute to walk around on its own.
Part 2 of 4: Taking Photos
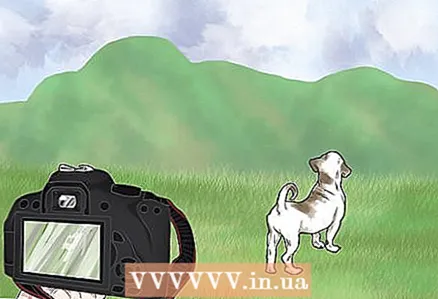 1 Go outside if possible. Natural light is useful for any kind of photography, and animal photography is no exception. If the sun is very bright outside, choose a shaded area that has enough light for your photos.
 - Try taking photos just after sunrise or before sunset. This "golden watch" provides the best natural light. But bright sunlight in the middle of the day is best avoided.
- Of course, not all animals can be taken outside for photography. In this case, just try to move your pet to an area that receives the most natural light. Open the curtains and curtains on the windows to let the sun into the room!
- If natural light is not available to you, try using an off-camera flash. Point it at the ceiling so the light bounces off the ceiling to create the perfect lighting for your pet.
 2 Choose a background that is not overly cluttered. Try to use a predominantly solid color background and avoid any patterns and people in the background. For example, a lawn or even a solid piece of furniture will be a good backdrop for a photo with a pet.
 - If the background is overloaded, the animal itself will not stand out as well in the frame as you would like it to be.
- Try to choose a background against which your pet will look the most advantageous. For example, choose a bright background color for a black cat, or a dark background for a light dog.
 3 Focus on the pet's face. The main character of a pet is expressed in its face, so it should be the main focal object in photographs. If you're manually adjusting focus, make the animal's eyes your target!
 - Since the character of an animal is expressed on its face, try to capture it! Try to capture a shot with the pet's expressive eyes or a funny smile.

Or Gozal
Photographer Or Gozal is an amateur photographer since 2007. Her work has been featured in publications such as National Geographic and Stanford University's Leland Quarterly. Or Gozal
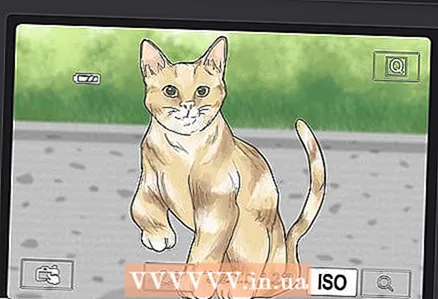
PhotographerWhat settings should I use for a portrait shot? Photographer Or Gozal advises: “When it comes to ISO sensitivity, choose the lowest possible setting in natural light (eg ISO 100) that does not result in graininess. There is a little more room for experimentation with the aperture setting, but f / 1.4 is a win-win if you want a blurry background. Wide aperture is usually the best option. ”
 4 Make the pet the only subject in the photo. Get close to the animal so that it takes up the entire frame. Thanks to this, the pet will become the focal subject of the picture, and not something interesting in the background.
 - Position yourself at the same level as your pet if possible. Lie on the floor or sit down. As an added bonus, your pet may decide to head over to you to find out what's going on.
- If necessary, the frame can be cropped later to remove the extra space around it.
 5 Wait for the perfect moment to take your photo. The treat may lure your pet to look in your direction, or it may not work. However, most pets end up having a moment when they look at you and the camera lens. Just be patient and wait for the right moment.
 - While you wait, get your camera ready to shoot so that by the time your pet looks at you, all you have to do is press the shutter button.
 6 Try to capture the character of the pet. Whether your pet is cheerful, lazy, playful or stubborn, try to capture it in the frame. If you are not photographing your pet, ask its owner about the characteristics of the animal's character.
 - For example, if your pet tends to be lazy, try photographing him asleep.
- If your pet knows how to perform a special trick, let him show it in the frame!
 7 Try to shoot different shots from different angles. Pets, like people, look different from different angles, and choosing different angles and shooting plans will add variety to your shots. During the photo shoot, take several close-up shots of the muzzle (focusing on any one feature, for example, on the eyes, nose, ears), but also be sure to take several shots in which the rest of your pet's body is visible.
 - Working from different angles can give you an unexpectedly good shot that you would never have had if you hadn't decided to move around your subject a bit.
Part 3 of 4: Work with your pet while shooting
 1 Work in short sessions to keep your pet interested. Think of your pet as a small child, then you get a fairly accurate idea of how long the pet is able to maintain concentration. Take breaks from your photos and only shoot a couple of frames at a time - this way you will get pictures with a happier and more interested animal.
 - Set a timer for yourself for a couple of minutes if you forget to take breaks from work.
 2 Reward your pet with a treat. Most animals love treats, so now is the time to get your pet's favorite treat. Divide the treat into small pieces, as you will likely need to lure it more than once.
 - Try asking someone to hold the treat in hand next to the camera. Make sure your pet knows about the treat. And then ask the assistant to hide the treat. This trick often produces an interesting expression of the muzzle (especially in dogs).
 3 Play with your pet with his favorite toys. The playful pet will look good in photos, and the use of the toy will allow you to keep him close to you. Take a toy and play with your pet as usual.
 - If there is someone nearby who can help, then it is best to let that person play with the animal while you take the photo.
- Tug toys are great for dogs, and fishing rods are great for cats as they can lure the animal towards you. However, any toy that allows you to keep your pet within the shooting point will work for you.
- Balls are usually not good for photography unless someone is throwing the ball in your direction. Otherwise, the animal will simply run away from you.
 4 Use the appropriate tone of voice to get the shots you want. For dogs, your voice should be very, very cheerful and joyful. Dogs love spirited intonations, especially when they are told how good they are! Other animals may prefer a calm and almost cooing tone of voice.
 - You know what your pet wants to hear from you! Call him by name and speak in a contented voice.
- For example, when talking to a cat, try to speak in a friendly but calm manner. When communicating with birds, use a very cheerful tone of voice, but not too loud, so as not to accidentally scare the bird. Whistling can help you too!
- If you are photographing someone else's pet, ask the owner to talk to him, as he may be more successful in this business than you.
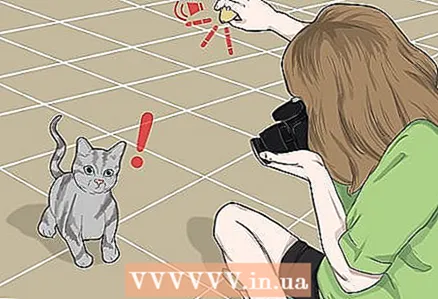 5 Surprise your pet to look in your direction. Of course, you can't scare an animal, but something new and surprising can make it look in your direction.For example, you can attract an assistant who will periodically peek out from behind your back, or you can take a squeaky toy that will attract your pet with its sounds.
 - You can also use special sounds, such as clicking your tongue, tapping your fingers, scratching a surface with your nails, or whistling.
Part 4 of 4: Improve Your Own Skills
 1 Slow down the shutter speed to capture the pet's joyful movements. Most pets will simply not sit still so you can take a photo of them in peace! Try to reduce the exposure time - and you will reduce the likelihood of blurry photos due to the movement of the pet.
 - Try setting the shutter speed to 1/500 first.
 2 To make photos of dark pets brighter, increase the exposure time. You will most likely find it difficult to get good pictures of black-coated animals, including cats and dogs. Some details will just get lost in this blackness. To cope with the problem, increase the exposure time and thereby brighten the photo.
 - On most iPhone smartphones, you can increase the brightness of the pictures by touching the screen with your finger in the area of the animal's face to focus on it, and then slide the sun icon up when it appears on the screen. Adjust until the frame is bright enough to show your pet's face in all its stunning detail.
- On Android smartphones, it is easier to adjust the brightness after taking a photo using photo editing apps.
 3 Use the widest aperture setting for a detailed snapshot of the face while blurring the background. Choose the lowest aperture value that will open up the widest aperture. This allows you to create focus on the pet's face while blurring the background of the photo.
 - Whenever possible, also use a wide-angle lens when working with a wide aperture.
- If you are working with the aperture as wide as possible, place your pet a few steps away from the background, and yourself be closer to the animal.
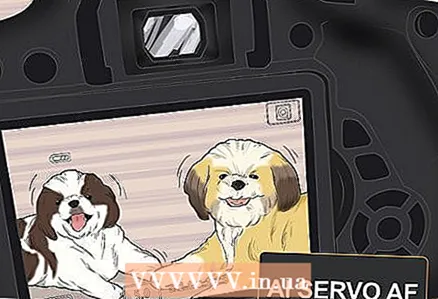 4 Set the camera to full focus mode. Continuous focus mode is easiest to use with more expensive cameras. To do this, you just need to press the shutter button halfway. If there is no continuous focus mode, you can try using burst mode.
Tips
- Discard the tripod. Animals are a moving target, and tripods take your mobility and are almost never needed for short lens shots in good light.
Warnings
- Any animal can show aggression, especially in unfamiliar surroundings or with strangers. Watch for signs of aggression, such as bulging fur, tousled feathers, angry sounds, tense posture, or bared teeth.


