Author:
Clyde Lopez
Date Of Creation:
17 June 2021
Update Date:
1 July 2024
Content
- Steps
- Method 1 of 4: Filtrate the water while hiking
- Method 2 of 4: Filtering Water in a Desert Emergency
- Method 3 of 4: Choosing and Using a Store Home Filter
- Method 4 of 4: Preparing a Ceramic Filter for Home Use
- Tips
- Warnings
The ability to filter water will help you in difficult times and avoid possible diseases if you are faced with the issue of survival without clean water. Of course, if you have the opportunity to prepare in advance, you can choose more comfortable hiking options or even take a regular home water filter.
Steps
Method 1 of 4: Filtrate the water while hiking
 1 Consider a physical filter. The filter pump may be the cheapest option in this category. However, using it can be slow and tedious. For long trips, consider a "gravity filter," which is usually a pair of bags connected by a hose. The filter bag is filled with water, then hung to allow the water to flow into the clean bag through the filter in the tube. It's a quick, convenient option so you don't have to carry disposable filters with you.
 - These filters do not protect the water from viruses, but they are effective at removing bacteria.Not every wilderness area, especially the United States, is required to protect water from viruses. Check with your local department of disease control or tourist information for more information on the risks in your area.
 2 Learn about chemical disinfection. Tablets are slow-acting, but cheap and effective remedies for protecting against most bacteria and viruses. There are two common types of pills:
 - Iodine tablets should be left in water for at least 30 minutes. Sometimes the tablets contain impurities that hide the taste of iodine. This method should not be used by pregnant women or people with thyroid problems. Also, it is not recommended to use it as the main method of water purification for more than a few weeks.
- When using chlorine dioxide tablets, you usually need to wait at least 30 minutes. Unlike iodine, these tablets are effective in killing bacteria. cryptosporidium - but only if you wait 4 hours before using.
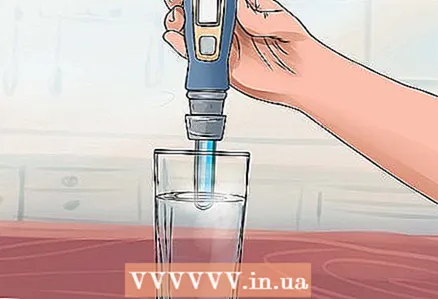 3 Try UV light. Ultraviolet radiation can kill bacteria and viruses, but only with prolonged exposure and provided the water is clear. Different UV lamps and light pens work differently, so follow the manufacturer's instructions.
 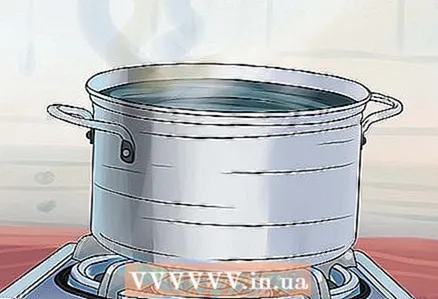 4 Boil water. An extremely effective way to kill pathogens is to boil water for at least one minute. It may not be very convenient to boil water several times a day. However, if you already boil water for your evening dinner or morning coffee, you won't need additional filtration.
 - Boil water at high altitudes for at least three minutes, as thin air will boil at lower temperatures. Remember that bacteria and viruses are destroyed by heat, not the boiling process itself.
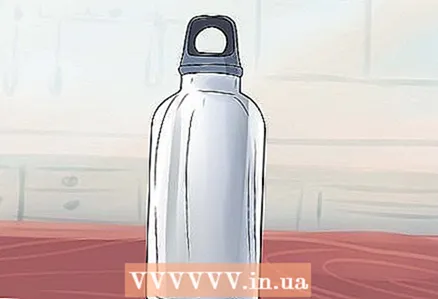 5 Use stainless steel water bottles. Plastic bottles are for single use only, as plastic can degrade over time, releasing more potentially harmful chemicals into the water and keeping bacteria alive. Even aluminum bottles often have a plastic lining inside and cannot be washed in the dishwasher, making cleaning more difficult.
  6 Drink straight from the spring. If you are lucky enough to find a mountain spring in the rocks, it will be safer for you to drink directly from it, but no further than 0.6 m from the source.
 - This is an unsafe rule, as springs located in agricultural regions, historical mining areas or in lowlands near settlements can pose a health threat.
Method 2 of 4: Filtering Water in a Desert Emergency
 1 In an emergency, use a quick filter. Strain water through a bandana, shirt, or coffee filters to remove visible debris. Let the water settle for at least a few minutes so that the remaining particles sink to the bottom, then pour the water into another container. If possible, boil this water to kill pathogens before drinking. The following steps will help you create more efficient filters, but if you don't have ready-to-use charcoal, the process can take several hours.
  2 Prepare the charcoal. Charcoal is an excellent water filter. This material is found in many industrial filters. You can prepare your own charcoal in the wild if you can start a fire. Light a fire and date the wood to burn completely. Cover the coals with soot and ash and wait at least a few hours before digging them up. Once the charcoal has completely cooled, break the charred wood into small pieces or even grind it into dust. This will give you your own charcoal.
 - While this charcoal will not be as effective as store-bought “activated charcoal”, which cannot be found in the desert, homemade charcoal should be effective enough for the filter.
 3 Prepare two containers. You will need a "top container" with a small opening in the bottom for filtration and a "bottom container" to fill with filtered water. Here are some options:
 - If you have a plastic bottle, you can cut it in half and use each half separately as a container. Make a hole in the lid for filtration.
- Alternatively, you can use two buckets. Make a hole at the bottom of one of them.
- If you struggle to survive without enough funds on hand, look for hollow plants such as bamboo or fallen logs.
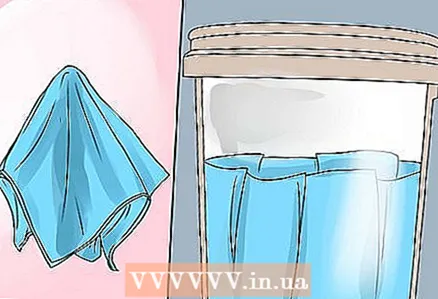 4 Use a cloth to cover the filter hole of the upper container. Stretch the fabric over the base of the upper container. Use a cloth large enough to completely cover the base, otherwise the charcoal will wash out.
  5 Place the charcoal tightly over the fabric. Spread chunks or dust of charcoal on top of the fabric as tightly as possible. For the filter to work effectively, water must slowly seep through the charcoal. If the water seeps out too quickly, try stacking more charcoal tightly. You should have a thick and tightly packed layer. If you are making a filter from a bottle, the charcoal layer should be about half the height of the top container.
  6 Cover the charcoal with pebbles, sand, and an extra layer of cloth. If you have more cloth, cover it tightly with a layer of charcoal to prevent it from eroding as you fill the top container with water. It is advisable to add small stones and / or sand to clear larger debris and set the charcoal in place, regardless of whether you will be covering the filter with a second layer of cloth.
 - You can also use grass and leaves if you are sure the plants are not poisonous.
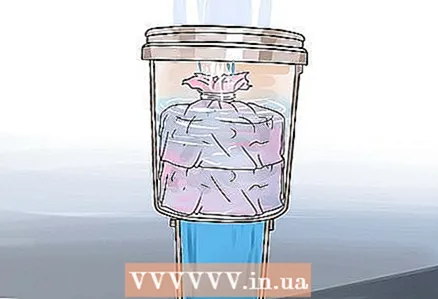 7 Purify the water with a filter. Place the top container with rocks on top and coal on the bottom, on top of the bottom container. Fill the upper container with water and watch the water slowly drip through the filter into the lower container.
 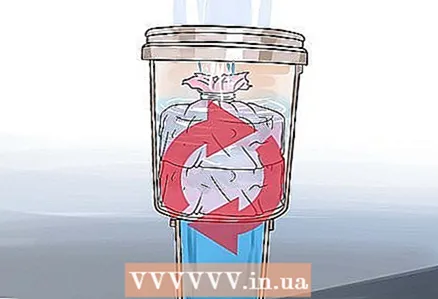 8 Repeat the process until the water runs clear. Often, to completely remove all particles, you have to filter the water two or three times.
  9 Boil water if possible. Filtration will help remove most of the toxins and odors, but the filtration process often does not kill bacteria. If you can, boil water for additional cleaning.
  10 Change the top layer of the filter media from time to time. The top layer of sand contains germs and other contaminants that are unsafe to drink. After using the water filter several times, remove the top layer of sand and replace it with a clean one.
Method 3 of 4: Choosing and Using a Store Home Filter
 1 Find out how the water is contaminated. If you live within or near a major American city, check out the data from the Environmental Working Group. Otherwise, you will have to contact Vodokanal and request information on water quality or contact your local environmental group that deals with water supply issues.
  2 Select the type of filter. Once you know what specific chemicals you need to purify your water from, read the filtration product descriptions on the packaging or on the Internet to find out what contaminants they purify. Alternatively, consult the filter guides or rely on these tips:
 - Carbon (or "carbon") filters are widely used and cheap. They remove most organic pollutants from the water, including lead, mercury and asbestos.
- Reverse osmosis filters purify water from inorganic impurities such as arsenic and nitrates.They are extremely ineffective for water purification, so only use them if you know for sure that the water contains chemical impurities that are left over from carbon purification.
- De-ionizing filters (or ion exchange filters) remove minerals, making hard water soft. They do not remove dirt.
 3 Select the type of installation. There are many types of water filters on sale to accommodate various purposes. Here are the most common home use options:
 - Water filters in the form of a jug. They are suitable for families with little water consumption. You can fill the jug once or twice a day and refrigerate it.
- Filter taps are convenient to use if you want to filter water directly from the mains, but they can reduce the intensity of the pressure.
- Worktop or sink filters require additional installation. They tend to be more durable and less picky to maintain.
- Install a water filter throughout your home if the water is too dirty and dangerous even for bathing.
 4 Install the filter according to the manufacturer's instructions. Each filter must be sold complete with instructions for installation and proper operation. In most cases, it is quite easy to assemble the filter, but if you have any problems with this, contact the manufacturer for help.
 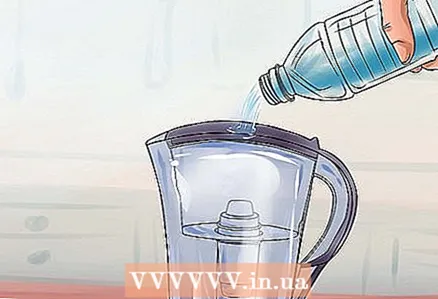 5 Pass the water through the filter. Run a stream of cold water through the filter. In most cases, water should be poured into the top of the filter; then it flows downward through the filter mechanism, in which it is cleaned of impurities. Clean water is discharged into a bottle or jug or into the bottom of the mixer, depending on the type of filter.
 - Do not re-filter running water through the filter. The water returned to the filter will not become cleaner.
- Some filters are damaged by hot water. Read the manufacturer's instructions.
 6 Change filter cartridges as recommended. After several months of use, the charcoal water filter becomes clogged and stops purifying the water. Buy a new cartridge from the same manufacturer as the water filter. Remove the old cartridge, discard and replace with a new one.
 - Some water filters last longer than others. Check out the instructions accompanying the product to clarify the terms of operation or contact the manufacturer.
Method 4 of 4: Preparing a Ceramic Filter for Home Use
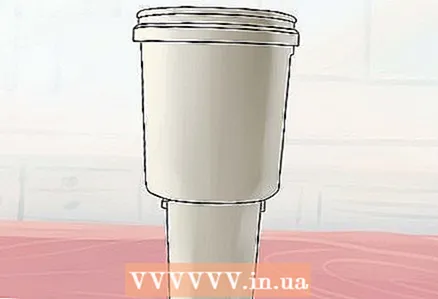
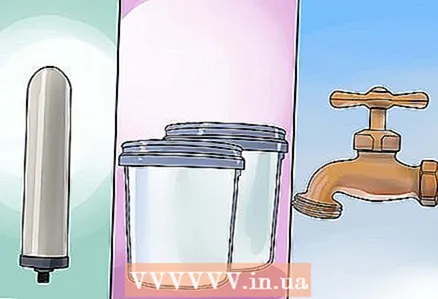 1 Prepare the necessary materials. Homemade ceramic filters purify water through a layer of porous ceramic. The holes are small enough to allow dirt to pass through, but large enough to allow water to pass through. To prepare your ceramic water filter, you need the following materials:
 - Ceramic filter element. For these purposes, you can buy a filter candle or a pan filter. They are sold online or at hardware stores. Be sure to choose one that meets or exceeds the National Safety Fund standards, which indicate the percentage of filtered impurities in usable water.
- Two buckets made of food grade plastic. One bucket will serve as a container for untreated water, and the other for clean water. Food buckets can be purchased at restaurant hardware stores or local restaurants.
- Tap. It is attached to the bottom of the bucket to drain the purified water.
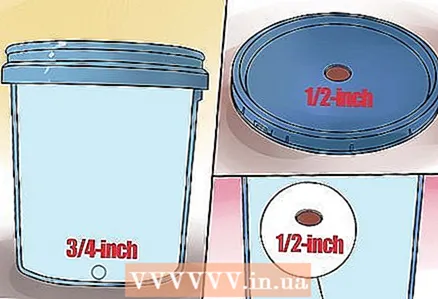 2 Make holes in the buckets. You need to make 3 holes: the first is in the bottom of the upper bucket, the second is in the lid of the lower bucket, and the third is on the side at the very bottom of the lower bucket (for installing the tap).
 - Start by making a 1.2 cm hole in the middle of the bottom of the top bucket.
- Make a second hole of the same size in the center of the bottom bucket lid. This hole should line up exactly with the hole in the bottom of the top bucket. The water will flow through the filter into the hole from the top bucket to the bottom bucket.
- Drill a 1.6 cm hole in the side at the very bottom of the bucket.This is the place to install the faucet, so make the hole no more than 2-5 cm from the bottom.
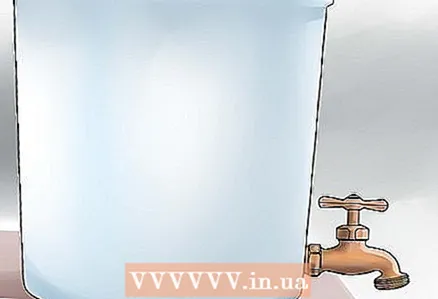 3 Install the tap. Following the accompanying installation instructions, insert the tap tube into the hole made in the lower container. Secure it from the inside and make sure it fits snugly in place.
  4 Adjust the filter operation. Place the filter element on the hole in the upper bucket so that its "nipple" goes through. Place the top bucket on the bottom bucket and check that the nipple also goes through the hole in the bottom bucket lid. The filter is now installed.
  5 Filter the water. Pour untreated water into the top bucket. It will begin to drain through the filter to the bottom of the lower container. The filtration process can take several hours, depending on how much water you purify. When there is enough water in the bottom bucket, use the tap to draw it into the cup. The water will be clean and ready to drink.
  6 Clean the water filter. Impurities will settle at the bottom of the top bucket. It should be washed from time to time. Remove the filter and wash with chlorine or vinegar every few months, or more often depending on the frequency of use.
Tips
- Using a store-bought filter, you may at first notice black specks in the jug. Most likely, these are particles of coal from the filter. They are harmless, however, such sediment may be a sign that the filter needs to be replaced.
Warnings
- Homemade filter water may still be unsafe to consume. If you feel unwell after drinking water, see your doctor immediately.
- Currently, there is no way to turn seawater into drinking water, although scientists are working on this issue.

")

