Author:
Gregory Harris
Date Of Creation:
15 August 2021
Update Date:
1 July 2024

Content
- Steps
- Method 1 of 3: Using the Contacts app
- Method 2 of 3: By importing from a SIM card
- Method 3 of 3: Using the Phone app
This article will show you how to add a new contact on an Android device.
Steps
Method 1 of 3: Using the Contacts app
 1 Launch the Contacts application. This icon is located on the home screen or in the Application Bar and looks like a silhouette of a person on a blue or green background.
  2 Click the icon
  . Its color may vary. It's in the upper or lower right corner of the screen.
  3 Choose a location. When prompted, select an account or storage to sync the new contact. For example, select the option "Device" (your Android device) or "SIM", or your Google account.
 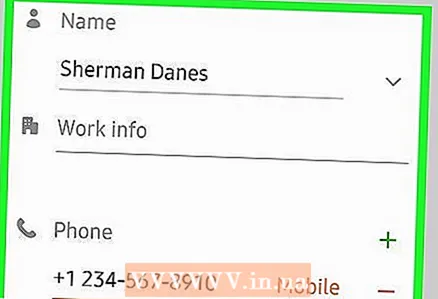 4 Enter the new contact's name and phone number. Do it like this:
 - click
 next to the contact's name to choose where to save the contact (for example, in a Google account or on a SIM card);
 - enter the contact's name, phone number and / or email address in the appropriate fields;
- to add a photo, click on the camera icon and then select a photo;
- to add information such as an address or note, tap Add Field.
- click
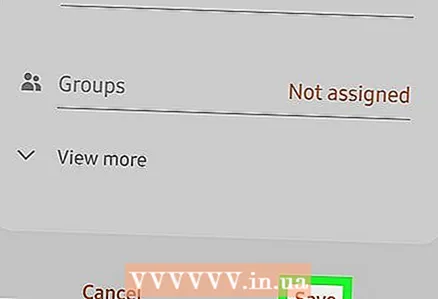 5 Click on Save. It's in the upper-right corner of the screen. On some devices, it has been replaced with a checkmark icon. The new contact will be saved.
Method 2 of 3: By importing from a SIM card
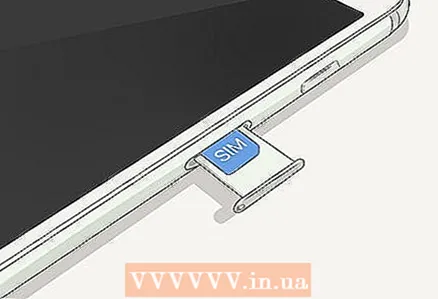 1 Insert the SIM card into your phone or tablet. SIM card slots are located on the side panels of the devices or under the battery. Read this article to learn how to install a SIM card in an Android device.
  2 Launch the Contacts application. This icon is located on the home screen or in the Application Bar and looks like a silhouette of a person on a blue or green background.
 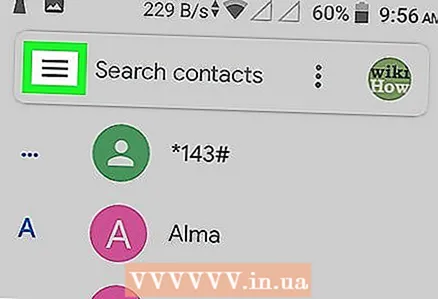 3 Click on ☰. It's in the upper-left corner of your screen.
 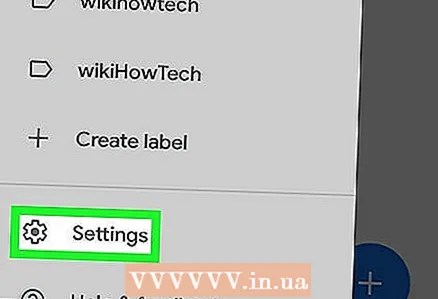 4 Click on Settings.
 5 Scroll down and tap Import. It's under the "Manage Contacts" section.
  6 Click on SIM card. If multiple SIM cards are installed, select the card with the desired contacts.
 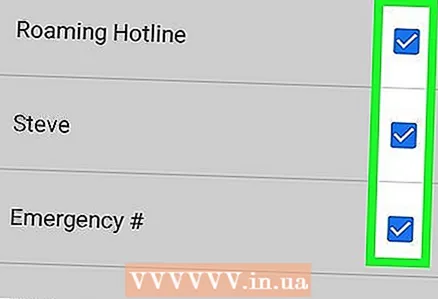 7 Select contacts to import. Tap an empty field next to the contact's name to check the box. The checkmarked contact will be imported to the Android device.
 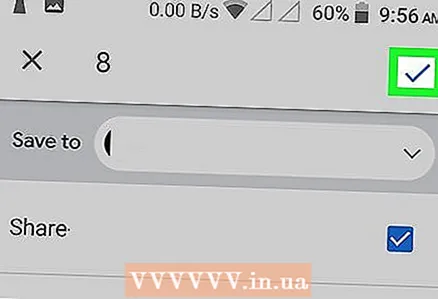 8 Click on Import. It's in the upper-right corner of the screen. The contacts will be imported to your Android device and displayed in the Contacts app.
Method 3 of 3: Using the Phone app
 1 Launch the Phone app. This handset-shaped icon is found on the home screen or in the Application Drawer.
  2 Tap the dialing icon. It looks like 9 small squares or circles. The dial pad will open.
  3 Enter the phone number of the new contact. When you have entered the entire number, additional options will be displayed.
 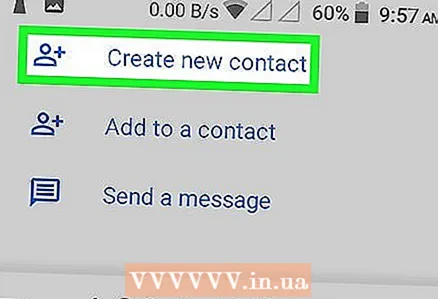 4 Click on Create contact. A page will open where you can enter additional information about the contact.
 - If you want to add a new phone number to an existing contact, select Add to Contacts or Add to Contact. Then select the contact and the type of phone number (for example, "Mobile").
- You may need to choose a location to save the contact. When prompted, select a SIM card, device, or Google account.
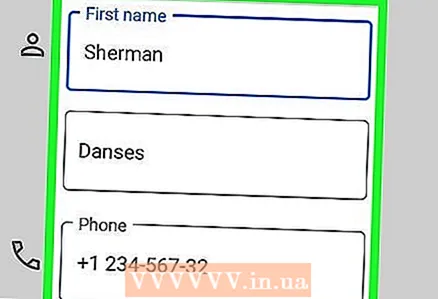 5 Enter your contact details. Enter the contact's name (in the first field). You can also add an email address, postal address, photo and notes.
 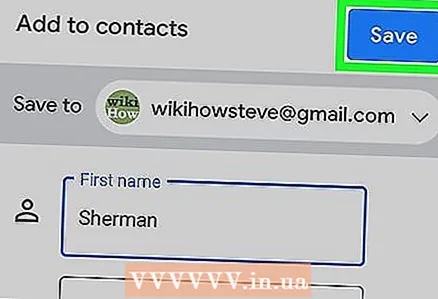 6 Click on Save. It's in the upper-right corner of the screen. On some devices, it has been replaced with a checkmark icon. The new contact will be saved.


