Author:
John Stephens
Date Of Creation:
27 January 2021
Update Date:
1 July 2024

Content
One of the most useful skills you can learn in Photoshop is removing the background (background) of an image. This allows you to paste your subject into any image without worrying about blending backgrounds, or dealing with unattractive white patches. Depending on the complexity of the background, there are several ways to remove the background of an image.
Steps
Method 1 of 2: Delete a simple font
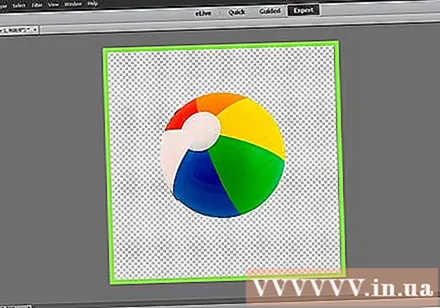
Open the image in Photoshop Elements. This method works best when the background is a solid, or nearly identical, image.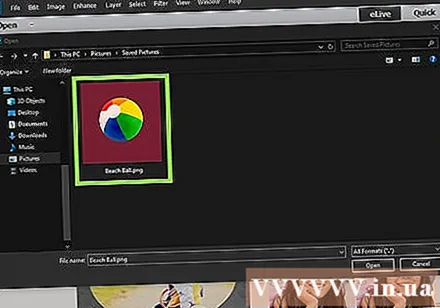
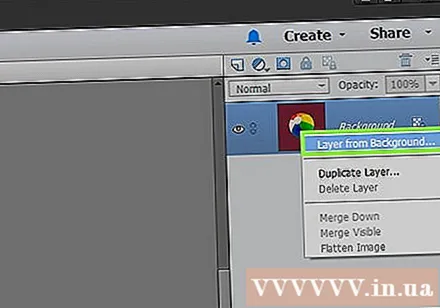
Navigate to the Layers window. This window is usually located on the right side of the screen. Most unedited images have only one layer, called "Background" or "Background". Right click on this layer and choose "Layer From Background ...".- The New Layer window will open. Don't change the default options, just click OK. "Background" will become "Layer 0". So you've unlocked the image and can begin editing.
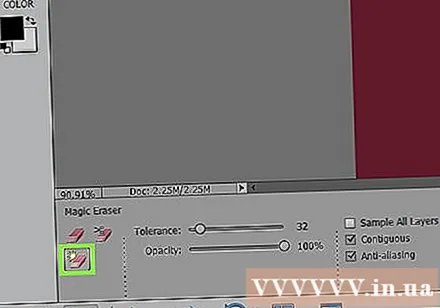
Select the Magic Eraser tool from the Eraser tool panel. Click and hold the Eraser icon. Select the Magic Eraser tool from the on-screen menu.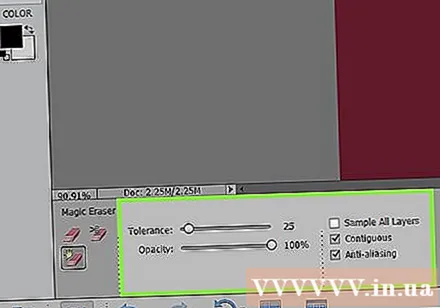
Adjust the Magic Eraser settings. After choosing Magic Eraser, you will see the settings in the top menu bar. Please adjust as follows:- Set the Tolerance between 20-30. With the small tolerance setting, parts of the original image will be retained when you use the eraser tool. Adjust the tolerance limits to find the right level for your project.
- Check the Anti-alias box.
- Check the Contiguous box.
- Set Opacity to 100%.
Click on wallpaper. Magic Eraser will erase all the colors you click and make the background transparent. The tolerance level will also affect the amount of associated colors removed (For background images with decreasing amplitude colors).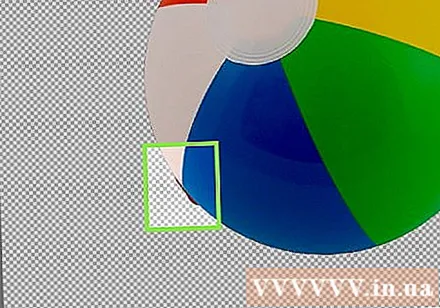
Make some minor adjustments. For a solid background, the font is completely erased in just one click. You may need to zoom in on the image and make some minor adjustments using the Eraser tool.
Choose your audience. Once you're satisfied with the font removal, you can use the Lasso (selection tool group) to draw a rough outline around the object. Press Ctrl + Shift + J to create "New Layer Via Cut" (New Layer Via Cut), this will place your object in a separate layer on the old background. At this point, you can delete the background layer (Layer 0).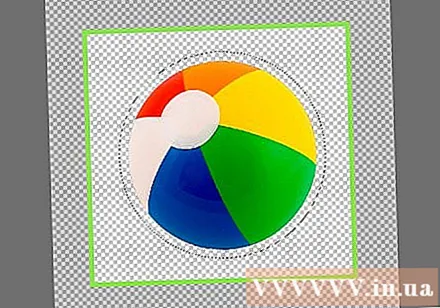
Save a photo. You already have a subject image with a transparent background that can be used to overlay any other stock image. advertisement
Method 2 of 2: Delete a complex font
Open the image you want to edit. This method will help you remove more complex backgrounds without losing the subject of the photo.
Select the Background Eraser tool. Click and hold the Eraser icon until the Eraser menu appears. Select the Background Eraser tool.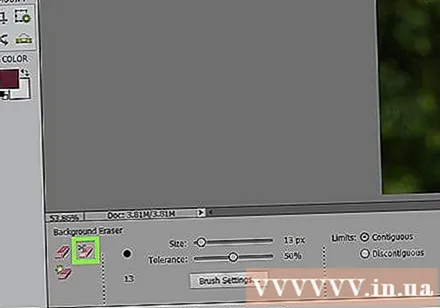
Set of brush options. In the toolbar at the top of the window, click the arrow icon next to the brush. Set the Hardness to 100% so that the edges of the brush erase the same degree as the center of the brush. Adjust the size of the diameter to fit the existing image. You will create large and clear erasure strokes.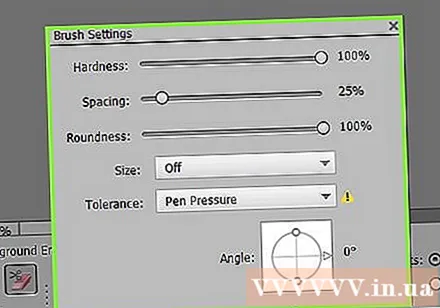
Set the Limits to Contiguous. This removes the color you choose from the circle when you click it. This will help you only erase the font, limiting the loss of the inner colors of the subject.
- If you have pixels where the background is inside the subject (such as a see-through hair), use the Dis contiguous option to remove the background within isolated places. .
Set the Tolerance parameter. A small tolerance limits erasure to areas very similar to the sample color. The larger the tolerance, the wider the range of colors erased. You should set the Tolerance to between 20-30.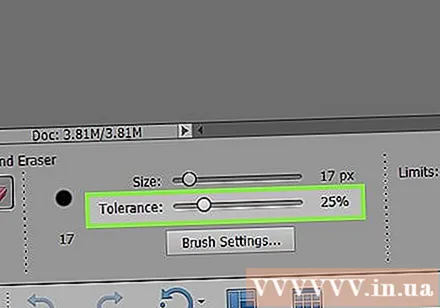
Move the cursor near the edge of the subject. You should see a circle with many crosses in the middle. Crosshairs represent "hot spots", which erase any colors that appear inside the brush. The "hot spots" also perform color extraction at the edges of the foreground subject, so the color band will not be visible if the close-up subject is glued to another image later.
Click and drag to start to delete. The circle may encroach on the subject while erasing without any effect, but do not let the cross in the circle touch the object, otherwise the colors will be erased.
Check the progress. Every time you click and drag, you will see a checkerboard image appear in the area you deleted. Checker boxes represent transparent colors.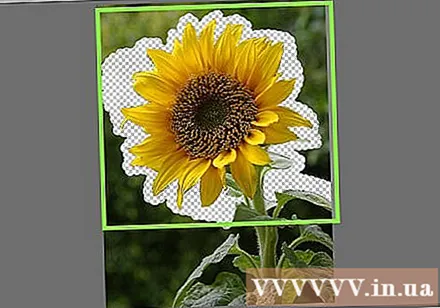
Continue to erase around the object. For some positions, you may need to reduce the size of the brush to make sure you don't accidentally erase part of the subject. For example, in this image you need to resize the brush tip when you want to erase the position between the petals.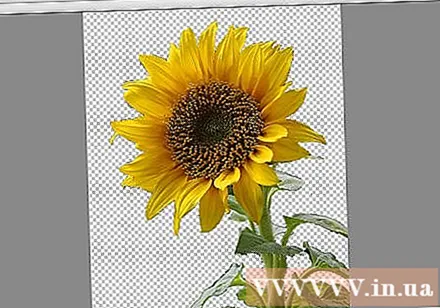
Focus to precisely erase the outline of the subject. As long as the subject is properly outlined, you can make wide strokes with the standard brush to erase the rest of the background.
Border blurring. Use the Smude tool if you want the edges of your subject to be softer so that it blends in with whatever background you plan to use. Set a low intensity setting (about 20%) and drag the mouse around the edge of the subject. This will help soften the rough lines. advertisement
Advice
- The magic wand tool works best when the background is single color and has no similar border around the image
Warning
- The magic wand tool can erase part of an image if the background is the same as the subject
- If you save the file in JPEG format, all operations will be canceled
What you need
- Photoshop Elements software


