Author:
Louise Ward
Date Of Creation:
4 February 2021
Update Date:
1 July 2024

Content
This article shows you how to insert Header rows containing column headers into spreadsheets when using Google Sheets on a computer.
Steps
Access https://sheets.google.com using a web browser. If you aren't logged into your Google account, you need to sign in now.

Click the spreadsheet you want to edit. To create a new sheet, you need to click on the "Blank" option located in the upper left corner of the list.
Insert a blank row into the worksheet. If you already created a new spreadsheet or already have a header row, you can skip this step. If not, follow the steps below to add a new row at the top of the spreadsheet:
- Click the number next to the top row in the spreadsheet. This is the step to highlight the entire row.
- Click the menu Insert.
- Click Row above. Now there should be a blank row at the top of the spreadsheet.

Type a title in this Header row. If you have already named the column / header, you can skip this step. If not, you need to type a title for each column in the empty cell at the top of the data table.
Click the number next to the Header row. This is the step to highlight the entire row.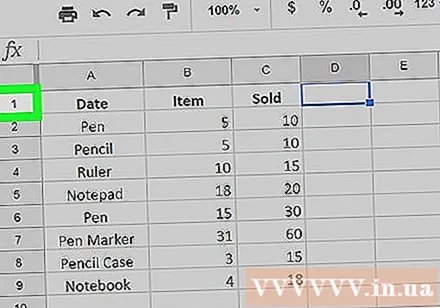

Click the menu View (See).
Click Freeze (Permanent).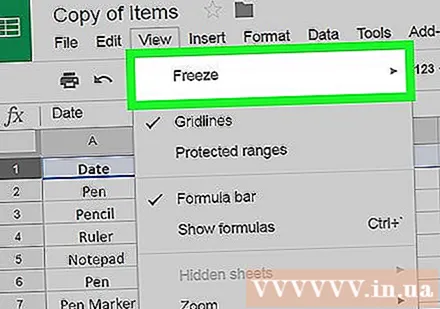
Click 1 row (1 row). The Header row is now fixed, meaning it stays in place when you scroll down the spreadsheet.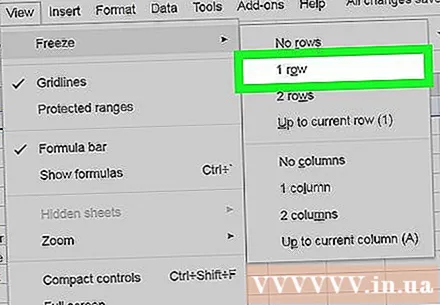
- To enable the feature that allows you to sort and filter data by clicking on the Header containing the column, you need to click the number of the Header row and then click the menu. Data, then choose Filter. Now you can click the green icon in each header to sort the data.

")

