Author:
Peter Berry
Date Of Creation:
17 February 2021
Update Date:
1 July 2024
Content
FAT32 is one of the most compatible file system standards for USB drives. When the USB flash drive is formatted according to the FAT32 standard, you will be able to read and write to the USB drive from most computers or devices that support USB drives. All operating systems have a utility that allows fast formatting of the USB stick according to the FAT32 standard.
Steps
Method 1 of 4: Windows (drives 32 GB or less)
Back up anything you want to keep on the drive. If the drive is already in use, you should back up any data you want to keep. When a drive is formatted, any data contained on it will be erased.

Open the Computer / This PC window. This window displays all the drives connected to your computer. There are several ways to open it:- Open the Start menu and select "Computer" or double-click the Computer icon on your desktop.
- Click the Folders icon located on the toolbar.
- Press ⊞ Win+E.

Right click on your USB drive and select "Format" (Format). This will open the Format window.- If your USB drive is not listed here, press a key combination ⊞ Win+R and run "diskmgmt.msc" to open the Disk Management tool. If the USB port or the drive is not physically problematic, the drive should appear here. Right-click on it and choose "Format".

Select "FAT32" from the "File system" menu. Here, there are several options for you. FAT32 is available with drives up to 32 GB. If your USB drive is larger than 32 GB or if you need to store files larger than 4 GB, consider "exFAT". It is compatible with many newer devices and supports USB drives and files of any size.- If the drive is larger than 32 GB and you still want to format the FAT32 file system, read the next section of this article.
Uncheck "Perform quick format" if the USB is not working properly. If you notice that the USB drive is slow or error occurs when copying files, run the full format to find and fix the error. Of course, doing so will take more time than running standard fast format.
Name the drive. The "Volume label" field allows you to enter a name for the volume. This name will appear when the drive is connected to the device.
Click "OK" to start the formatting process. You will be asked to confirm that you want to delete everything on the drive. For most drives, the formatting is fairly quick. Running full format will take more time.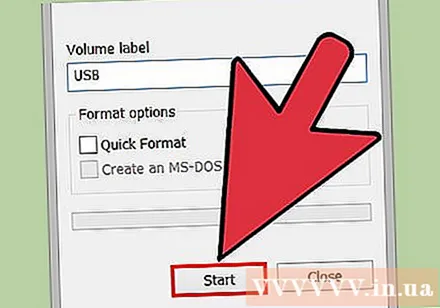
Double check to see if the drive is working. After being formatted, the drive should appear on the Computer / This PC window. Try copying the file into it, making sure there's nothing wrong with your drive. advertisement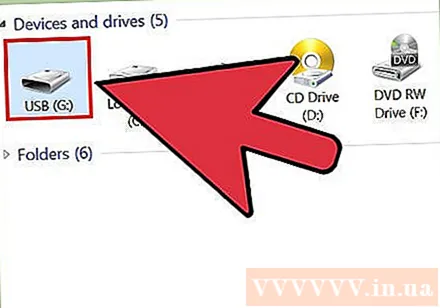
Method 2 of 4: Windows (drives larger than 32 GB)
Download fat32format. This is a free utility that allows you to format any drive with a capacity not exceeding 2 TB in accordance with FAT32 standard. You can download this software from. Open the website, click on the location marked in the screenshot above to download the program.
- The downloaded file is named "guiformat.exe".
Insert the drive you want to format into your computer. With this tool, you can format any drive with a capacity up to 2 TB.
- The larger the capacity of the drive, the longer it takes Windows to recognize and connect files when the drive is re-inserted. It may take about 10 seconds or more after being plugged in for a 2 TB drive to appear on Windows.
Run guiformat.exe. Windows will ask you to grant administrative access to the program. The program doesn't need to be installed and will run immediately.
Select the USB drive from the Drive menu. You will see the size and current format of the drive.
Name the drive. You can enter any name. This is the name that will appear when the drive is connected to a computer or other device.
Click the "Start" button to begin formatting the drive. Formatting time depends on the capacity of the drive.
Check that the drive is formatted. After the format has been completed, the drive will appear on the Computer / This PC window. Note that it may not appear immediately, especially if it's larger than 1 TB.
- If you plan to use the drive on your device and computer that support exFAT or NTFS, instead of FAT, you should use either of these formats. They provide faster transfer speeds and support for larger file sizes. Only FAT32 should be used for drives larger than 32 GB in case your device only supports this format.
Method 3 of 4: Mac
Back up all important data from the drive. Once formatted, anything on the drive will be erased. So make sure all important files are backed up securely elsewhere before starting formatting.
Open Disk Utility from the Utilities folder. This folder is located in the Applications folder.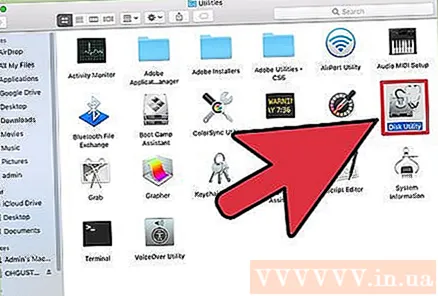
Select your USB drive from the list on the left. If the USB drive does not appear, try a different USB port. If you've used every port or tried on another computer and still can't make the USB drive appear, it may be damaged.
Click the "Erase" tab. The format options for the USB drive will be displayed.
Select "MS-DOS (FAT)" from the "Format" or "Volume Format" menu. Even if it is only written as "FAT", it is indeed the FAT32 file system standard. Note that FAT32 only supports drives up to 32 GB, as well as files up to 4 GB. If your drive is more than 32 GB or in case of needing to transfer larger files, consider using the more modern format - "exFAT". If you're only going to use the drive with a Mac, select "Mac OS Extended (Journaled)".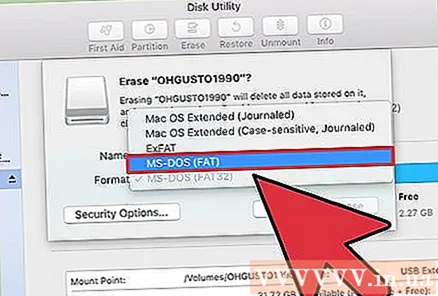
- If you have a drive larger than 32 GB but you really need FAT32, you can divide the USB drive and format each partition into separate FAT32 partitions. Click the "Partition" tab. Next, click the "+" button to create new zones. Set the size for each zone to no more than 32 GB and choose "MS-DOS (FAT)" from the Format menu for each zone.
Name the USB drive. Enter the drive letter in the "Name" field. This name will appear every time the drive is connected to a computer or device.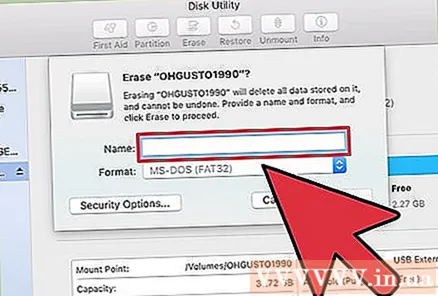
Click "Erase" to begin formatting. All data on the drive will be erased and it will be formatted according to the FAT32 file system standard.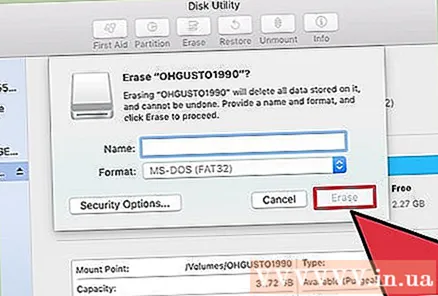
Test the USB drive. After formatting is complete, you should be able to add and move the files to the drive without any problems. The USB disk will be on your screen. advertisement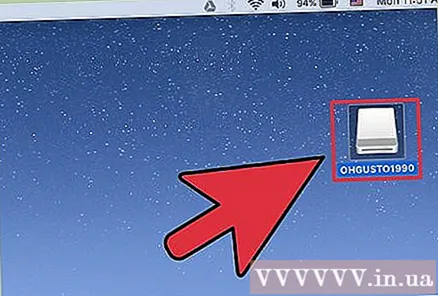
Method 4 of 4: Ubuntu Linux
Back up data that you want to keep. When formatted, all data on the drive will be erased. As such, copy everything you want to save from the USB drive before formatting.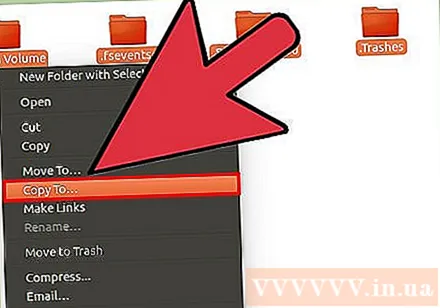
Open the Disks utility. This utility allows you to format the drives connected to your computer. The easiest way to open it is by clicking the Dash button or pressing a key combination ⌘ and type "disks". The Disks widget will be the first result in the displayed list.
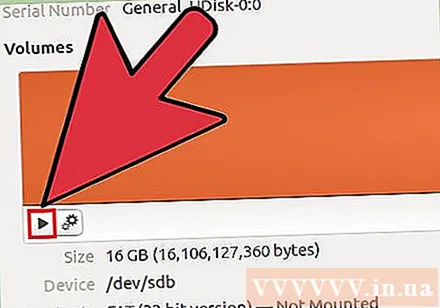
Select your USB drive. It's in the list of drives that appear on the left side of the Disks window.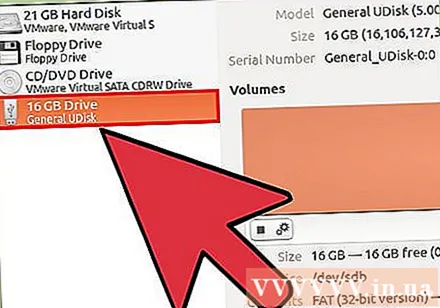
Click the Stop (■) - Stop button. This will cause the file connection to be terminated and you should be able to proceed with formatting the drive.
Click the Gear button and select "Format" (Format). A new window will open.
Select "Compatible with all systems and devices (FAT)" from the "Type" menu. In doing so, you have selected FAT32 as the file system standard.
- If you plan to use a USB flash drive on a Linux-based machine, select "ext4".
Name the USB drive. This name will appear every time the drive is connected to a computer or device.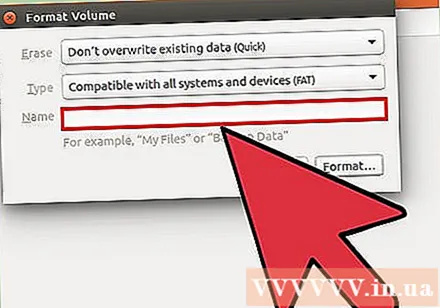
Click the "Format" button to start the formatting process. Formatting will only take a moment to complete.
Click the Play button (▶) - Run. The file connection to your newly formatted drive will now be established so you can start using it. advertisement