Author:
Laura McKinney
Date Of Creation:
5 August 2021
Update Date:
1 July 2024

Content
- Choose light-colored wool if you're new to hooking. This makes it easier to see the hooks in a row and where to fix them.
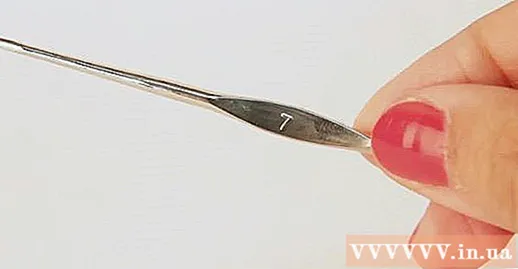

- The symbol for this nose in most manuals is "ch".
- If you don't know how to hook or how to handle the needle, practice before hooking the flower.

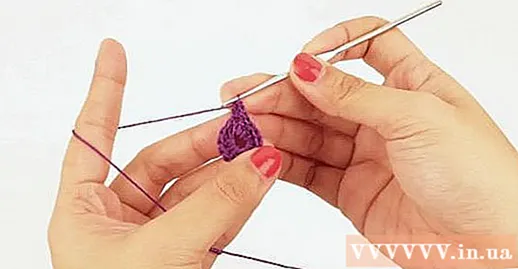
Hook a point on the pin line (making a loop). This tip is used in all products because it can start, finish the row by tying, tightening the edges, or even moving the wool to another position without interrupting the hook pattern.
- "Sl st" is the symbol for "end point."
- In this article, the end point creates the first circle for flower hooks.

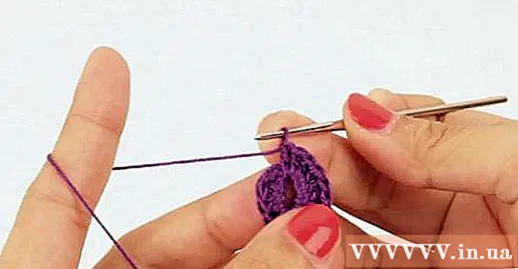
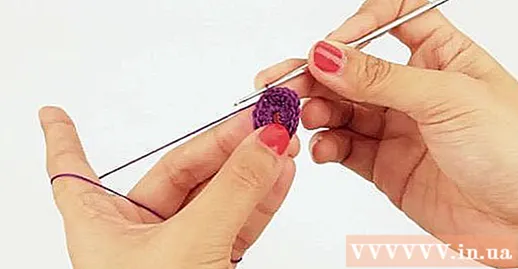
14 double double stitches in the thread ring. You should see the next round begin to form.
- "Double point" is denoted "dc".
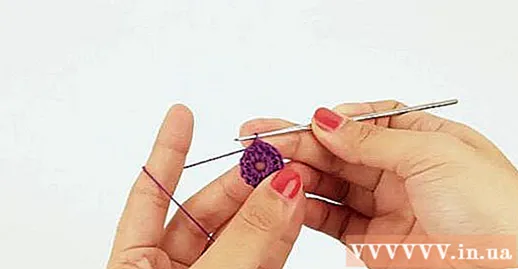
- The end point will be on the second row of wool. That is the center of the flower!

Hook a single double stitch to the first pin. You will see the symbol for this hook in the instruction sheet or on the crochet web page as "hdc".
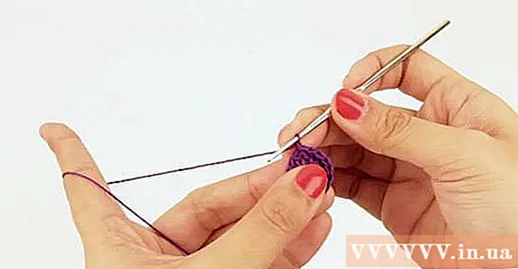
- The symbols are "Dc" and "tc", respectively.
- You can make multiple triple or double stitches, depending on the yarn size and the hook size. The third hand may be slightly wider than the smaller wool.
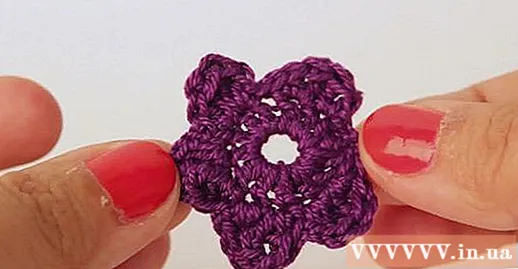
- Remember the steps you took. Follow the same way for each petal, otherwise your flower will be skewed.


- If you want to make flowers smaller then next time choose smaller needles and thin wool. It will be a bit difficult to hook and requires mastery.
Advice
- Spray the flowers with glitter to make them look more sparkling.
- Start with microfiber wool for small flowers, large fibers for large flowers.
- Use a hook sized according to the label attached to the wool.
- All knitting crochet manuals use symbols. Familiarize yourself with the following symbols:
- hdc = single double stitch
- ch = pinnacle
- dc = double stitch
- sl st = endpoint
- tc = triple stitch
- Note that English and American hook patterns use different names and symbols for the same hook - for example, double stitches (dc) in American are triple stitches (tr) in English. This hook pattern uses American terminology. Hook pattern
Things You Need
- Wool
- Needle hook
- Drag

")

