Author:
Monica Porter
Date Of Creation:
21 March 2021
Update Date:
27 June 2024

Content
Soapy water usually goes away very quickly. But store-bought soaps are expensive, especially if you choose to buy one that is made with natural ingredients. Why spend a certain amount on soap when you can make your own at home? Read these guidelines for making soapy water from lumpy soap or raw materials.
Steps
Method 1 of 2: Make liquid soap from lumpy soap
Choose the type of soap to use. You can make liquid soap from any of the bar soap bars available at home. Take out leftover or half used soap or select according to intended use. Such as: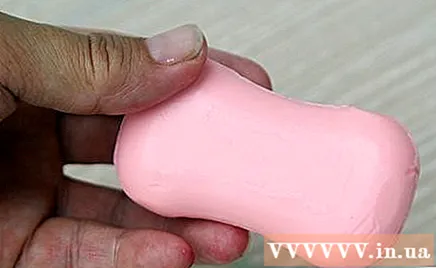
- Use face wash soap to make liquid soap for your face.
- Use antibacterial lump soap as a hand sanitizer for use in the kitchen or toilet.
- Use moisturizing lump soap to make shower gel.
- Use unscented lump soap if you want to add your own fragrance to create your own signature soapy water.
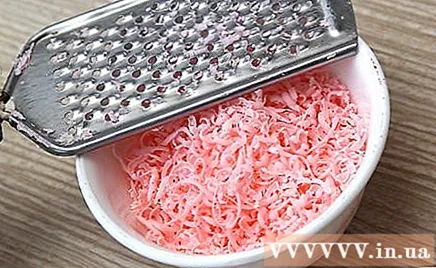
Puree the soap in a bowl. Use a cheese grater to grate all the soap into the bowl. Choose to use a very fine shredder to melt the soap faster. You can cut the soap into cubes if it will make it easier to shave.- You need 1 cup of soap fiber (about 300g). If that isn't enough, you can use a shavings of soap.
- With this recipe you can easily double or triple if you want to make a lot of soapy water. This makes a lovely gift, especially if you put in nice jars.
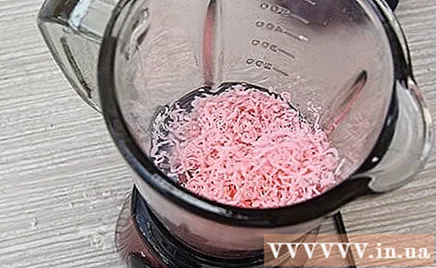
Blend the soap in boiling water. Boil 1 cup of water, then pour it into a blender with shredded soap. Blend the soap and water until a thick texture.- Putting soap in the blender can make it difficult to remove the residue from the blender, so if you don't want to, you can heat it on the stove. Just add soap to the water when it starts to boil.
- You can try microwave soap instead. Place the cup of water in a heat-resistant bowl, heat it in the microwave, add the shredded soap and let it sit for a few minutes to let the soap melt, then heat the bowl in the microwave for 30 seconds at a time if not seen. hot enough.
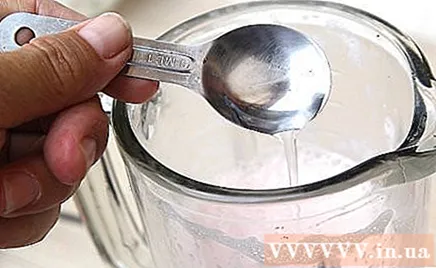
Add glycerin to the mixture. Glycerin is a moisturizer for the skin, making liquid soap more gentle on the skin than plain soap. Add 1 teaspoon of glycerin to the mixture and stir well.
Add other ingredients. This is the step you can get creative with liquid soap, especially if you use unscented soap. Try these ingredients if you want the soap to be even more special: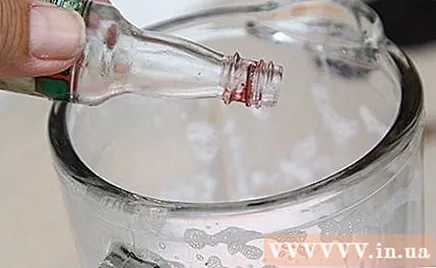
- Mix with honey or lotion to increase the moisture.
- Stir in a few drops of essential oil to make the soap more aromatic.
- Add 10 to 20 drops of tea tree oil and lavender essential oil to make the soap have natural antibacterial properties.
- Use natural food colors to create color. Avoid chemical coloring as it is not good for penetrating the skin.
Create the right texture. Continue to blend the mixture in the blender after it has cooled completely. Slowly add more water to the mixture and grind until the soap has the texture you want. If you're not using a blender, just add water to the mixture and stir vigorously.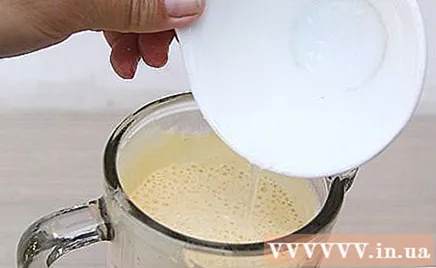
Pour soap into the jug. When the soap cools, you can pour it into a jar or jar with a spout. If you have a large amount of soap, you can put the remainder in a large bottle or jar. Keep the extra to pour into small bottles as needed .. Advertise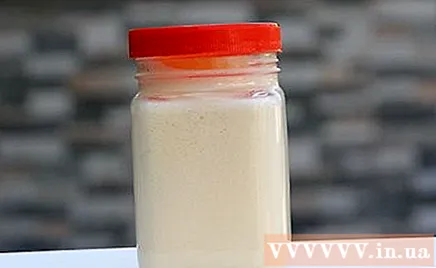
Method 2 of 2: Make liquid soap from raw materials
Prepare materials. In order for liquid soap to react and create foam, you need to mix the right amount of oil and a chemical called potassium hydroxide, also known as an alkali. This recipe produces about 5.5 liters of soap. You can buy ingredients at supermarkets, cosmetic stores or online: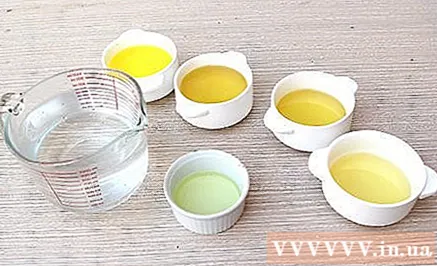
- 310g potassium hydroxide flake
- About 1 liter of distilled water
- 700ml of coconut oil
- 300ml olive oil
- 300ml castor oil (castor oil)
- 90ml jojoba oil
Preparing instruments. When working with alkali, you need to wear protective gear and the correct workplace. You should work in a well-ventilated room with good light so you can clearly see what you are doing. You need the following tools: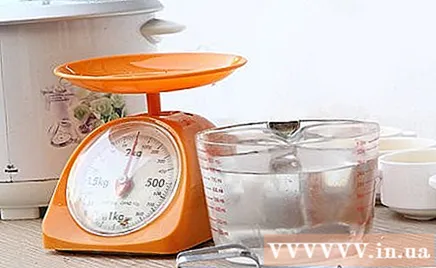
- The cooker cooks slowly
- Measuring cup made of plastic or glass
- Kitchen scales
- Hand blender
- Gloves and goggles
Boil oils. Measure the oil and place it in a slow cooker on low heat. Be sure to get the correct amount of each oil, adding more or less will ruin the recipe.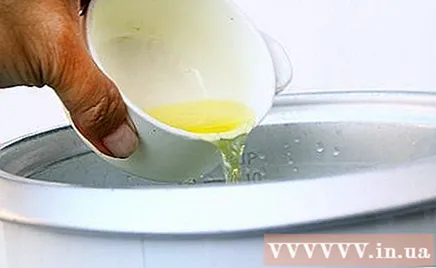
Make an alkaline solution. Put on protective gear and open windows in room. Measure distilled water into the bowl. Measure the alkali into another bowl and add the water. Stir continuously as you add water.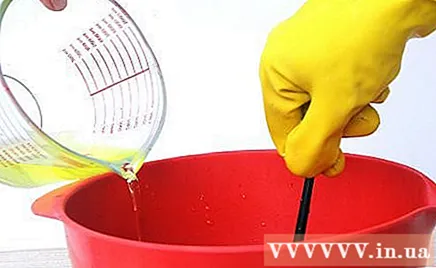
- Remember to add alkali to the water, not the opposite! Because adding water to the alkali will create a dangerous reaction.
Add the alkaline solution to the oil. Slowly pour the solution into the slow cooker, avoiding the solution from splashing on the skin. Use a hand blender to mix the alkaline with the oil.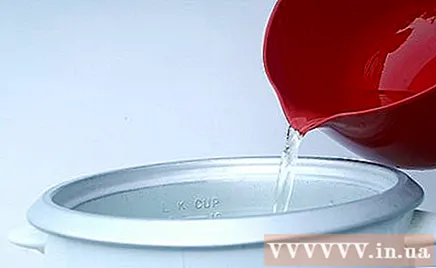
- As you grind, the mixture will gradually thicken. Continue blending until you can spin, which means it becomes thick enough that you can insert the spoon and pull the yarn as you lift it.
- The mixture will gradually become a paste.
Boil the dough mixture. Continue to cook the mixture on low heat for about 6 hours, check every 30 minutes and stir with a spoon. The mixture is complete when you can dissolve 30g of the mixture in 60ml of boiling water, and the diluted mixture will be transparent instead of cloudy. If you see a cloudy color, you should continue to cook the mixture.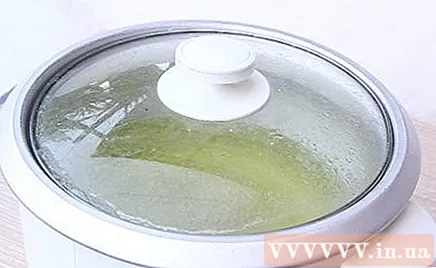
Dilute the dough mixture. You should have 450g of the dough mixture once it's done; You should weigh to make sure, then cook slowly. Add 1 liter of distilled water to the mixture to dilute. It will take a few hours to dilute the mixture with water.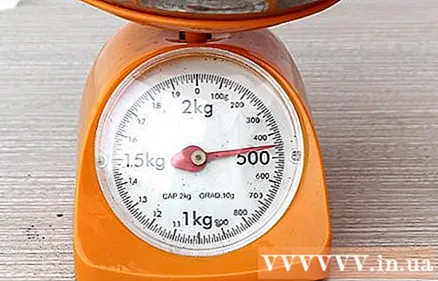
Add flavors and colors. Use your favorite essential oils and natural food colors to create a special fragrance and color for your diluted soap.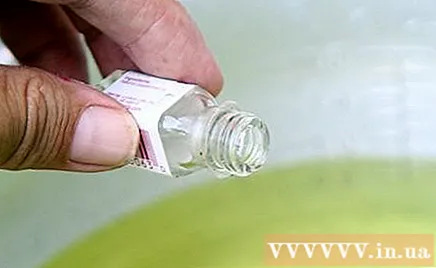
Soap storage. Pour the soap into a jar with a lid as you will make more than needed. Pour the soap that you want to use into a pitcher with a tap. advertisement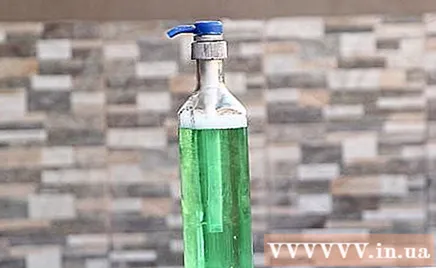
Advice
- Place a bottle of soap in a gift basket or wrap it up for loved ones.
- Putting soap in a pitcher bottle is hygienic and will last longer than lump soap or other soap making methods.
Warning
- Caution is safe when using alkalis.
- Homemade liquid soap has no preservatives, so don't use it after 1 year, otherwise it will create an unpleasant odor or a bad color.
What you need
Soapy water from lumpy soap
- Odorless lump soap or bar soap
- Cheese grater
- Country
- Grinder
- Glycerin
- Funnel
- Small bottle with push hose
- Large bottle or jar
Soapy water from raw materials
- 310g potassium hydroxide flake
- About 1 liter of distilled water
- 700ml of coconut oil
- 300ml olive oil
- 300ml castor oil (castor oil)
- 90ml jojoba oil
- The cooker cooks slowly
- Measuring cup made of plastic or glass
- Kitchen scales
- Hand blender
- Gloves or goggles


