Author:
Bobbie Johnson
Date Of Creation:
3 April 2021
Update Date:
1 July 2024

Content
- Steps
- Part 1 of 3: Inflating the Ball
- Part 2 of 3: Checking if the ball is pumped correctly
- Part 3 of 3: Bleeding the Ball
- What do you need
- Additional articles
A gym ball, or fitball, can be used in a variety of ways: to improve posture, for physiotherapy purposes, or during yoga or Pilates sessions. It is very important that the gymnastic ball used is properly inflated. Improperly pumping the ball can cause problems with posture or simply lead to the fact that you do not achieve the positive effect of training. Fortunately, with the right approach and the right equipment, you can always successfully inflate and deflate a gymnastic ball.
Steps
Part 1 of 3: Inflating the Ball
 1 Let the ball sit for a couple of hours at room temperature. Unpack the purchased ball and leave it at room temperature (about 20 ° C) for two hours. This will normalize the temperature of the product and facilitate subsequent pumping.
 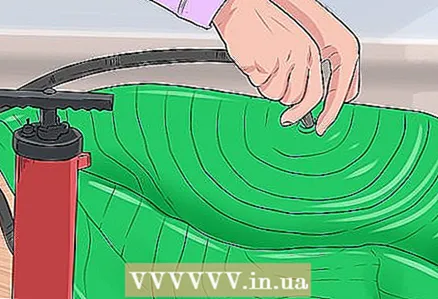 2 Insert the nozzle of the compressor (or pump) to inflate gymnastic balls into the opening of the ball. If you are using a dedicated gymnastic ball pump, insert the tip into the hole on the ball. Otherwise, you may need to find a special gymnastic ball inflator that will fit your pump or compressor. Usually this nozzle looks like a small tapered tube with a threaded end and is sometimes even attached to the ball itself. If you have such a nozzle, simply screw it onto your compressor or pump.
 - If a plug (usually white) has already been inserted into the hole in the ball, you will have to first remove it using a butter knife or other flat object like a key.
- To inflate the ball with an electric compressor, simply turn on the appliance.
- If you do not have a ball cap, you will need to purchase this part separately.
- Be careful when removing the plug to avoid accidentally piercing the ball.
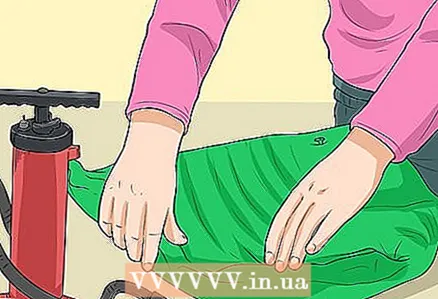
 3 Pump up the ball to 80% of the volume. Start moving the pump handle back and forth to pump up the ball. During this process, the ball will grow in size. When inflating the ball, insert the supplied plug into it and let it sit for 24 hours before finally inflating it.
 - At this point, the ball will still be very tight.
 4 Inflate the ball to full diameter. After the ball has settled down, it can be pumped to full size. Remove the previously inserted plug from it and quickly put the pump or compressor nozzle in its place. Continue pumping the ball back and forth with the pump handle until it reaches its full size.
 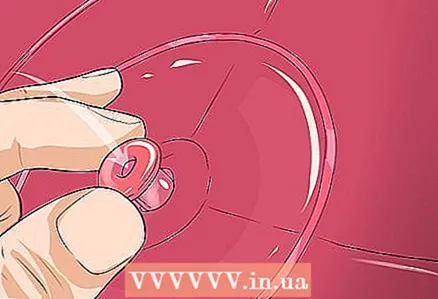 5 Insert a cork into the ball and leave it to lie down for another day. Once the ball is fully inflated, replace the plug that prevents air from escaping. Leave the ball at home for another day before using it.
Part 2 of 3: Checking if the ball is pumped correctly
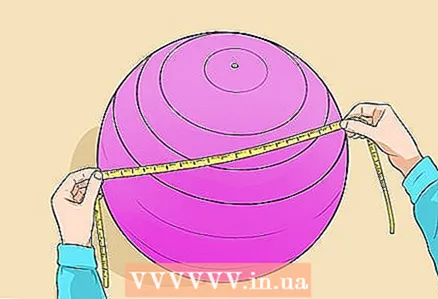 1 Measure the resulting ball diameter. Read the information on the instructions or on the ball packaging to find out the correct full size when inflated. Use a tape measure to measure the diameter of the ball and make sure it matches the size indicated in the instructions.
 - If your height is between 150-169 cm, you need a ball with a diameter of 55 cm.
- With a height of 170-184 cm, you must use a ball with a diameter of 65 cm.
- With a height of 185-200 cm, you will need a ball with a diameter of 75 cm.
- To more accurately measure the final diameter of the ball, for reference, it can be squeezed between a wall and a large box or other similar object.
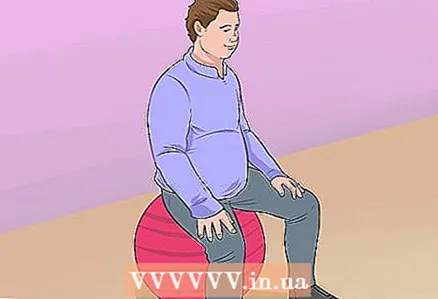 2 Sit down on the inflated ball. Sit on the ball with your knees slightly bent and your feet completely flat on the floor. At the same time, the knees should be at the same level with the hips, which, in turn, should be parallel to the floor. Look at yourself in the mirror: if you fall too deep, it requires additional pumping up the ball. If your feet can't stay firmly on the floor, and your hips don't reach a horizontal position and are tilted down, then the ball is over-pumped. In this case, you need to bleed a little air from it.
 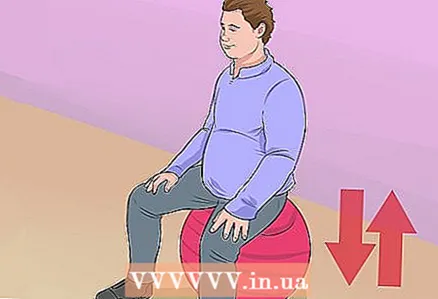 3 Carefully test the spring force of the ball by jumping slowly on it. This check will ensure that the ball is properly inflated. Jump on the ball and make sure your torso and shoulders remain upright. If the ball can support your weight, and you yourself are able to maintain the correct posture, then the product is properly inflated.
 - Over time, during training, the ball will gradually deflate.Do not forget to pump it up periodically.
Part 3 of 3: Bleeding the Ball
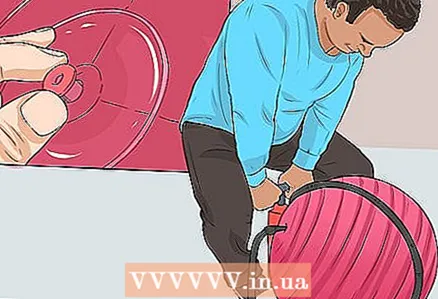
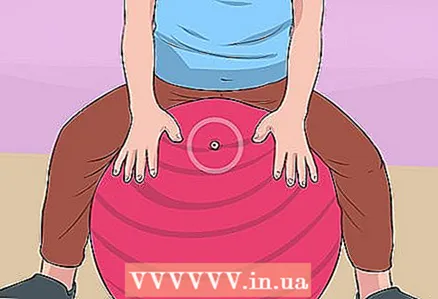 1 Sit on the ball and spread your legs to the sides. Place the stopper of the ball in front of you between your legs.
 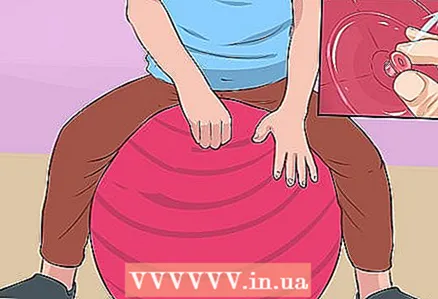 2 Remove the cork from the ball and start bouncing slowly on it until all the air is released. When the plug is removed, air will begin to flow out of the ball. To speed up the process, start bouncing slightly on the ball, which will force the air out faster. Continue in this manner until the ball is completely deflated.
 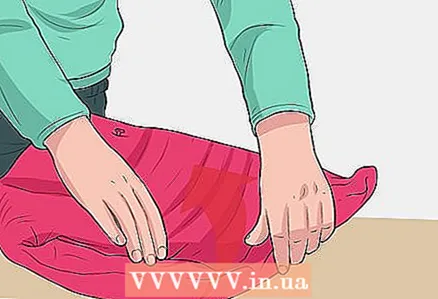 3 Fold the ball up for storage. When all the air has been released from the ball, fold it several times before storing it. You do not need to crumple the ball, as this can cause damage over time, and cracks and traces of random folds appear on it, which will not disappear even after the ball is pumped up.
 - Store the ball at room temperature and do not leave it in direct sunlight.
What do you need
- Tape measure
- Big box
- Gymnastic ball
- Bicycle pump or compressor
- Needle or tapered ball inflator
- Butter knife
Additional articles
How to sit on a split in a week or less How to do a back flip How to sit on a side split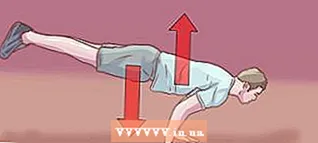 How to execute Planche
  How to make a coup
 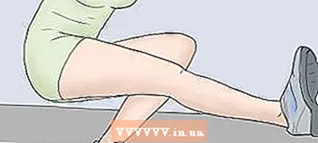 How to do exercises with a broken leg
  How to pull up on a horizontal bar
  How to get rid of lower back pain with a fitball
  How to make a wheel
  How to do gymnastic tricks
  How to be a gymnast
  How to do a back roll How to do a forward roll How to do a handstand


