Author:
William Ramirez
Date Of Creation:
18 September 2021
Update Date:
1 July 2024

Content
- Steps
- Method 1 of 3: Method One: Rubber Latex Ball
- Method 2 of 3: Method Two: Plastic Milk Ball
- Method 3 of 3: Method Three: Cloth Ball
- Warnings
- What do you need
- For latex rubber ball
- For a plastic milk ball
- For a ball made of fabric
There are many different ways and materials you can use to make a ball. For example, you can create small rubber or plastic balls using simple and safe chemical reactions, and using your sewing skills you can make a soft fabric beach ball.
Steps
Method 1 of 3: Method One: Rubber Latex Ball
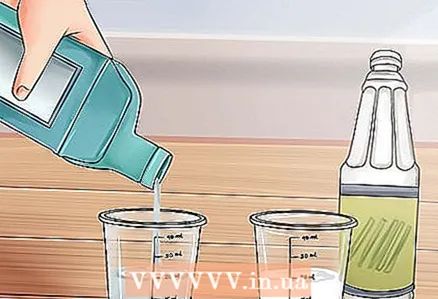 1 Measure out the required amount of liquid latex and vinegar. Pour 20 ml of liquid latex into one medical measuring cup and 20 ml of table vinegar into the second.
 - Perform this experiment in a well-ventilated area, as mild irritating fumes can be emitted from vinegar and liquid latex.
- It is very important to accurately measure the required amount of both ingredients. If the proportions are incorrect, an altered chemical reaction will occur and the latex may not cure properly. If desired, measuring tubes can be used instead of measuring cups.
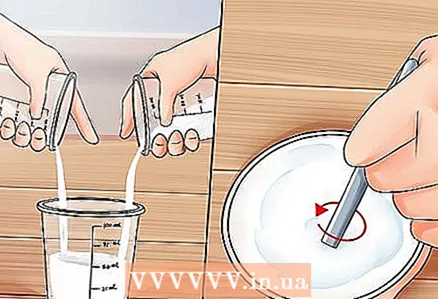 2 Mix the two ingredients together. Mix liquid latex and vinegar in a 90 ml plastic cup. Stir with an ice cream stick until smooth.
 - Liquid latex contains ammonia. When you add vinegar to it, it should neutralize the ammonia and the latex should harden very quickly.
- Stir both ingredients only until the mixture converts to a pulp. Don't let it harden after the mild stage.
 3 Roll out the ball from the mass. Once the mass is harder, remove it from the cup and start rolling it out with your hands. Form the latex mass into an even ball.
 - You will need to act quickly as the latex will continue to harden. In the end, it will become so hard that you cannot change its shape.
- After you have rolled out the ball, lay it down so that it hardens to the end. When, after squeezing, the ball returns to its original shape, you can proceed to the next step.
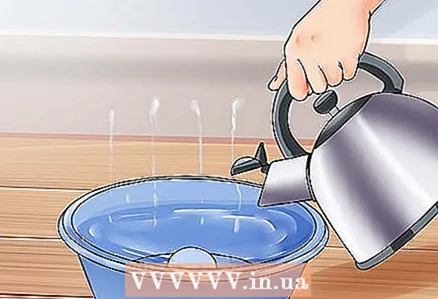 4 Wash the ball in water. Dip the finished ball into a bowl of warm water. Wipe and squeeze it gently with your hands.
 - You can also wash the ball in the sink under the tap.
- As you wash the ball, squeeze it gently to remove excess water and vinegar bubbles.
- If you've been working without goggles, it's time to put them on, as vinegar can get in your eyes when you squeeze the ball.
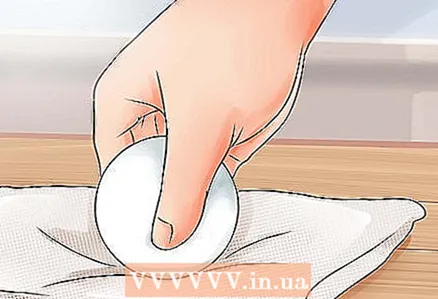 5 Remove the ball from the water and dry thoroughly with clean paper towels.
- While wiping off the ball, continue to squeeze it gently in your hand to drain excess water from the inside.
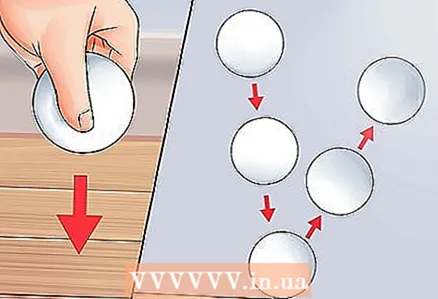 6 Throw the ball onto a hard surface and watch it bounce.
- The finished ball should be relatively soft and able to bounce slightly after hitting the surface. In this state, he must remain.
Method 2 of 3: Method Two: Plastic Milk Ball
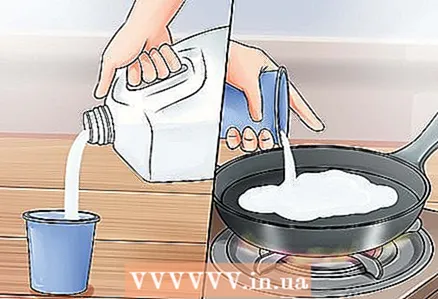 1 Heat the milk. Pour 1/2 cup (125 ml) milk into a small saucepan over medium heat.
 - Heat the milk slightly. Don't stir it and bring it to a boil.
- When heated, the milk will gradually separate into two parts: liquid and solid. The latter is made up of fat, various minerals and a protein called casein.
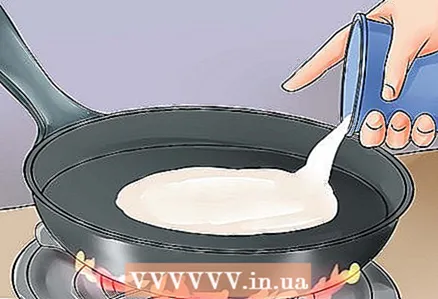 2 Add 1-2 tsp. l. (5-10 ml) table vinegar in a saucepan with milk. Stir until white lumps form.
 - When you see white lumps start to appear, you should continue stirring for a few more minutes.
- Typically, adding less vinegar will make the plastic slightly softer, and adding more vinegar will make it a little harder.
- With vinegar, you can add a pinch of cornstarch. This is optional, but starch can help the ball hold its shape better. But add no more than a pinch, as too much starch can negatively affect the chemical reaction between milk and vinegar.
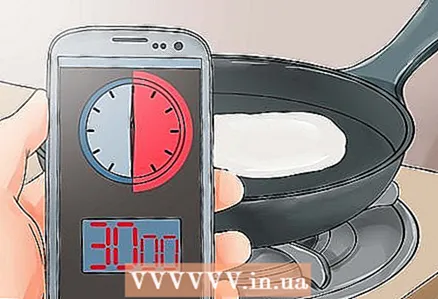 3 Refrigerate the mixture. Turn off the heat and let the mixture cool in the saucepan.
 - Wait until the outside of the pot is completely cool before proceeding to the next step. This may take 30 minutes or more.
- At this time, the vinegar must react with the casein to form a long link of molecules that will be a soft plastic polymer.
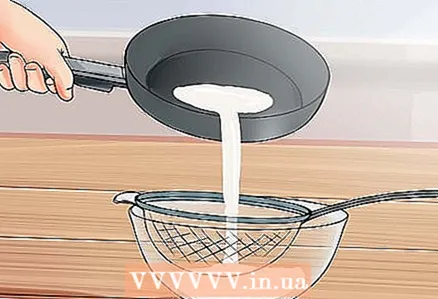 4 Collect the lumps. Strain the cooled mixture through a colander or sieve. Transfer the liquid to a glass bowl and collect the white lumps that remain in the colander.
 - Once you're done separating the lumps from the liquid, you can pour it out.
- Spread the white, hard lumps out on waxed paper. You will be using them for the ball.
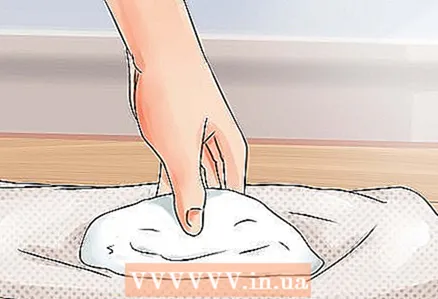 5 Dry the lumps with paper towels. Dry the lumps gently with clean paper towels.
 - You will need to be very careful with the plastic material. It will still be a little sticky, and if you press too hard on it with the towel, it may stick and then be difficult to peel off.
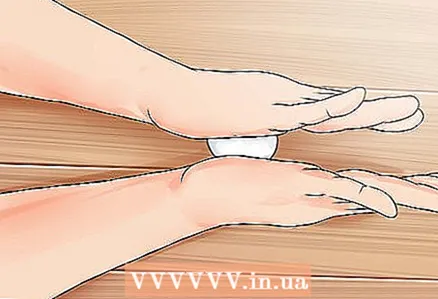 6 Roll the ball out of the mixture. Gather the white lumps of plastic in your hands and squeeze them together. Roll a ball out of the lump.
 - The plastic will be elastic for several hours. This is enough for you to give the ball the perfect shape if you start right after straining the hard lumps.
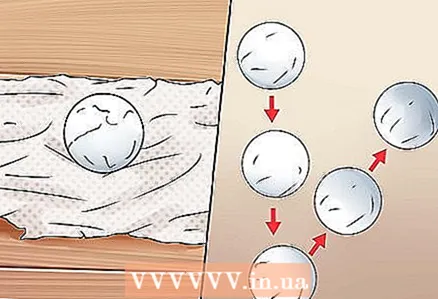 7 Throw the ball to make it jump. Place the sculpted ball on waxed paper and dry for a few hours. Then, throw the ball onto a hard surface and watch it bounce.
 - At this point, the plastic ball should still be soft, even though it will no longer be molded. As a result, he will be able to slightly bounce off the surface.
 8 Leave the ball to dry until it hardens. Place the ball back on waxed paper and let it dry for two or more days. Try rolling the ball on a hard surface.
 - At this stage, the plastic will be harder and the ball may no longer be able to bounce. Its surface should no longer be sticky, and you should be able to hold it without staining the plastic.
- The ball must remain in this state forever. You can paint it with acrylics if you like, but this is not necessary.
Method 3 of 3: Method Three: Cloth Ball
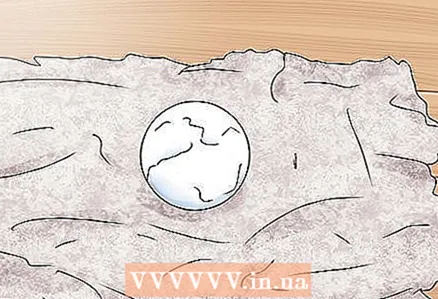
 1 Cut eight identical pieces of fabric in the shape of an eye (oval, pointed at the ends). The pieces should be 13 cm long and 5 cm wide at their widest point.
 - The pieces must be the same shape and size. To make identical pieces, cut out the first one, then attach it to the fabric, circle it seven more times, and cut out those pieces.
- If you find it difficult to make a piece of the required shape yourself, you can use this stencil: http://www.purlbee.com/wp-content/uploads/2008/08/smallmediumball.pdf
- Felt and other materials that will not fray at the edges are easiest to work with, but in general you can use any fabric and choose any color or multiple colors, depending on your aesthetic preference.
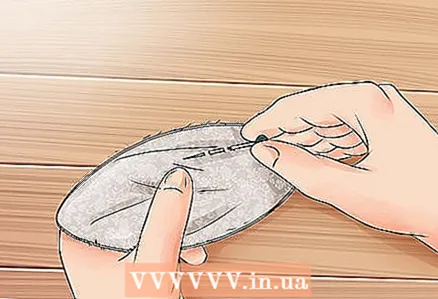 2 Pin the two pieces together. Place the two pieces right side up to each other and pin them to each other.
 - Repeat the same with the remaining six pieces. You should end up with four double pieces.
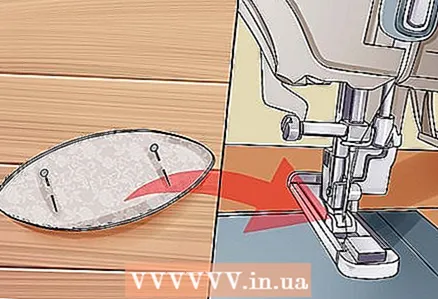 3 Sew double pieces. Sew a double piece along one rounded side from top to bottom. The seam should be 6 mm from the edge.
 - You can sew the pieces by hand or with a typewriter. When sewing by hand, use a back stitch (hand stitch). When sewing on a typewriter, use a straight stitch.
- Leave the second rounded end loose for now.
- Repeat the same for the other three double pieces. At the end, you should have four pieces.
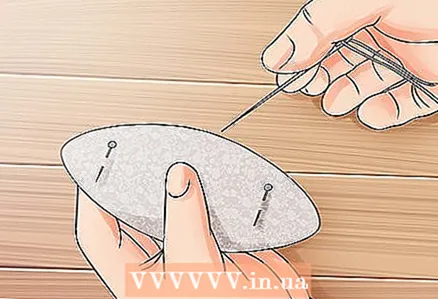 4 Sew two double pieces together. Place two double pieces right side up and pin together. Sew on one side from the top pointed end to the bottom.
 - Use a hand stitch or a straight stitch on a typewriter.
- The seam should be 6 mm from the edge.
- Leave the other edge loose.
- Repeat the same with the other double pieces. At the end, you should have two hemispheres of four pieces.
 5 Sew the two halves together. Place two hemispheres right side together, pin and sew on both rounded sides.
 - Sew on one side from top to bottom.
- On the other side, start the seam 2.5 cm from the top end and sew to the bottom end.
- Use a hand stitch or a straight stitch on a typewriter, leaving 6mm from the edge.
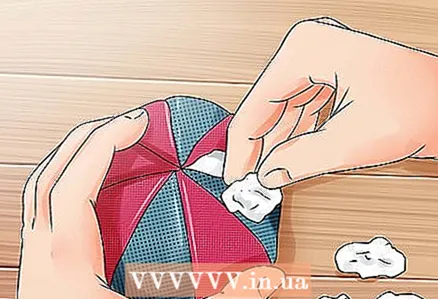 6 Turn out and hit the ball. Turn the ball through the 2.5 cm hole and stuff with cotton wool.
 - Use a lot of padding to make a hard ball with a spherical shape.
 7 Sew up the hole. Fold in the hole carefully and sew with a blind stitch.
 - Fold the edges of the hole 6 mm inward. When sewing the edges, try to keep them straight for a straight and inconspicuous seam.
- Sew by hand with a blind stitch to keep the edges as straight and invisible as possible.
- At this point, the ball is stitched and technically usable. But in order to make it look more traditional like a beach ball, you will need to follow a few more steps.
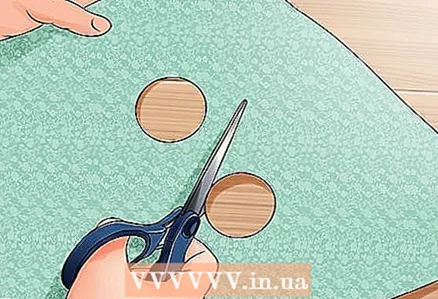 8 Cut out two identical circles with a diameter of 4 cm.
- If you are using a material that does not fray at the edges, such as felt, you only need to cut out the circles.
- If you are using material that may fray at the edges, you should bend the edges 3 mm and iron to secure them.
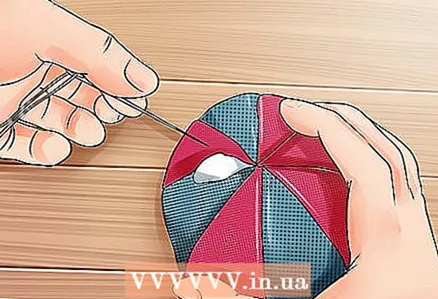
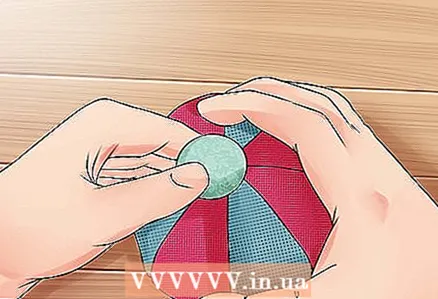 9 Attach one circle to the top of the ball (at the point where the ends of each piece meet). Sew it on with a basting stitch or glue it on with fabric glue.
 - Fabric glue is recommended for balls made from material that does not fray at the edges. Overcasting is recommended if you are using fabric that is frayed.
- Also attach the second circle from the bottom.
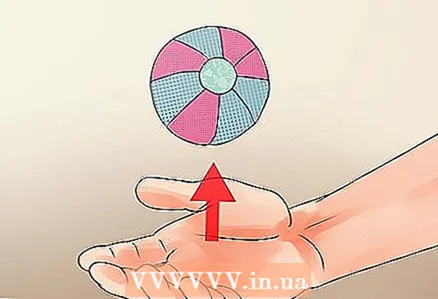 10 Try to throw the ball. It is now complete and ready to use.
Warnings
- Latex is not considered a hazardous material for most people, but if you are allergic to it, you should not make a ball out of this material.
What do you need
For latex rubber ball
- 20 ml liquid latex
- 20 ml table vinegar
- Plastic cup 90 ml
- Wooden stick from ice cream
- 2 measuring cups OR measuring tubes
- Protective glasses
- A bowl of water
- Paper towels
For a plastic milk ball
- 1-2 tsp (5-10 ml) vinegar
- 1/2 cup (125 ml) milk
- Pinch of cornstarch
- Mixing spoon
- Small saucepan
- Colander or strainer
- A clean glass jar or bowl
- Wax paper
- Paper towels
For a ball made of fabric
- 1 m of fabric of the same or different colors
- Fabric marking pencil
- Scissors
- A thread
- Needle
- Sewing machine (optional)
- Cotton wool for stuffing
- Safety pins
- Iron (optional)
- Fabric adhesive (optional)


