Author:
Peter Berry
Date Of Creation:
16 February 2021
Update Date:
1 July 2024
Content
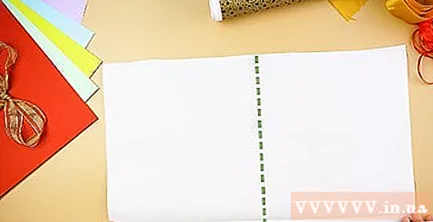
- Save time by using the straight edges of the paper. If your paper is the correct size, cut it from the edge instead of in the center of the paper.
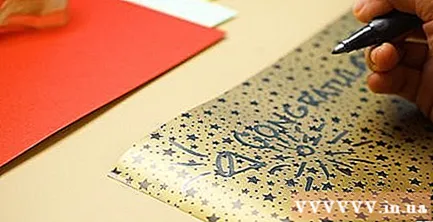
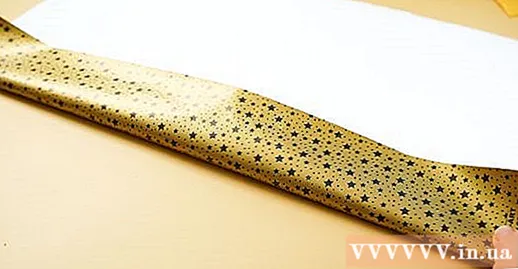
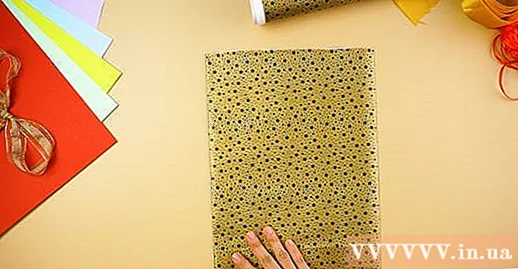
- If you have decorated the paper, make sure the decorations are dry and the paper is facing down.
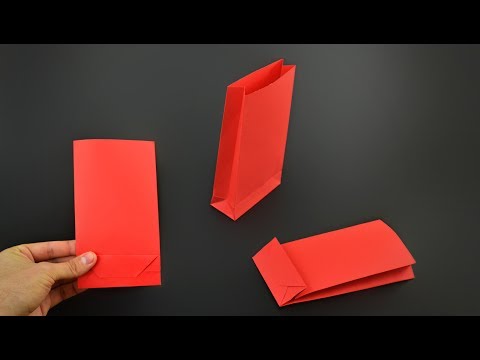
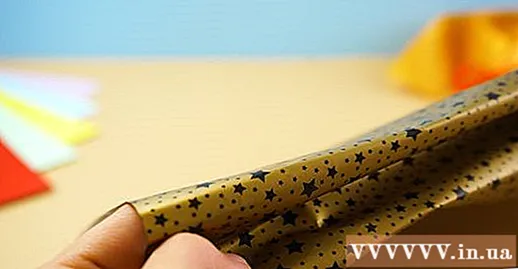
Fold the edges of the paper. Still place the paper horizontally while doing the following:
- Insert the right edge of the paper into the left-hand pencil line and fold it. When finished folding, open the paper. Repeat the same action for the other edge.
- Turn the bottom of the paper up, fold the left and right edges in the center, and stick the edges. Remember to fold in the fold you created earlier (but note that the fold will now be reversed).Let the glue dry completely before proceeding to the next step.
Fold the sides inwards to create a multi-layered effect of paper. You will fold it so that the edge of the bag is rectangular when you open it.
- Use the ruler from the left side to inside about 4 cm. Use a pencil to mark a small mark.
- Push the left fold of the bag inward so that the pencil mark in the above step is on the outer edge of the new fold.
- Fold the paper inward so that the pencil line is above the edge of the new fold. Keep the top and bottom edges symmetrical as you fold the paper.
- Do the same for the right edge. When finished, the bag body with both sides is folded inward, just like a regular paper bag.

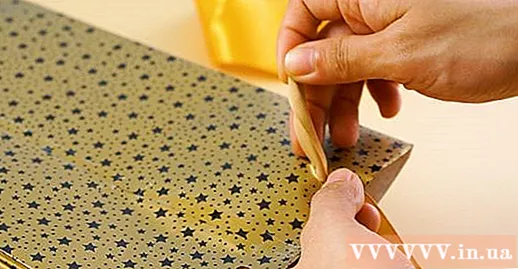
- Fold and glue the bottom of the bag. Once you've identified the bottom of the bag, start pasting the bottom:
- Stack the bottom about 10cm up and fold neatly.
- Keeping the rest of the bag flat, open the bottom of the bag. The inner fold will open, creating a perpendicular edge. Inside, you will see folds of a triangle on each side.

Stick the bottom of the bag. You should fold the edges in the center, stick the two triangles together to make sure the bottom of the bag is sealed.
- Fold the left and right edges of the square base just opened inward. Fold the outer edge of each triangle. When you're done, you should have a base with 8 sides like a long octagon instead of the 4 sides as before.
- Fold the bottom edge of the “octagon” upwards into the center of the bottom of the bag.
- Fold the top edge of the “octagon” downwards into the center of the bottom of the bag. The bottom is now fully folded; Stick the edges together and let dry

- Hold the edges of the bag open and use a puncher or pencil to create two holes above the bag. Do not make holes too close to the edge of the bag as the weight of the bag and its contents will tear the handles.
- Make the hole stronger by using duct tape or glue to the edge of the hole.
- Thread the end of the string through the holes and tie the knot on the inside of the bag. Make sure the knot is loud enough so it doesn't slip out. You can add a knot on top of the knot to increase the knot size. This way, the handle will be held tighter.
Advice
- Cover the surface with newspaper to make bags. This will make it easier for you to clean.
- Colored papers can also be used as bags.
- Make a paper bag as a gift to a friend. Decorate the bag with glitter, paint and crayons.
- If you want the bag to be short, fold the top of the bag inwards until the length you want and cut it along the fold.
- Use a little fabric for extra decoration.
- Use only a little bit of glue.
What you need
- Construction paper
- Glue
- Drag
- Ruler
- Pencil
- Ribbon, rope or rope


