Author:
Louise Ward
Date Of Creation:
3 February 2021
Update Date:
1 July 2024
Content
Flying can be a very stressful experience, especially if it's your first time finding your way in an airport. A lot of factors can affect your flight. Even so, there are many things you can do to get on your plane on time and with integrity.
Steps
Part 1 of 4: Preparing for the flight
Flight confirmation. The night before your scheduled flight, check back to make sure everything is going as planned. After purchasing the ticket, you will probably receive a confirmation email from the airline. Check this confirmation to make sure the flight times are the same.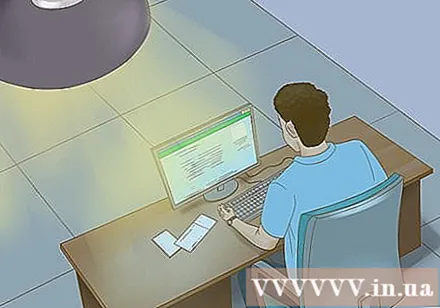
- If there is a change in flight times, don't forget to adjust your travel plans accordingly. Depending on how long the delay is, it may affect your scheduled connecting flights. If you are concerned that you will miss your connecting flight because of this delay, contact the airline.
- Until you arrive at the airport, continue to check flight status. Some airlines will send a text message informing the flight time change. Even so, it is important that you continue to monitor the situation. Be especially careful during the rainy season or when the forecast is bad because they often affect your flight.
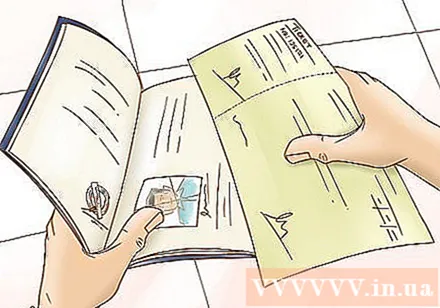
Organize your papers. Without tickets and ID, you will not be able to board. For riders over 14 years old, a driver's license or passport is sufficient. If you are under the age of 14 and are traveling with an adult, you may not need to show identification.- If you are under 14 years of age and traveling alone, contact the Department of Transportation or other authorities to determine the type of identity document you need.
- If you fly internationally, you will not be able to board without a passport.
- In the US, if you go to the airport without an ID card, you may still be able to fly. You will have to fill in some additional forms and answer a few TSA questions to verify your identity.
- Keep documents in an easy-to-reach place. You will be required to present documents at check-in as well as through the security checkpoints. So don't keep them where they are hard to get.
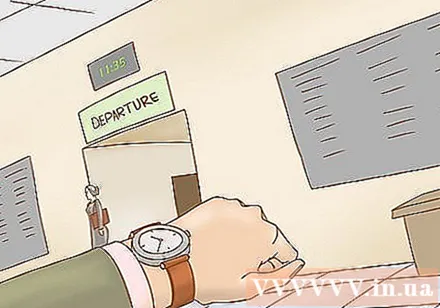
Coming soon. Check-in is influenced by many different factors. So, plan to arrive at least two hours early. If flying internationally, with a small child or someone with a disability, plan to arrive even earlier.- If driving, charge extra parking time and take a quick bus into your station if needed.
- If this is your first time flying from an airport, add the amount of time you get lost while searching for your way in the airport.
Part 2 of 4: Check-in
Find your airline. The first thing to do upon arrival at the airport is to find your airline. The airport is divided into several stations and different airlines are located at different stations. In addition, there is an arrival and departure gas. You will have to find the departure station for your airline. You can determine which station it is by searching online, calling the airport or asking airport staff.- If traveling by public transport or being transported to the airport by someone else, be sure to indicate the airline's name so they can let you off the correct building.
Bagage deposit. Depending on what luggage you bring, you may need to check in one or two bags. In addition to a carry-on bag (like a laptop bag or handbag), most airlines allow one carry-on bag. If you plan to check in your baggage, go immediately to your carrier's counter.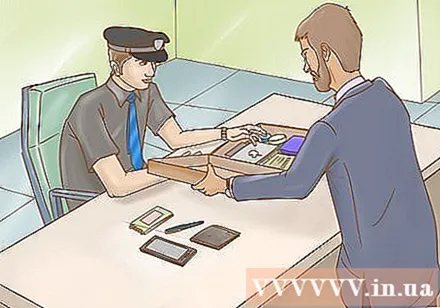
- If you haven't checked in your bag, skip this step and check in right away.
- Depending on the policies of each country and airline, passengers are allowed to send two or more bags, but there is a limit to the weight and size of the bag. Check with your carrier to find out what those limits are.
- Be careful, do not go over the limit as overweight deposit can cost you very expensive fees.
Print your boarding pass. To board the plane, you need your boarding pass. If you decide to drop off your luggage, show your identification to the airline staff and they will print your boarding pass for you. If you don't have your baggage checked, you can still go to the airline's check-in staff for help or choose a quicker and easier option.
- Some airlines have self-check-in counters. Just follow the instructions at this counter to print your own boarding pass. In the US, you only need a credit card to verify your identity.
- Some carriers also offer online check-in services. In this case, 24 hours before departure, you will receive an email from the airline. Follow the instructions in this email to check-in for your flight.
- Print out your boarding pass and take it to the airport with you. If you have a smartphone, you can open your e-boarding pass with your phone and use it like a regular pass.
Part 3 of 4: Security check through
Take off your coat. To get through the security screening successfully, you need to take off your shoes, jacket and belt. If wearing metal jewelry or accessories, remove them as well. These items will activate the metal detector.
- In the US, if you are over 75 or under 13 you will not be asked to take your shoes off. You also won't have to take your shoes off when participating in the TSA PRE CHECK program.
- Check your pockets and shirts! Take the key or any other metal object that could trigger the detector to come out.
- Try to take off excess clothing while waiting. The queue for security checks moves very quickly when it's almost your turn. Therefore, it is best to be prepared as much as possible. Avoid wearing lacing sneakers or shoes that are difficult to remove in a hurry.
- Once through the security check, leave and get dressed again. Most airports have a bench or seat reserved so that you won't get in the way of your security check-in while preparing for yourself.
Take out the laptop. If flying with a laptop, remove it from the bag and place it on the conveyor belt to be scanned. This is not necessary with smaller electronic devices, such as phones, Kindle, or small video consoles. You can still leave them in the bag. If you are a member of TSA Pre-Check, you will not need to take your laptop out.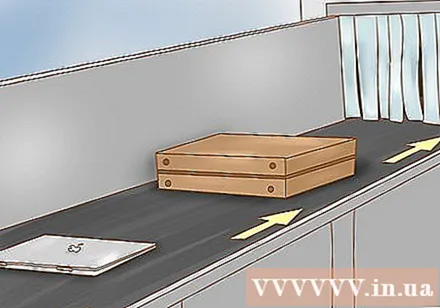
- Make sure to check all your pockets and make sure you don't accidentally leave your phone or iPod in it.
Remove the liquid and glue. If you're going to carry liquid or glue, in many cases they need to be removed from the bag at the security screening door. For international flights, the total volume of liquid that you are allowed to carry with you and your carry-on baggage is no more than one liter and should be stored in closed bottles, jars and containers with a capacity of no more than 100 ml. In general, this provision differs from country to country. Therefore, it is best to do your homework before starting your trip.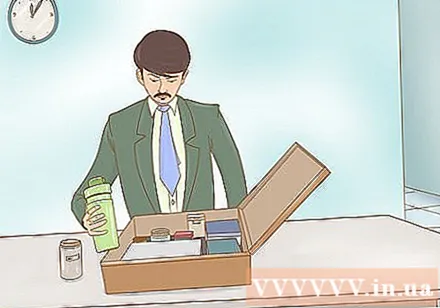
- In the US, TSA Pre-Check members do not need to remove liquids and colloids from bags.
- If there are open bottles (like mineral water or soft drinks), at this point you will be asked to throw them away. You can buy more water after you pass the security check.
- Overall, it's best to keep all of your travel cosmetics in a 27cmx27cm Ziplock plastic bag. That way, when you have to take it out of your bag for security check, you won't have to look through the bottles one by one. Travel-packed cosmetics are sold in most pharmacies.
- Do not leave prohibited items in your bag. Of course you will not be allowed to bring any dangerous objects on board. However, there are some non-dangerous items that are not allowed in hand baggage. For a complete list of things that can be safely carried on board, check the website of the Civil Aviation Authority of Vietnam.
Part 4 of 4: Check-in at the boarding gate
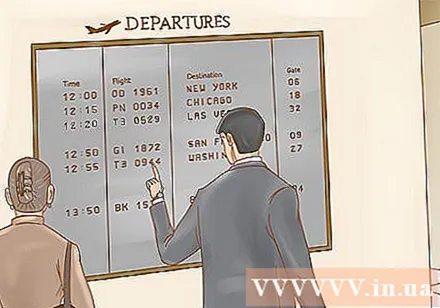
Find your boarding gate. Once the security has been checked successfully, now's the time to find your aircraft. Check your boarding pass, identify your door. Check it again on the trip bulletin board located just outside any security checkpoint. Once you have confirmed the door number, go there.
- Make sure you have everything you need before you leave the security checkpoint. Don't accidentally leave your laptop or jacket back there.
- If you are having trouble locating your aircraft exit, ask airport staff for help.
Buy enough food and drinks. Many airlines no longer serve food on their flights. If you are about to fly a long flight or travel during mealtime, buy some food and water and bring it on the plane with you. Try to think of those you fly with and don't buy anything that is too smelly or cluttered (like eggs or tuna).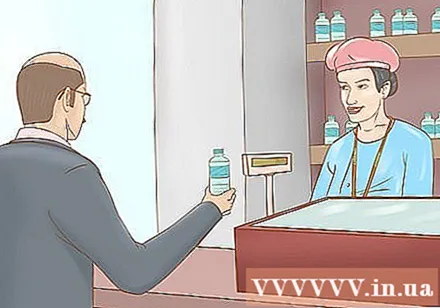
Sit in a chair. Once you have the food and find the exit of the plane, all you need to do is wait. If your flight is delayed or delayed due to weather or technical problems, you may have to wait a while. Bring something to help you pass your time and sit near the boarding gate to hear when it's time.advertisement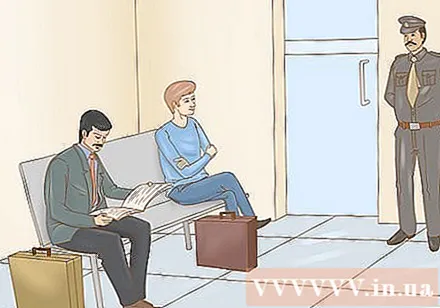
Advice
- If you are traveling internationally, you will have to clear customs when you leave Vietnam. You will also have to clear customs on arrival at your destination country and go through this procedure again on your return.
- Check the website for the country you will be flying to.
- Thanks to that traveling on long international flights is not the same as flying domestically from one city to another. Please plan accordingly.
Warning
- Do not leave your belongings for any reason. Don't look at strangers' things, and don't let strangers see yours. Keep your luggage with you at all times.


