Author:
Robert Simon
Date Of Creation:
15 June 2021
Update Date:
1 July 2024

Content

Heat the dough over medium heat. Stir your hands well while cooking so the dough doesn't stick to the bottom of the pot.
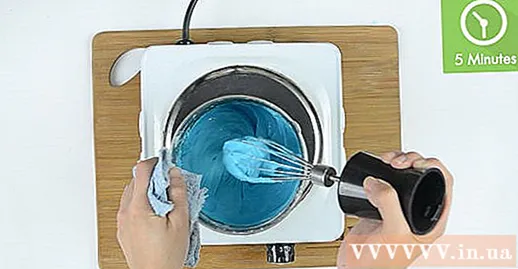
Knead the dough until smooth. While kneading, pay attention to the texture of the dough. If the dough seems sticky, adding cornstarch will help thicken it. If the dough is too thick, add 1 teaspoon of water to knead.
- This clay will take about 24 to 48 hours to dry completely.
- When the clay dries, you can decorate it with acrylic paint.
Method 2 of 3: Make clay with glue
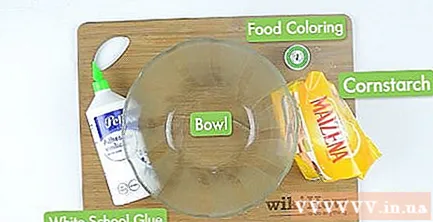
Put cornstarch in a bowl. Start by measuring 2 cups of corn starch. With this simple recipe, you can easily add more powder and add more glue if needed.
Add glue slowly. Each time add a little glue to the bowl while stirring. Continue adding glue until it has reached the correct consistency - that is, it will be two parts cornstarch to one part glue.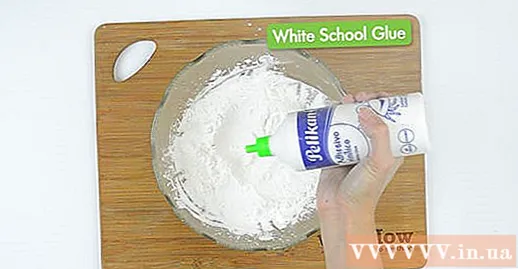
- If the dough is still crumbled, add glue.
- If the dough is too sticky, add cornstarch.
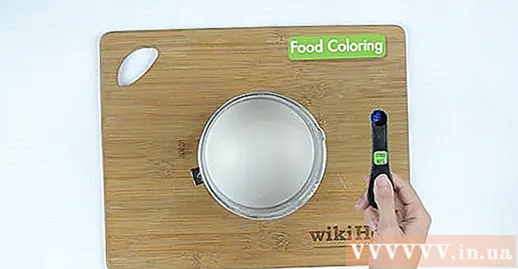
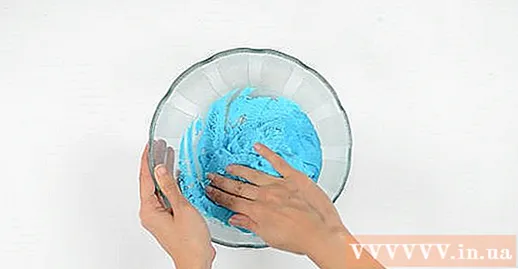
Add color to the clay. Add food coloring to the bowl and knead the dough with your hands. If you want the clay to be darker, add more colors until you feel like it.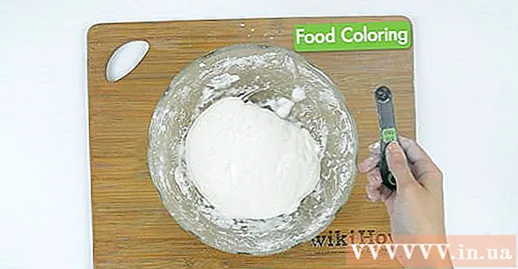
- If you want to make a multicolored clay, divide the dough into two or three parts and add a separate color for each part.
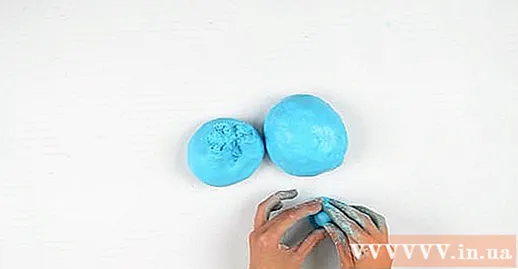
Use clay. You can use the molds for sand castles and cookie molds, or you can get creative with shaping. When you're satisfied with your work, place it in a cool, dry place to let the clay harden. After a few hours, you can paint on the clay and done! So you have a clay model made by your own hands. advertisement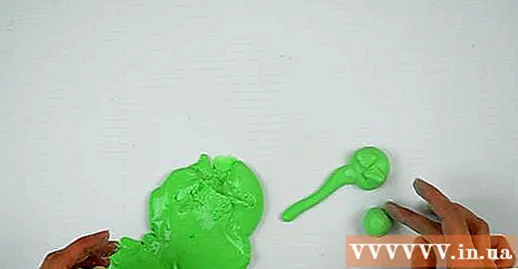
Method 3 of 3: Making cold porcelain clay
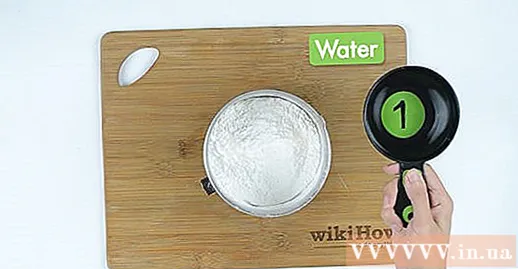
Place the ingredients in a microwave-usable bowl. First, you'll add the wet ingredients: glue, vinegar, and canola oil. Then stir the cornstarch until the mixture is completely smooth and free of lumps. The mixture will have a flowing texture.
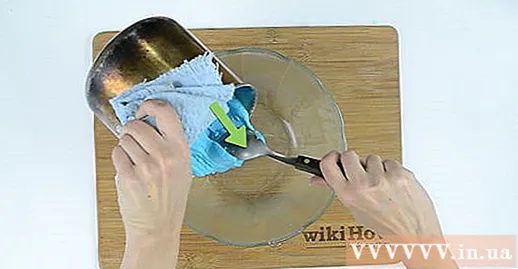
Microwave the mixture on high for about 15 seconds. Take out the bowl and stir well the mixture is still hot and thick.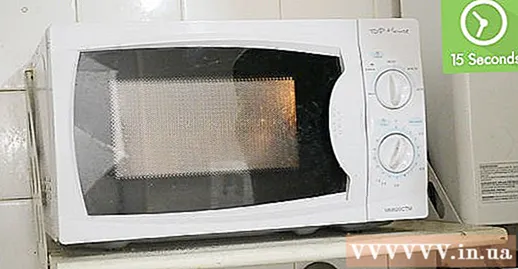
Heat the mixture on high heat for 15 seconds. Take out the bowl and stir the mixture. The surface of the mixture will now be slightly hard instead of thick.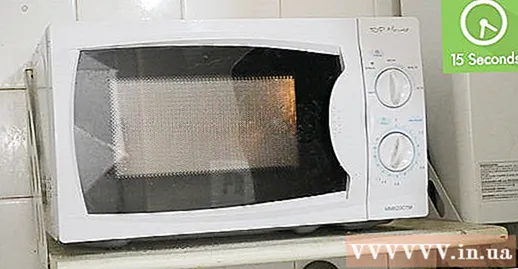
Heat the mixture a third time on high heat. You will heat the mixture for 10 or 15 seconds, then take out the bowl and examine the mixture. Clay is now gradually formed, forming a sticky but not smooth powder.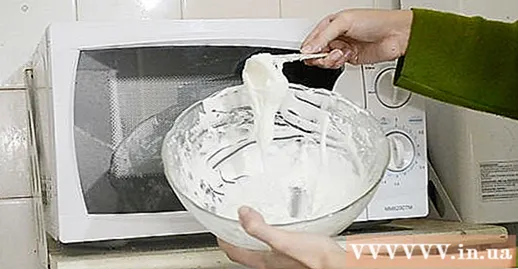
- If the clay is still thick, heat the mixture in the microwave for another 15 seconds. The finished clay will still be sticky and flexible; If it feels dry, you overheat.
Kneading clay. Once the clay has cooled for a while, apply cooking oil to your hands and knead the clay for about 3 minutes until the texture is smooth and supple. Rub the clay into a circular member then pull it out to test. The clay completes as it expands and forms a sharp tip each time you drag. If the clay breaks, you overheat.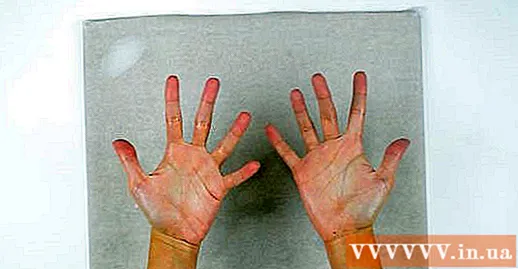
Wrap the clay in a plastic film for storage. If you haven't used clay right away, wrap it with plastic wrap to keep plenty of moisture. advertisement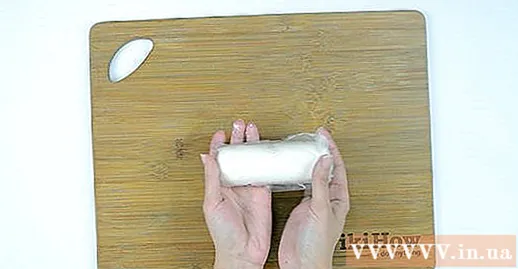
Advice
- Add food coloring to the water if you want the clay to be colored, not to the dry ingredients!
- Be patient while you wait for your work to dry. The larger the pattern, the longer it will dry out.
- Clean up after finishing so that there are no dry cornstarch and glue on the counter.
- When clay is dry and hard it can crack or break.
- Store the clay in a cool or dry place.
- Note that the model from cold porcelain clay shrinks when it dries, so you need to make it bigger than intended. That way, you will have the model with the desired size.


")