Author:
John Stephens
Date Of Creation:
26 January 2021
Update Date:
1 July 2024

Content
In this article, WikiHow will show you how to create a transparent "blur" effect for an image in Photoshop. You can follow the instructions below for both Windows and Mac versions of Photoshop.
Steps
Open Photoshop. The app's icon looks like a blue "Ps" on a black background.

Open the image in Photoshop. This is the image for which you want to apply the "blur" effect. How to open:- Click File
- Choose Open ... (Open)
- Choose an image.
- Click the mouse Open ...
Click on the "Quick Selection" tool. This tool is symbolized by a paint brush with a dotted line next to it. You will find this option in the toolbar on the left.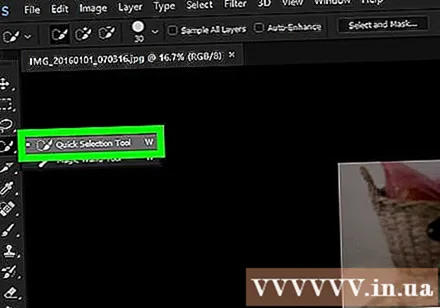
- You can also press the key W to open the tool.
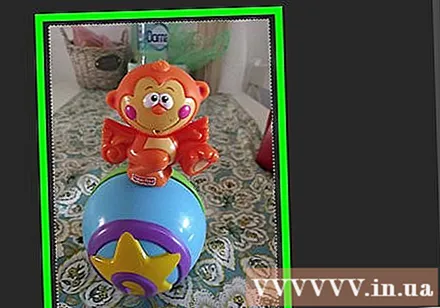
Select all photos. Click on the photo with the "Quick Selection" tool selected, then press the key Ctrl+A (for Windows) or ⌘ Command+A (Mac) to select all photos. This will ensure that no part of the photo is left out during the blurring process.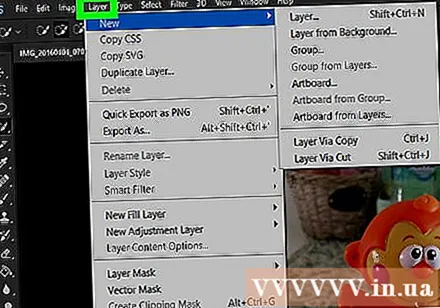
Click the card Layer (Class). This tab is at the top of the window. When you click on the tab a menu will drop down.
Choose new (New). This option is at the top of the menu Layer be dropped.
Click Layer Via Cut (Cut class). This option is in the pop-up menu new. You should see a "Layers" window appear in the lower right corner of the window.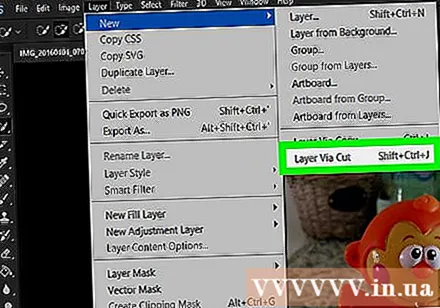
Select the main layer of the photo. Click an option Layer 1 in the "Layers" window.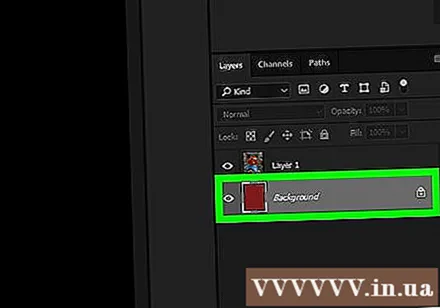
- If there is a layer named "Background" or something similar below the main layer, first select this layer and press the key. Delete.
Click the "Opacity" drop-down menu. This menu is in the upper right of the "Layers" window. You will see a slider appear.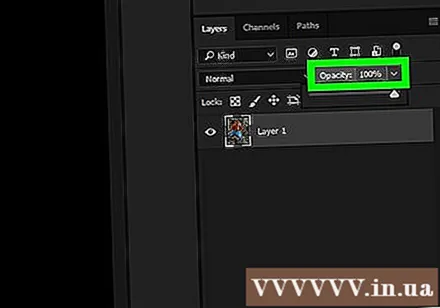
Reduce image opacity. Click the slider and drag the slider to the left to reduce the image's opacity, to create a blur effect.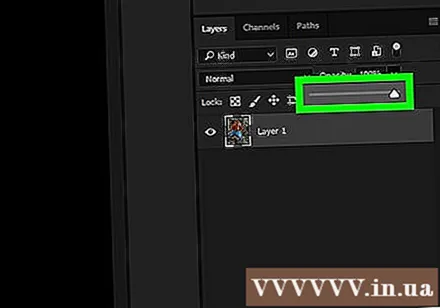
- If the photo becomes too transparent, you can drag the slider to the right to fine-tune the transparency.
Add another photo if you like. If you want to blur the first photo into another photo, do the following: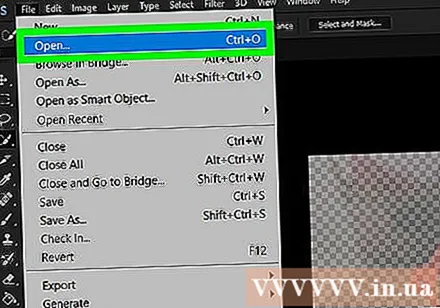
- Drag another photo into the main Photoshop window, then drop it there.
- Click the photo, then click Place upon request.
- Click and drag the first image layer to the top in the "Layers" menu.
- Adjust the first photo's opacity if needed.
Save your photo. Click the mouse File, choose Save (Save), enter a name, save location and file format, and then press OK a window appears. The photo you blurred (or set of photos) will be saved in your preferred file location. advertisement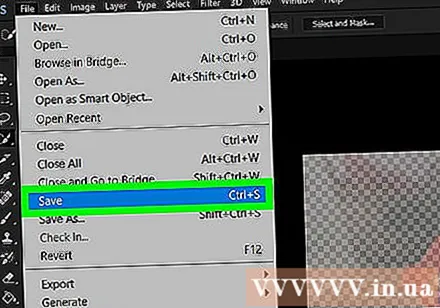
Advice
- Another popular blur option is Gaussian Blur, which can be applied by selecting the layer and clicking on the menu item. Filter (Filter), select Blur (Blur), and click Gaussian Blur in the pop-up menu and adjust the Radius (spread) parameters as desired.
Warning
- Any manipulation in Photoshop definitely requires trying a variety of methods until the correct method is found, since no Photoshop project is exactly the same.


")
