Author:
Louise Ward
Date Of Creation:
11 February 2021
Update Date:
28 June 2024

Content
- Warm the glue in the microwave for about 30 seconds (or faster, depending on the capacity of the oven). This will make it easier and faster to pour the glue.
Make Mod Podge glue have sparkle. If you want to make Mod Podge glue sparkle, add 2 tablespoons of glitter to the mixture. This is extremely effective when combined with water-based varnishes or polishes.
Method 2 of 4: Make Mod Podge glue from flour
Put the flour and sugar in the pot. Sift 1.5 cups of flour and ¼ cup granulated sugar in a saucepan. Don't rush the pot on the stove and heat it up.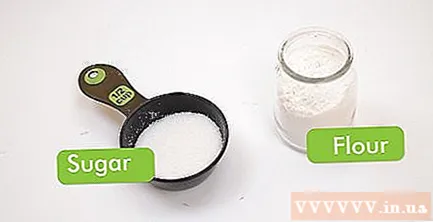
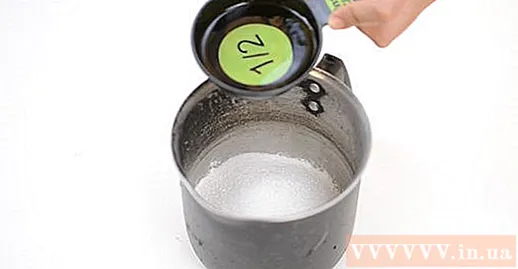
Add water to the pot and stir well. Pour 1 cup of cold water into a saucepan and stir quickly with a whisk to mix ingredients to avoid clumping.- You can add ¼ teaspoon of oil. This will give the finished product more shine.
Open the stove and stir the ingredients well. Turn the stove on medium heat and don't boil ingredients in the saucepan. You need a paste that has a thick texture, similar to glue. If the mixture becomes too thick, add more water and keep stirring.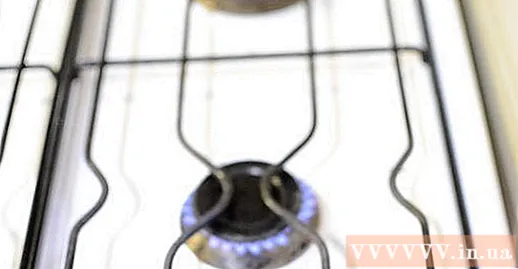
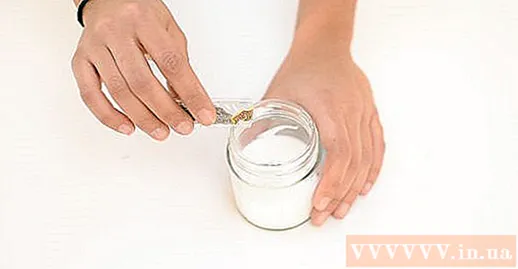
- Add vinegar. Using ¼ teaspoon of vinegar can help control the growth of fungus and mold in Mod Podge glue. If you choose to add vinegar, add it after you remove the pot from the stove and stir the Mod Podge glue one more time.
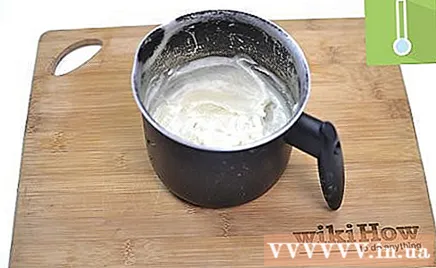
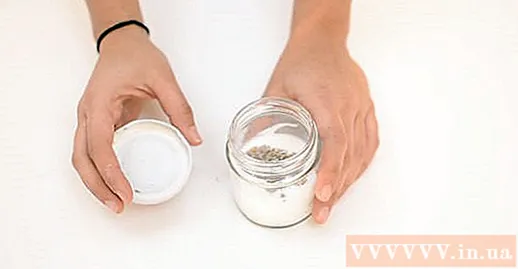
Put the mixture in the jar. Hold the pot over the jar and carefully pour the mixture into the jar. You can use a spoon or spatula to make it easier to pour the mixture. If necessary, you can stir the mixture one last time after it has completely filled the jar.
Use Mod Podge glue to decorate boxes and other objects. Just use a brush to apply a thin layer of Mod Podge glue to the area that you need to decorate. You can also use a sponge brush. Dip fabric or paper in Mod Podge glue, so make sure to smooth out any areas that are extruded, bulging, or wrinkled. Apply a second thin layer of Mod Podge glue to the top of the fabric or paper. You can always apply Mod Podge glue after the first layer has dried.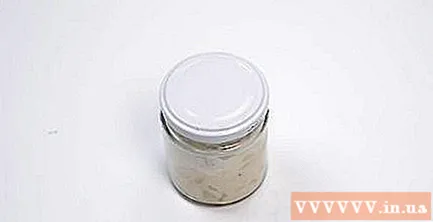
Cover the model with glue. The homemade glue Mod Podge will not stick as well as the store bought. You can make the glue more durable by waiting for it to dry completely (after a few hours) and spraying with acrylic coating.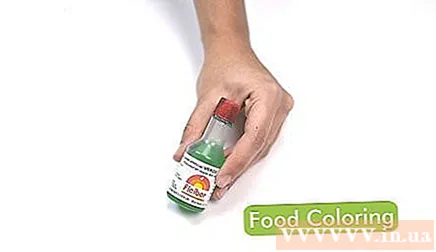
- You just need to keep the spray bottle about 15cm to 20cm from the manual model and spray gently and firmly. Once the topcoat is dry, you can apply a second coat if needed.
- If you add varnish or glitter to the Mod Podge glue to create a shine, be sure to use acrylic paint with a gloss finish.
Method 4 of 4: Pros and cons of DIY Mod Podge glue
The quality of these two glues is also different. DIY Mod Podge glue usually uses water glue, so it will not have some of the same features as commercially available Mod Podge glue. Commercially available Mod Podge glue can be used for gluing and coating, usually very durable. The homemade glue does not stick too tightly and does not have a lot of varnish or gloss.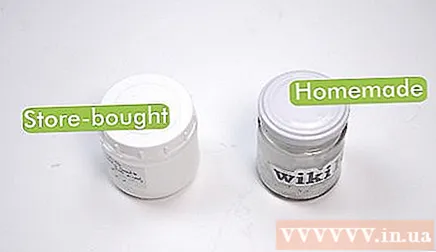
- To make DIY Mod Podge more durable, you can spray with a coat of acrylic after the Mod Podge glue has dried.
When dry, the two glues also look very different. Glue Mod Podge, available commercially, can turn shiny, smooth or cloudy when dry. The glue also glows in the dark and becomes sparkling. With homemade Mod Podge glue, if you don't add varnish or glitter, it will be cloudy.
- Keo Mod Podge made from wheat flour, when dry, will have a lumpy texture or look like there are small, not smooth particles.
Keo Mod Podge made from wheat flour is usually perishable. You can make Mod Podge glue from edible and non-toxic ingredients like flour. However, the finished product is very perishable. You must store the finished product in a cool place and use it for about 1 or 2 weeks because the adhesive has a short shelf life and will deteriorate. advertisement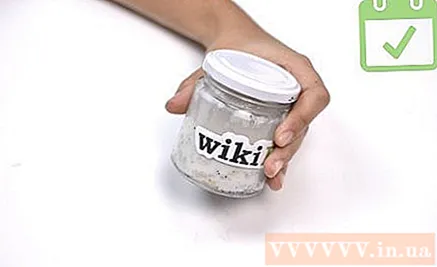
Advice
- With method 1, using boiling water will make it easier and faster to stir into the glue.
- Home-made Mod Podge glue will not be as strong or durable as commercial glue. You should choose to use commercially available Mod Podge glue if you have to stick heavy objects.
- Keep homemade Mod Podge glue away from children and pets. Also, be sure to keep the lid tightly closed to prevent the glue from drying out.
- Warm the glue in the microwave for about 30 seconds (or faster, depending on the capacity of the oven). This will make it easier and faster to pour the glue.
What you need
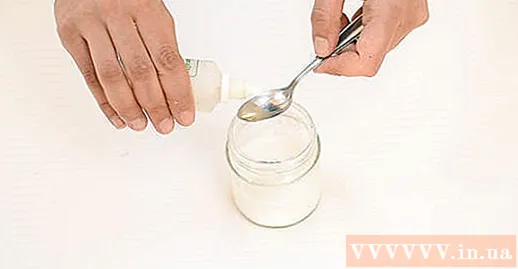
- Glass jar or container with lid
- Pan or pot (used for method 2)
- Spoon or whisk (used for method 2)
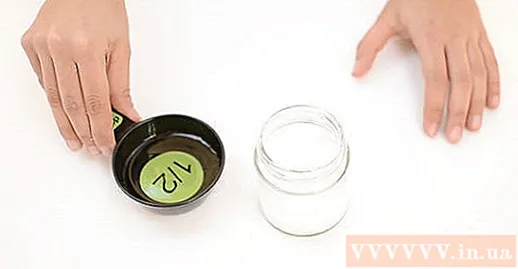
- Measuring cup


