Author:
Robert Simon
Date Of Creation:
19 June 2021
Update Date:
1 July 2024

Content
This is an article that explains how to use your Windows computer to record audio from your device and external audio. You can use a free app like Audacity to capture sounds coming from your computer, such as the sound from your favorite music and video apps. If you want to record with your computer's microphone, you can use the Voice Recorder application available in all versions of Windows. If you want to do advanced recording with a variety of songs (such as for your band or music project), learn how to record songs using Audacity.
Steps
Method 1 of 2: Record sound coming from computer using Audacity
, import audacity and click Audacity in the search results.

to stop recording. This is the button near the top left corner of the Audacity window.
The green color is displayed at the top of the Audacity window. The recording will be played through the computer's speakers or the computer's headphones.
and choose
Settings.- Click System.
- Click Sound (m sound).
- Select your microphone in the "Choose your input device" menu in the right pane.
- Find the rhythm bar below the "Test your microphone" line in the right pane.
- Speak into the microphone. If the rhythm bar moves while you speak, the sound is being detected through the microphone.
- If the rhythm bar is still, you will click on Device properties and try to increase the volume. If you're still having trouble, see how to connect a microphone to a computer.

in the lower left corner of the screen.
Import voice recorder. This will find Voice Recorder on your computer. This is a free app available on Windows 10.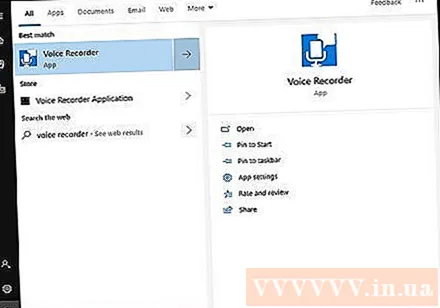
Click Voice Recorder in the search results. App microphone icons are usually displayed above the results. The Voice Recorder application will appear immediately on the screen after the click.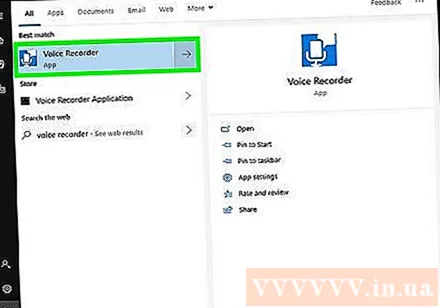
Click the blue and white microphone icon to start recording. This option is in the lower left corner of the application screen. The Voice Recorder program will start recording from the microphone.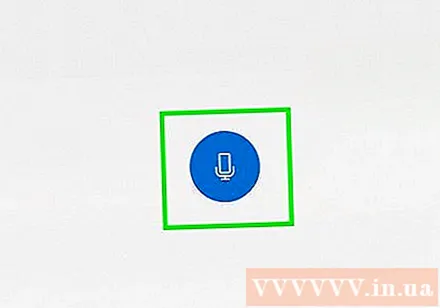
- If you want to record your voice, speak into a microphone.
Click the blue and white boxes to stop the recording. This is the button in the middle of the window. This will save the recording and return you to the main Voice Recorder screen.
- The recordings will be saved in the folder Sound Recordings in Documents by default.
Click on the recording date to listen to the recording. Your recordings appear in the left pane with your latest recordings above.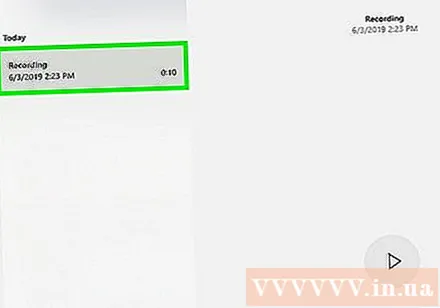
- To change the name of the file, right-click on it in the left pane and select Rename.
- To share your recording with others, simply right-click the file and select Share. This lets you choose which apps to share.

")

