Author:
Lewis Jackson
Date Of Creation:
8 May 2021
Update Date:
1 July 2024

Content
Many websites and apps only allow you to post photos with the .webp (also known as JPEG) extension. If your picture has the .GIF, .TIFF, .PNG extension or any other file extension you will be frustrated. Although converting the image to JPEG reduces sharpness, it is the format that maintains the best quality with the smallest possible size. You don't need to be a computer master to convert photos to JPEG format, just learn a few tips below.
Steps
Method 1 of 5: Using Paint on Windows
Open Paint. Paint is software that comes pre-installed on the PC. Press ⊞ Win+S to open the search and enter dialog
paint. When you see "Paint" appear in the search results, click on the software.
Open the image in Paint. Make sure that the image is saved to the device. Click the "File" menu and select "Open". Locate the photo and click “OK”.
Click "File" then click the arrow next to "Save As". You should see a list of image formats, including JPEG, appear.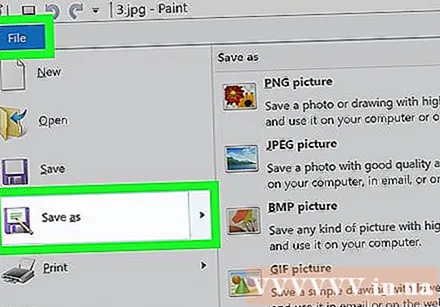
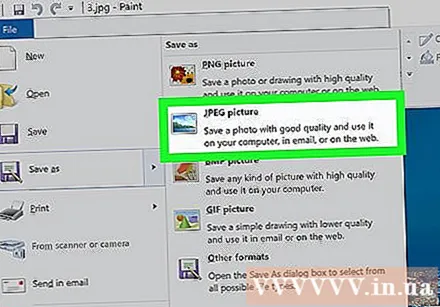
Click "JPEG". The software will open a new dialog box allowing you to select a folder, rename the file and select “Save as type”. Navigate to the easy-to-remember folder and don't forget to select “JPEG” in the “Save as type” field.
Rename the file if desired, then click “Save”. Your file has been converted. advertisement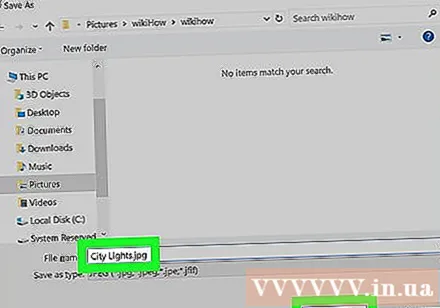
Method 2 of 5: Using the Online Converter on a Computer, Smartphone or Tablet
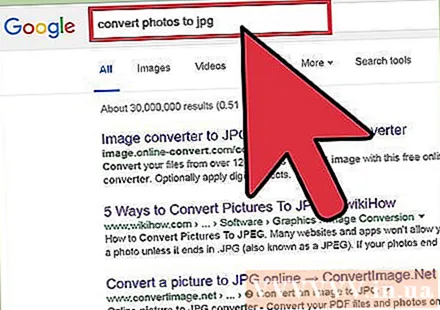
Choose an online converter. This method works on any device with web access, including tablets and smartphones. Search for keyword "convert XXX to jpg online" (where "XXX" is the format name of the image to be converted to jpg) to explore the tool. Sites like Online-Convert contain a complete list of file formats it can convert.- Make sure the website you choose is capable of handling the format of your images. Some image formats, such as RAW files, are difficult to convert online because of their large size.
- If using a mobile device, connect to Wi-Fi instead of using mobile data because the image size is quite large.
Upload photos. In the converter, find the "Choose file" button and locate the file you want to convert. Note that many tools have file upload size limits set.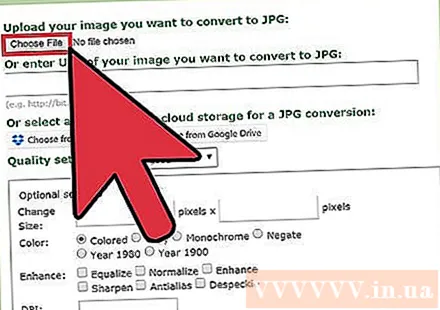
- Read through the terms and usage policy before uploading photos.
- Some converters allow you to enter the URL, which is handy if you've already uploaded the image to another online service.
Verify the converter is ready to convert the images to JPEG format. Most tools have a drop-down menu or click so you can choose "JPEG" or ".webp" (these are the two equivalent options). Several tools allow you to adjust the file size and quality right here on this screen.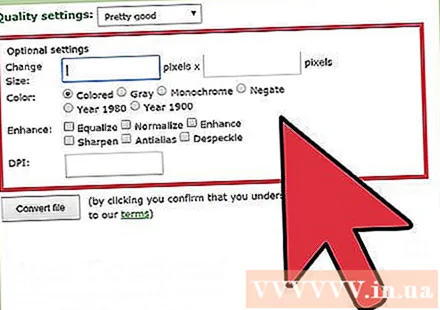
Image conversion. Find the "Convert" or "Save" button to start converting. The process can take a few minutes. The photos will be downloaded automatically to your default Downloads folder or you are asked to choose where to save them. After completing the process, your photo will be converted to JPEG format. advertisement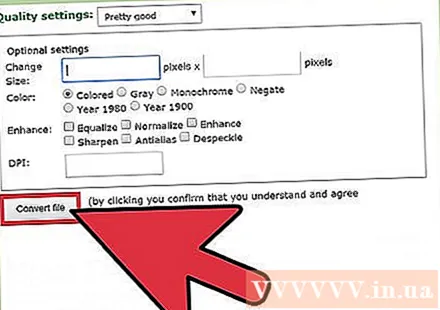
Method 3 of 5: Use Preview on Mac
Open the image in Preview. Preview is a Mac app that comes pre-installed on the Mac and opens most image formats.Ctrl + click on the photo and then select "Open With". Select "Preview."
- If you encounter an image format that cannot be opened or misinterpreted in the software, try an online converter or Gimp
- This method applies only to pictures saved on a computer. If you have not downloaded the image, you must download it first.
Click the "File" menu and select "Export". A dialog box containing multiple menus will appear.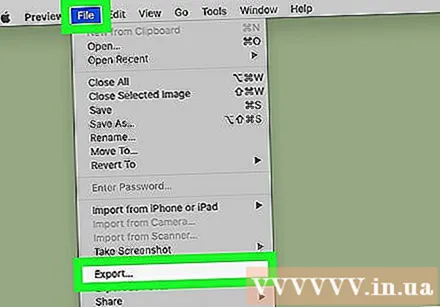
Change the format to JPEG. You can adjust the quality and resolution if you want. The higher the quality or resolution, the larger the image size.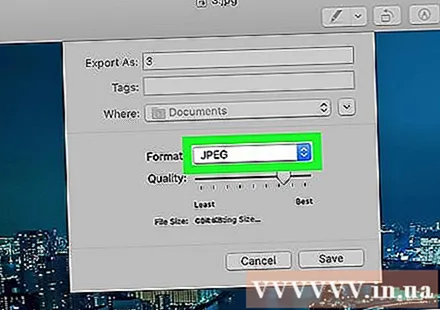
Rename the file and save. Make sure the filename ends with “.webp” (uppercase or lowercase), then choose an easy-to-remember save location. Click “Save” to complete the conversion. advertisement
Method 4 of 5: Use Gimp on PC, Mac, or Linux
Download Gimp. If you want to convert an image format that your software does not support, or you want to find a more powerful software, Gimb is the right choice. If you do not have Gimp software, download and install it to your device.
Open the image you want to convert. Click "File"> "Open". Select the photo and click “Open” again.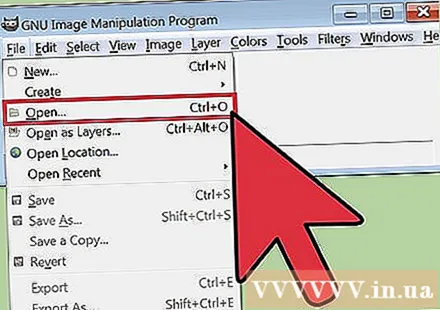
Click "File"> "Export As" to choose the JPEG format. A dialog box containing many options will appear. Click "JPEG".
Adjust options. A new dialog box appears with the JPEG option. Check the box called "Show preview in image window" before adjusting the image quality. Move the slider back and forth until the best image is obtained.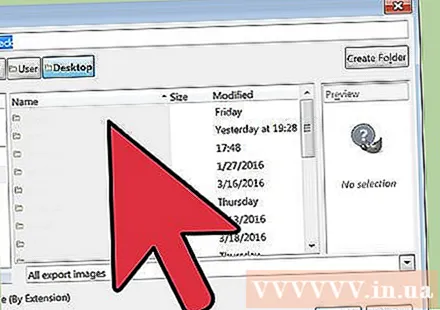
Click “Export”. A dialog box appears asking you to choose a name for the new file and a save location. Find an easy-to-remember folder and name it if desired. The file already has a.webp extension, so keep that part (the extension is not case sensitive). Click "Save" to complete the conversion. advertisement
Method 5 of 5: Change the File Extension
Find out where this method might be used. If your file is in JPEG format but the extension is not correct, for example type ".JGP" instead of ".webp" then you can use this method. It is not technically possible to "convert" the image into JPEG format.
- If your picture is not in JPEG format, changing the extension could damage the file. Please refer to other methods if you want to convert images to JPEG format.
- The file extension is not case sensitive. JPG and.webp are the same.
- Before you proceed, write down the original format of the file so you can change it again if needed.
Find the file. It's possible that the file is saved on the desktop, in a separate folder that you can access through Finder or Windows Explorer.
Set editable filename. On Windows, you can skip this step. For Mac users, click the image once, choose "File"> "Get Info". Click the arrow next to “Name and Extension” and uncheck the “Hide Extensions” box. Click "Save".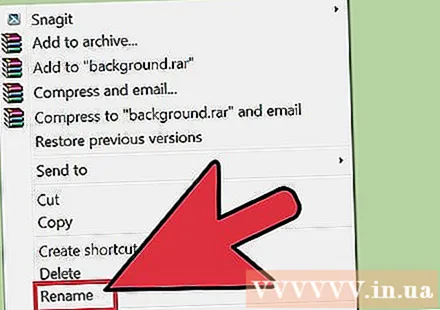
Delete existing extensions. Delete everything after the "." in the file name.
- On the Mac, click the photo once and tap ⏎ Return. Click at the end of the file extension and click Delete until everything after the (.) is deleted.
- On Windows, right-click on the image and select “Rename”. Click the end of the extension and press the key ← Backspace to delete everything after the (.).
Type
JPG after the dot.Both upper and lower case are fine. The file name must be of the form:image.webp. Press ↵ Enter or ⏎ Return.
Confirm change. When using a Mac or PC, you'll get a warning that changing the file's extension could prevent you from using the file. Click "Use.webp" or "Yes" if you want to make changes. The filename now has a .webp extension. advertisement
Advice
- JPEG files have the .jpeg or.webp extension. Regardless of upper case or lower case.
- Always back up your photos before making any adjustments.
- Uploading or uploading images takes a lot of mobile data.


