Author:
Louise Ward
Date Of Creation:
10 February 2021
Update Date:
1 July 2024
Content
In the text, lines allow us to create clear breaks or to emphasize important headlines. This wikiHow teaches you a few ways to insert lines in Word.
Steps
Method 1 of 3: Use the Horizontal Line tool
Place the mouse pointer where you want the line to appear. You can insert a bar at any part of the text. Straight line is one of the easiest tools to use because you can move it anywhere in a document after inserting.
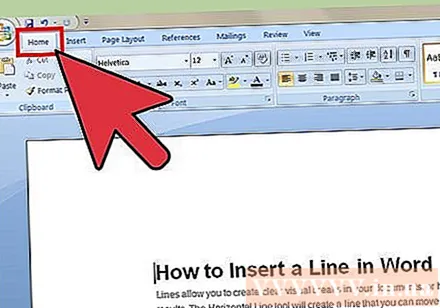
To get started, click on the Home tab. If you're using Office 2007 or later, choose the Home tab to work with. If you are using Office 2003 or earlier, select the Insert menu.
Click the down arrow next to the Borders button. The "Borders" button is a button that looks like four boxes with dotted lines, you can find it in the Paragraph functional group. After clicking the down arrow, the options for border will appear.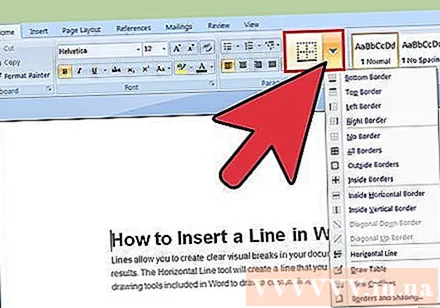
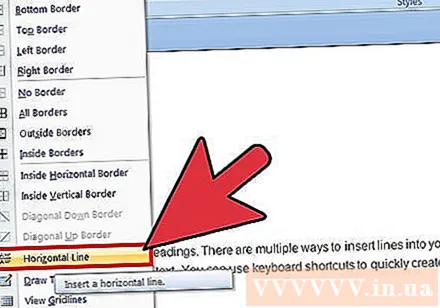
Choose "Horizontal Line.’ This option inserts a bar at the cursor position.
Continue to double-click on the line to edit. At this point, a new dialog box allowing you to customize the line will appear. You can change the color (Color), the width (Width), the thickness (Height) or the alignment (Alignment) of the line depending on the needs of use.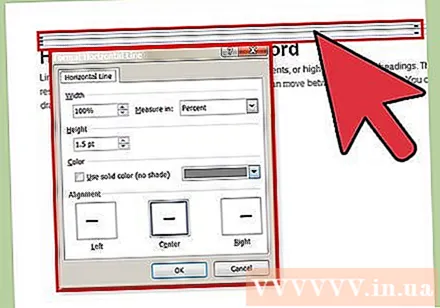
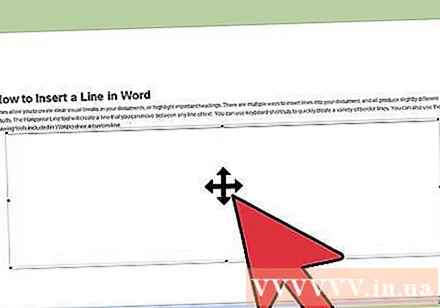
Click on the line and drag to move. You can translate straight strokes anywhere in the text. However, the line cannot be on the same line as any characters, so it will be on a separate line, just below any piece of text.
You can drag the border to customize the size of the line. By clicking on the line's border, we can change the line's size. In addition to making the line thick and bold, you can also thin it out to reduce the area. advertisement
Method 2 of 3: Using the keyboard
Position the mouse pointer where you want the line to appear. You will need to select an empty position because this will not take effect if the mouse pointer is located where there is paragraph or another line. You will create a horizontal stroke starting from one page margin and extending to the other. The straight line will stop anywhere depending on your setup.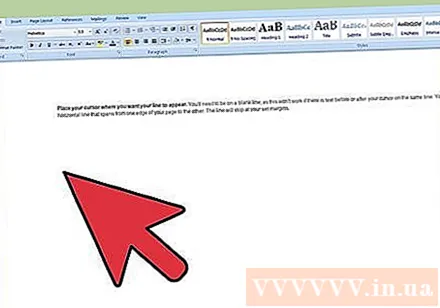
Type three consecutive hyphens. Use the hyphen key located near the top of the keyboard or in the number pad.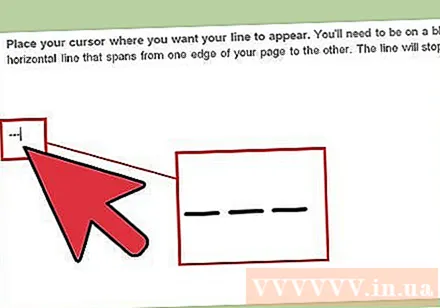
Then press the key.↵ Enter to convert hyphens into straight lines. This will automatically create an alternate solid line, just below the previous hyphen. Note that the line does not take up any space in the text, but instead exists between lines of text.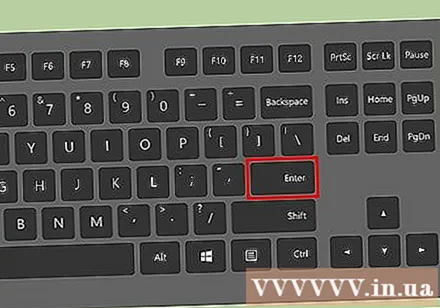
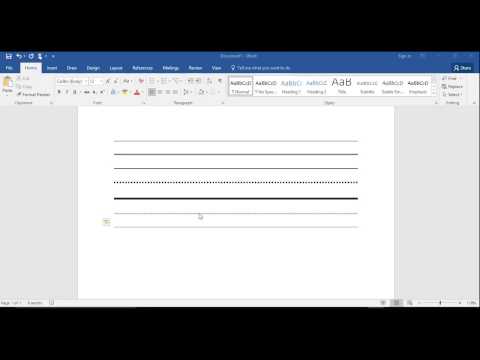
Use different characters to draw different lines. The lines that we can create from a keyboard vary, depending on the characters used. In addition to dash, there are: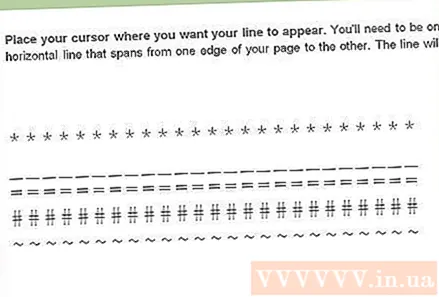
- *** will create a dotted line.
- ___ will create a bold dashed line.
- === will create a double line.
- ### will create a three-dash line with the darkest middle dash.
- ~~~ will create a chi-shaped line.
Click on the line and drag to move. You can click on a line and drag and drop it to move it up or down slightly in the page. However, you cannot take it off the "line" where the line is. advertisement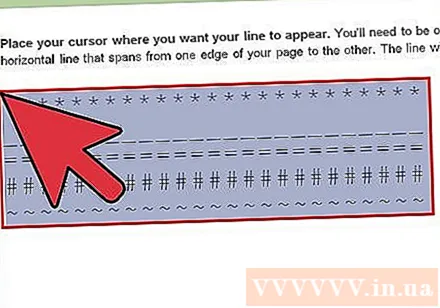
Method 3 of 3: Draw a line
Click the Insert tab. You can use Word's drawing tools to draw lines in text. This gives you full control over the line you want.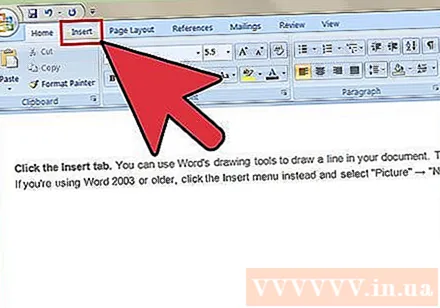
- If you are using Word 2003 or earlier, after clicking the Insert menu, select "Picture" → "New Drawing."
If your version of Word is newer, click the "Shapes" button instead and select the line you want to draw. In the menu there are various types of lines, you can choose a simple line or any other line.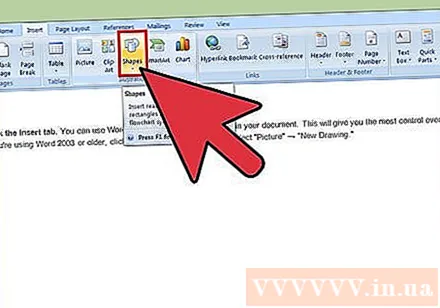
Click on the plus sign and drag to draw a line. While dragging, you can press the key ⇧ Shift to keep the line completely horizontal.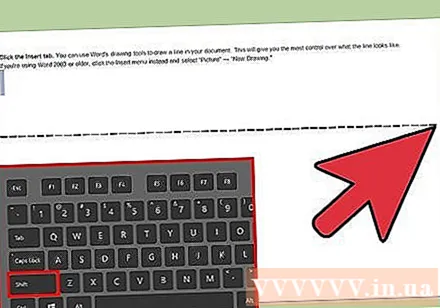
Continue to click on the line and drag to move. Since it's a drawing, you can place it directly on top of the text. Click and drag the mouse to move the line anywhere within the text.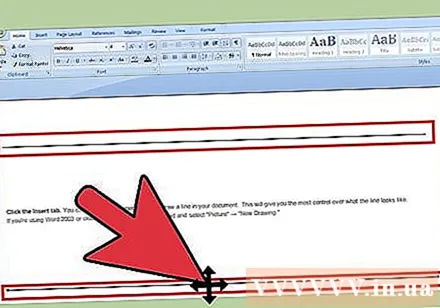
To edit, click on the line and then select the Format tab to open the drawing tools. This tab allows you to change colors, choose predefined themes or add effects.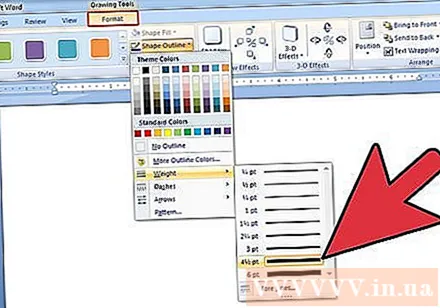
- Click the "Shape Outline" button to change color, thickness / thinness or make the line dotted, dotted, and so on.
- Or, with the "Shape Effects" button, you can add other effects to the line, such as shadows or highlights.


