Author:
Christy White
Date Of Creation:
3 May 2021
Update Date:
1 July 2024

Content
- To step
- Method 1 of 2: Replace Windows 7
- Method 2 of 2: Remove Windows 7 from a multiboot environment
Your computer needs an operating system to function. If you want to continue to use the machine, but not work with Windows 7, you will have to install a different operating system. If you have multiple operating systems on your computer, you will have to reconfigure the boot manager so that your computer boots correctly.
To step
Method 1 of 2: Replace Windows 7
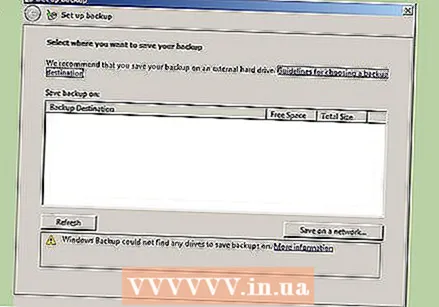 Back up the data you want to keep. When uninstalling Windows 7, you will lose all your data on the same drive. Make sure to back up important files so that you can restore them after installing the new operating system.
 - Insert the installation disc of the replacement operating system. Have the product key ready as you will need it during installation.
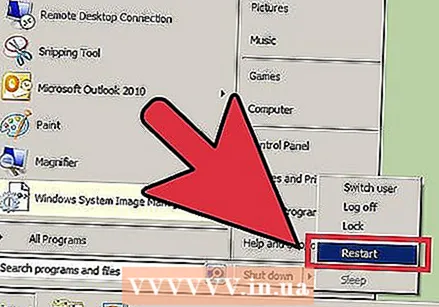 Restart your computer.
 Press the BIOS setup key in quick succession. Which key that is depends on the system, but usually it is F2, F10 or delete.
 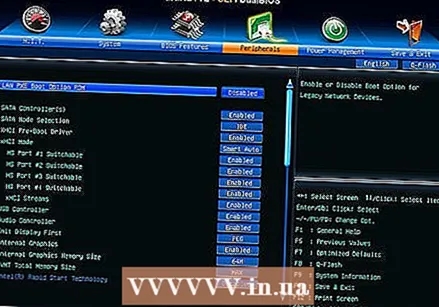 Open the boot menu. This menu allows you to change the boot order of your installed devices. Change the order so that your optical drive boots first. In this way you can boot from the installation disk.
  Restart your computer again after resetting your boot order. You will now be prompted to boot from the inserted installation disc.
  Follow the directions for installing the operating system over your existing Windows 7 installation. This procedure varies per operating system that you install:
 - Windows 8
- Ubuntu Linux
- Windows 7
- Linux Mint
Method 2 of 2: Remove Windows 7 from a multiboot environment
 Boot into the operating system you want to keep. If you want to remove Windows 7 from a multiboot environment, you will need to make sure that the boot manager is copied and configured to boot from the remaining operating system. This is usually only necessary if Windows 7 is the first operating system installed on the computer.
 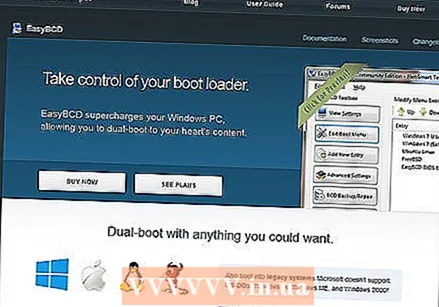 Download EasyBCD. This is a configuration assistant for the boot manager, which allows you to customize the boot manager while uninstalling Windows 7. A free version can be downloaded from neosmart.net/EasyBCD/#comparison.
  Click on the Start menu and select "Run". You can also press Windows key + R.
  Type "diskmgmt.msc" and press Enter. This will open the Disk Management window.
  Look for the volume with the status "System". You can expand the Status column if not enough is displayed. The volume with the "System" status is the volume with the boot manager. If the Windows 7 volume is marked "System", read on to the next step. If the volume of the other operating system is marked as "System", skip this step and go to the next (Step 10).
  Start EasyBCD.
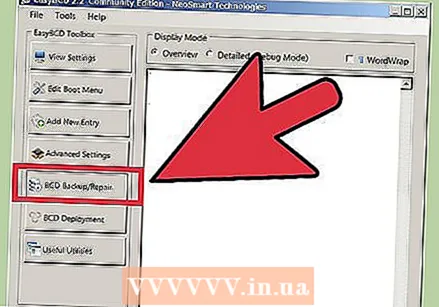 Click on "BCD Backup / Repair".
 Select the option "Change boot drive" and click on "Perform Action".
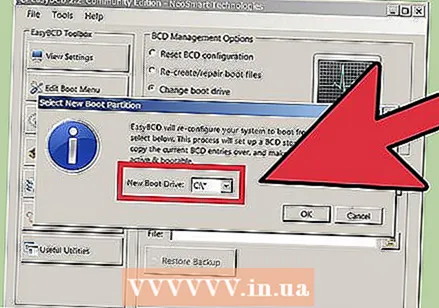 Make sure the drop-down menu "C: "and click" OK ".
 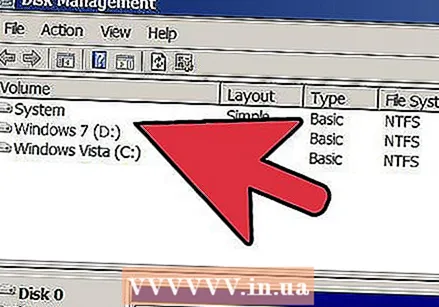 Return to the Disk Management window. Now that the boot manager has been copied, you can safely start the removal process.
  Right click on the volume with Windows 7 and select "Delete Volume". You will be asked to confirm that you want to delete the volume.
 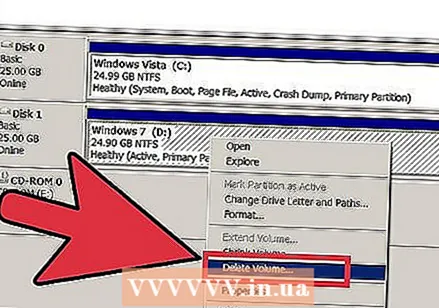 Right click on the deleted volume and select "Delete Partition".
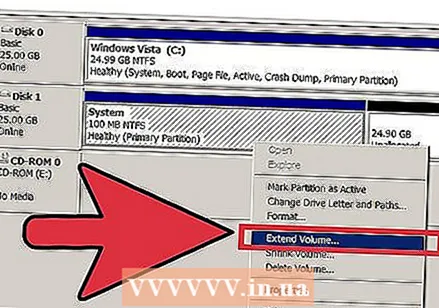 Right click on the volume to the left of the new, free space. Select "Extend Volume" and add the newly created free space to it.
  If not already open, open EasyBCD. You will have to reconfigure the boot manager so that it boots properly in the remaining operating system.
  Click on the "Edit Boot Menu" button.
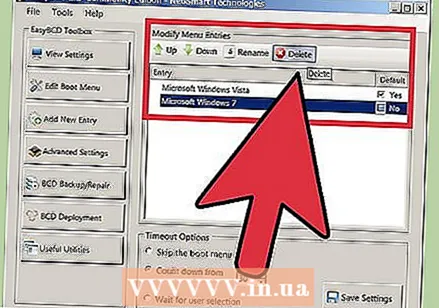 Select Windows 7 from the list and click "Delete".
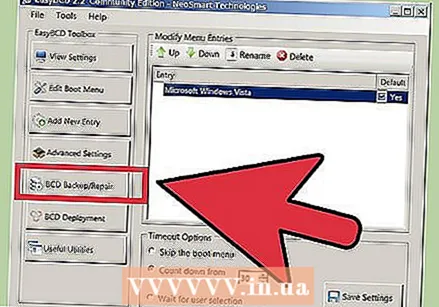 Click on "BCD Backup / Repair".
 Select "Reset BCD Configuration" and click "Perform Action".
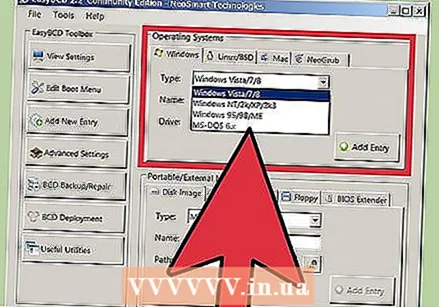 Click on "Add New Entry" and select your current operating system from the Type menu.
 Make sure the Drive drop-down menu is set to C: and click on "Add Entry". Your system will now properly boot into the present operating system.
 - Repeat this for any other operating systems you had installed.

")

