Author:
Christy White
Date Of Creation:
11 May 2021
Update Date:
1 July 2024
Content
- To step
- Method 1 of 3: Create a slow irrigation system
- Tips
- Warnings
- Supplies
- For a slow irrigation system
- For a fast irrigation system
- For an adjustable irrigation system
Some plants need regular water, which not everyone has time for. If you have a lot of thirsty plants and not enough time to water them, you can set up an irrigation system. Off-the-shelf systems can be very expensive, but fortunately it is relatively cheap and easy to make your own from plastic bottles. You also help the environment by recycling the plastic bottles.
To step
Method 1 of 3: Create a slow irrigation system
 Poke holes in the bottom of the bottle. This is very important as it will prevent the water at the bottom from stagnating. If your bottle has a segmented bottom (as most 2-liter soda bottles have), you will need to make a hole in each segment.
 - The bottom of most bottles is usually made of thicker plastic. You will need a drill or hot nail to do this.
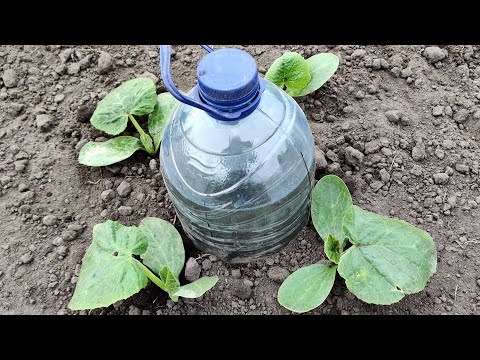
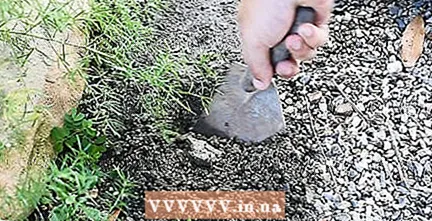 Dig a hole in the soil next to the plant. The hole should be deep enough to accommodate two-thirds of the bottle, or where the bottle begins to converge.
  Put the bottle in the soil. When you have made all the holes on one side of the bottle, turn the bottle so that the holes are facing the plant. Gently press the soil around the bottle.
 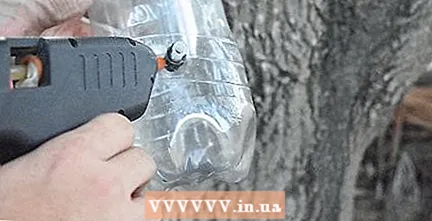 Seal the area around the gasket and hose. Buy a small tube of aquarium sealant, or other leaks. Press a thin rim around the connection point of the gasket and the bottle. If necessary, you can use an ice cream stick or toothpick to smooth out the sealant. Let it dry.
 - You may also need to seal the area between the gasket and hose.
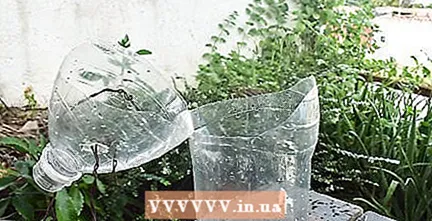 Cut off the top part of the bottle if you want. You don't necessarily have to do this, but it will make filling the bottle easier. You can also cut it off only part of it so that it is still attached to the rest of the bottle with a hinge. This allows you to partially close the opening.
  Open the button and make adjustments if necessary. If the water can't reach the plant because something is in the way, cut another piece of the aquarium tube. Put one end on the pointed side of the fitting and place the other end above the soil, just next to the plant.
 - The more you loosen the knob, the faster the water will flow.
- The tighter you tighten the knob, the slower the water will flow.
Tips
- If you're watering fruits, herbs, or vegetables, consider using BPA-free bottles.These have none of the chemicals that normal bottles do.
- Put the bottle in pantyhose before sticking it in the soil. This prevents the soil from clogging the holes while water is flowing through.
- Refill the bottle as needed. This depends on how thirsty the plants are and how warm it is.
- Some types of plants, such as tomatoes, need more water than a 2 liter bottle can provide. You may need to make multiple irrigation bottles for that.
- Consider adding some fertilizer to the water every few weeks.
- If you cut away the bottom of the bottle, you can use that part to grow seeds. Drill some drainage holes in the bottom, fill it with soil and add the seeds.
Warnings
- Avoid using fertilizer in granulate. If they don't dissolve properly, they can clog the holes.
Supplies
For a slow irrigation system
- Plastic bottle
- Drill or nail and hammer
- Serrated knife
For a fast irrigation system
- Plastic bottle
- Nail or metal skewer
- Drill and drill bit (optional but recommended)
For an adjustable irrigation system
- Plastic bottle
- Aquarium fitting
- Flexible hose
- Rubber gasket
- Drill or nail and candle / flame
- Sealant
- Scissors
- Wire or pebbles


