
Content
- To step
- Part 1 of 3: Choosing a location
- Part 2 of 3: Prepare your camera
- Part 3 of 3: Taking the pictures
- Tips
- Necessities
Whether you're applying for a job or needing a new social media profile photo, your portrait photo is what makes the first impression. A low-quality photo can make you look sloppy and unprofessional, telling others that you don't care about the way you present yourself. On the other hand, a high-quality self-portrait appeals to the viewer and encourages him or her to take a closer look at your photo, profile or resume. By choosing an appropriate background, using a good camera and adjusting the settings of your camera based on your lighting, you can take a beautiful photo. With enough practice and patience, you will be able to recreate the look of a professional photo shoot in no time.
To step
Part 1 of 3: Choosing a location
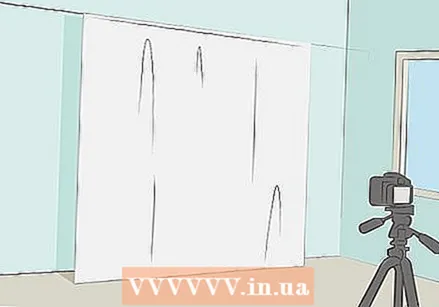 Take photos indoors for a standard portrait with a base background. If you are taking professional photos for personal use, such as for social media, choose a background that you think will be interesting. If you're taking a professional portrait, choose an empty wall, a wall with a bookcase, or a simple drape to hang behind you.
 - Use tape or a curtain rod to hang a sheet vertically behind you for a portrait.
- If you want to add a little more personality to your photo, you can create your professional portrait against a textured or wallpaper wall.
Tip: Avoid background personal items and furniture in professional portraits. You don't want it to look like you took the photo at home, even if that's exactly what you're doing!
 Take your photo next to a window with sunlight shining through and add lighting if necessary. Take the photo during the day in a room with a lot of sunlight. Use lamps, your flash, and ceiling lights to complement the light from your window. You can buy or rent a softbox for perfect portrait lighting if you prefer.Add additional light sources to the left or right of the camera to create dynamic shadows and highlights.
 - If you are using additional light sources, use light sources that produce white light, instead of yellow or blue light. A softbox is a professional piece of equipment that produces high quality white light.
- Avoid taking your photos in direct sunlight as it can create harsh shadows.
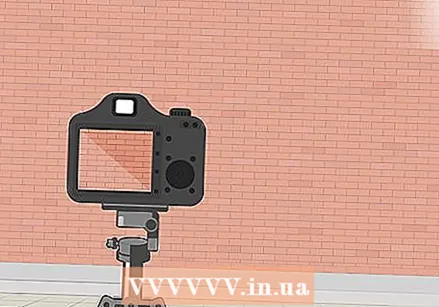 Take photos outdoors for a more dynamic, natural photo. Outside, find a beautiful background that matches the atmosphere you are going for in your photo. Stairs, sidewalk cafes, and backyards can provide interesting locations for self-portraits. When taking a headshot, a simple brick wall or skyline can be a good background that won't stand out too much or take over the photo.
 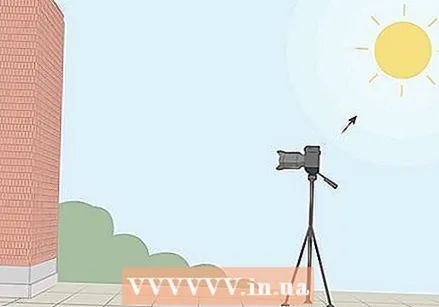 Take photos outdoors during the day with the sun behind the camera. During the day, take photos while the sun is up to get bright, natural lighting. Choose a camera angle where you are not directly in front of the sun. Otherwise your face will not be exposed. Avoid taking photos around noon when the sun is high in the sky to avoid fading your photo with light.
 - For a more dynamic look, take your photo 15-45 minutes after sunrise or before sunset. These periods are known as the "golden hours," and are periods of the day when the light is softer and more glowing.
- Avoid taking pictures in cloudy weather. It is difficult to get strong highlights and shadows when there is little direct sunlight outside.
 Choose an outfit that fits the purpose of your photo. If you're taking self-portraits for personal use, then you can wear whatever you want for your photo! Dress professionally for a corporate headshot. If you're wearing a suit, make sure it's clean and ironed. If you're going for a more traditional look, wear a tie. For a more modern look, don't wear a tie. If you're wearing a dress, make sure it's business-like and appropriate. Wash, comb, gel, and style your hair as you would for a job interview or important business meeting.
 - If you work in an industry where a less formal look is usually better, you can also dress less formally. Wear a trendy dress or a unique blazer without a tie. A sweater on top of a collared shirt also works well. This may be appropriate for graphic designers, programmers, or writers.
- Most business portraits are taken from the torso or bust and above. If you don't plan on taking pictures of your whole body, you can wear comfortable sweatpants or something similar.
 Compare examples online or from colleagues to find something that seems appropriate. Look at your boss's headshot on social media to get a feel for what's appropriate in your industry. If you can't find anything online, look for examples of similar jobs. This is a good way to get an idea of where to take your photo and how best to dress.
 - If you are looking for a new position or promotion, look at how the managers and directors in your sector dress. For example, if you are a mechanical engineer, look at how the director of the company dresses in his or her portraits.
- LinkedIn is perfect for this. Go to LinkedIn and view profiles to compare how people present themselves in their photos.
- This is less important if you are not taking a business portrait, because then you can wear whatever you want.
Part 2 of 3: Prepare your camera
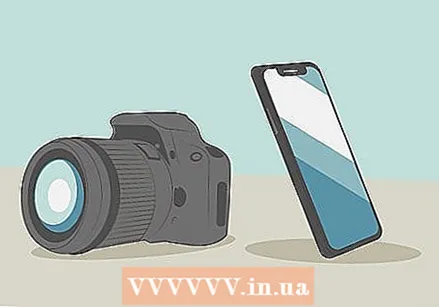 Use a DSLR camera or newer smartphone to take a high-quality photo. A DSLR will give you more control over your photo, but you can also use a phone with a high-quality lens if that's all you have. It will be difficult to take a high quality photo with a cheap camera or old phone. If you're going for a professional look, it's not worth wasting your time if you don't have a good camera.
 - Newer iPhones and Samsung phones made after 2016 are known for having great cameras. If your phone's camera has more than 12 megapixels (MP) then its quality is probably very good. Megapixels are about the amount of pixels in each photo. The more pixels there are in a photo, the more detailed the photo will be.
- DSLR stands for "digital single reflex camera." DSLRs are large cameras with large lenses that you often see tourists and professional photographers use.
 Place your camera on a tripod on a flat, stable surface. Since you won't be able to take professional-looking photos holding your camera with your hands, you will need a tripod or flat surface to balance it on. Connect your camera or phone to a tripod, or rest it on a flat surface such as a bookshelf, a stack of books on a table, a sofa, or any other surface high enough to capture your photo.
 - Tripods for DSLRs are universal, and just about any camera should fit on a standard camera tripod. You can also buy a tripod for your phone if you take your photos with it.
 Set the shutter speed between 1/60 and 1/200 for a sharp photo. Shutter speed is about the amount of time the lens is exposed for a photo. A faster shutter speed produces a sharper picture, but requires a lot of light to expose the subject. A slower shutter speed will produce a brighter photo, but will also produce a blurry photo if the camera and subject are not completely still. Keep the shutter speed at 1/60 or lower for a clear, sharp photo.
 - Prioritize shutter speed over other settings on your camera for a business portrait. Increase the ISO or lower the aperture before increasing the shutter speed.
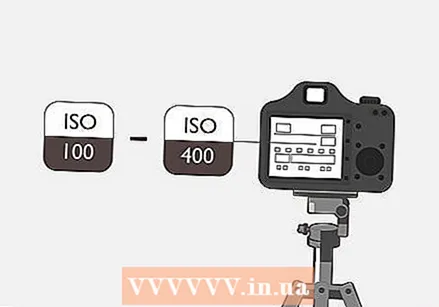 Set the ISO to 100-400 for a clear, sharp photo. ISO means "International Organization for Standardization." A higher ISO creates a less sharp photo, but requires little exposure. A lower ISO will result in a sharper picture, but requires more exposure. Start by setting the ISO to 100, 200, or 400 and make adjustments as needed based on the exposure you have.
 - Don't go above 800 ISO. Doing so will result in a noisy photo that may look blurry. The only time to go above 800 ISO is when you're taking an artistic portrait and want the digital photo to look like a photo from a camera roll.
 Adjust the aperture according to the depth of the photo you want to take. Aperture, or f-stop, is about the depth of field in a photo. The lower the aperture, the more blurred the background objects will be. A high aperture requires a slower shutter speed. Keep the f-stop below f / 12 unless you want something to stand out in the background.
 - Set the aperture as low as you can (usually around f / 2) for a business portrait shot outdoors to blur the background. You want that you stands out, not the background.
Part 3 of 3: Taking the pictures
 Place an object where you plan to stand and adjust the focus of your camera. When you have your camera and lighting ready, place a chair, floor lamp, broom, or other object where you will be standing for your self-portrait. Then adjust the focus of your camera either manually, or use the automatic focus setting to bring the object into focus. In this way you will know that you will be in focus when you are standing there instead of the object.
 - On most phones you will touch the screen where you want to focus the camera.
- The focus setting on a DSLR camera is usually on the side of the lens itself. "M" stands for "manual", while "A" stands for "automatic". When the focus is set to automatic, you will press the shutter button halfway, and the lens will adjust based on what you are aiming your camera at.
 Set the timer on your camera. Each camera has a delayed timer setting that should give you enough time to walk from the camera to where you will be standing for the photo. You will unfortunately have to repeat this process every time you want to take a picture. Connect an intervalometer or cable remote to your camera and use this instead of the timer setting if you want to take multiple photos at the same time.
 - An intervalometer is an automated attachment that you connect to your camera. Set this to take a photo every 1, 4, or 10 seconds, so you can change your posture or facial expression after each photo. Intervalometers are often used to make stop motion movies or time lapse photography.
- A cable remote control is an attachment that you connect to your camera, with a button that you can press to take a photo from anywhere without having to stand behind the camera.
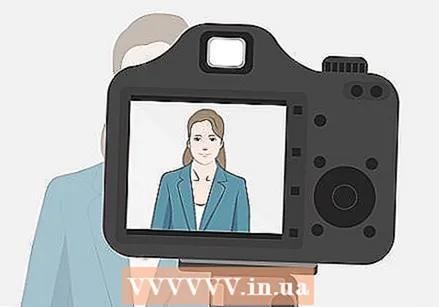 Walk up to your position and pose for the camera. When you've set the timer, quickly walk over to where you're going to take your photo and pose. Position yourself so that you are in exactly the same place as the object you used to set the focus. Take a deep breath and create whatever expression and / or pose you want for your photo.
 - For a business portrait, make sure you rest your arms relaxed at your sides and stand upright. Tense arms can make you bend over slightly, which can make you look dishonest or tired.
- You can put your hands in your pockets if it makes it easier for you to relax.
- If you're taking artsy self-portraits, feel free to use whatever expression you think would suit the photo you're going for.
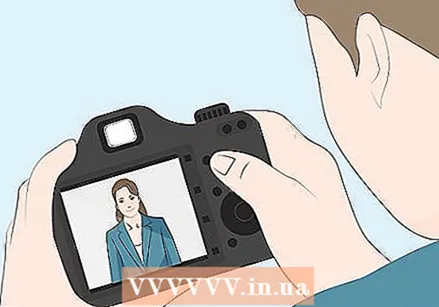 Evaluate the results of your photo shoot and adjust the settings if necessary. When you have taken a single photo, go back to your camera and view your photo. Use this first photo as a guide for what settings to adjust, and what to change about your expression and posture. If the photo is too dark, try increasing the ISO by 100-200 or slowing down the shutter speed. If you look blurry, readjust the focus. If the photo is too bright, lower the ISO to 200-400 before slowing down the shutter speed.
 - It is very unlikely that your first photo will look good. Don't worry - the closer you get to the right settings for the photo, the better your chances of getting the perfect self-portrait!
 Keep taking photos until you have several portraits to choose from. When you've adjusted your settings based on your first photo, keep taking photos. Make adjustments as needed and take multiple photos until you reach your goal. Take at least 10-20 photos to increase the chances that at least 1 of those photos will be great!
 - The more pictures you take, the more likely you are to capture something truly special. At the same time, it can take a long time to view hundreds of photos! At best, you will have at least 5 options to choose from.
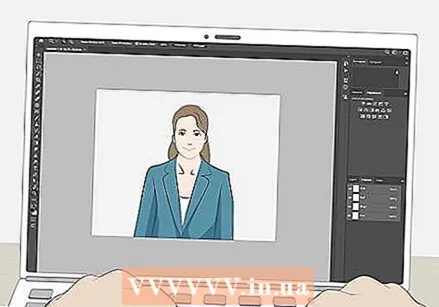 Edit your photos with a professional photo editing software. If you know how to use a complex editing software like Photoshop, upload your photos and edit the ones you really like with your chosen software. Otherwise, download a simple, free editing program like PhotoScape, Photoshop Express, or Gimp. Cut your photos to find the best possible body-to-background ratio, adjust lighting levels, and apply filters to enhance your photos.
 - If the color or lighting of the photo is not correct, change the white balance settings. Use the brightness or contrast settings to adjust the light in your photo if you want to make your photo lighter or darker.
- Professional portraits often don't use special camera filters. However, if you really want to stand out and work in a creative sector, you can opt for a black and white filter!
- If you are using your phone, click the "edit" button in your photo gallery to edit a photo. You can always further edit your photos on a program on your computer.
- In a professional portrait, the ratio between your body and the background should be about 2: 1. The focus should be on you, not the background.
Tips
- Tilt your chin away from the camera to look less flat in your self-portrait. This is a common technique that you can use to look more attractive.
Necessities
- Tripod
- DSLR or phone camera

")

