Author:
Roger Morrison
Date Of Creation:
28 September 2021
Update Date:
1 July 2024

Content
- To step
- Part 1 of 3: Get the right equipment
- Part 2 of 3: Learning to drive
- Part 3 of 3: Riding your motorcycle
- Tips
- Warnings
- Necessities
Learning to ride a motorcycle can be a lot of fun. The best way to learn it properly is to do it safely and in a controlled manner. Always have good safety and safety equipment that is appropriate for the type of motorcycling you will be doing. Beginners can take a motorcycle safety course that teaches them to be a good rider.
To step
Part 1 of 3: Get the right equipment
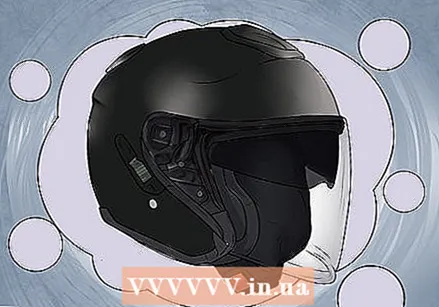 Buy a helmet. The motorcycle helmet is the most important piece of equipment for the motorcyclist. It protects your head from injury when you crash your motorcycle. The helmet must fit well and leave your field of vision intact. What is the best helmet for you is something personal.
 - To be well protected, take a motorcycle helmet that meets the applicable safety standards. It does not have to be the most expensive helmet to protect your head properly. Any motorcycle helmet that meets the DOT (U.S. Department of Transportation) or ECE (Economic Commission for Europe) standard is designed to protect your head in the event of an accident. These two standards have been extensively tested for the required safety standards for driving on public roads. Other security features further enhance your protection and comfort. Some motorcyclists like to wear Snell helmets because they meet even higher safety requirements (as set by the non-profit organization Snell Memorial Foundation), including functioning at higher speeds and on rougher surfaces.
- To find the right size, get a helmet fitted at a shop that specializes in motorcycle equipment. You can also measure yourself with a tape measure by measuring around your head about an inch and a half above your eyebrows. Compare your measurement with the size chart of the brand you want to buy. Note that each brand measures differently, so look at the chart for each brand you are considering.
- Try on the helmet to find the right size. With the right size, the opening for the eyes is just above your eyebrows and a finger fits just between your head and the helmet. Your helmet must fit exactly to protect your head properly. Different helmets fit different heads. If your helmet is the right size, but is still not comfortable, you should consider another one. For the best protection look for integral or modular helmets.
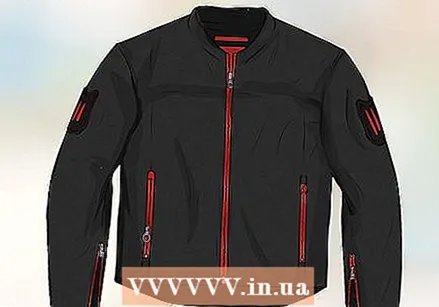 Buy a jacket. A motorcycle jacket protects your torso, including your vital organs, in the event of an accident. Motorcycle jackets are made of leather or synthetic material such as Kevlar. Look for a jacket with armor that can also take a hit. If the jacket has a CE (Certified European) mark, it meets the certification standards for sale in Europe.
 - A motorcycle jacket fits well if it is tight around the torso and your arms can move freely. Ask yourself in what weather conditions you will use the jacket on the bike, so that the weight and features meet your needs. Warmer weather jackets, for example, have more zippers and ventilation to control airflow around the body.
- If you're going for a leather jacket, make sure it's motorcycle-specific. Ordinary leather jackets are not made to protect you.
- In addition to protection, jackets also offer protection against the weather, such as sun, wind, rain and cold. Comfort keeps you on your toes and makes the ride more enjoyable.
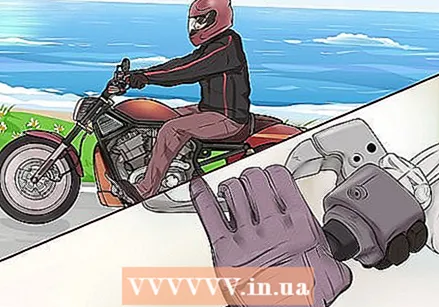
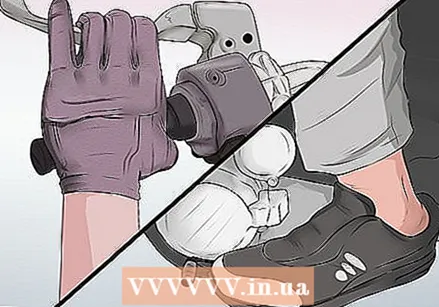
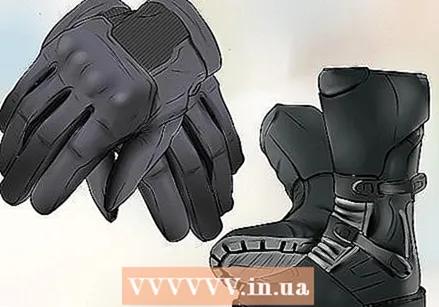 Buy motorcycle boots, gloves, and other equipment. Both provide more safety and comfort during a ride. Boots protect your feet and ankles. Gloves protect your hands. Pants protect your hips and legs.
 - Your feet can take a lot during a ride, so protect them well. Good motorcycle boots cover your ankles and have anti-slip soles and a metal nose. Take the grab-heel-and-nose-and-turn test to see how your boot fares in an accident. The more difficult it is to turn, the more protection the boot offers in the event of an accident.
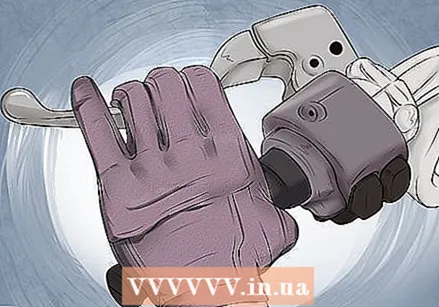
- The purpose of gloves is to reduce injuries from being hit by insects and flying debris, as well as to keep your fingers warm. Buy a pair that provides maximum grip. Look out for the wrist-locked type. This is designed to keep the gloves on your hands in an accident. Kevlar gloves keep your fingers mobile while being strong and absorbent.
- Pants are often overlooked. Jeans are primarily made for style, not functionality; that is why they usually break when dropped. You are better off choosing pants that are made of the same material as your jacket. They are designed to withstand the destructive forces of an accident.
Part 2 of 3: Learning to drive
 Take motorcycling lessons. A course gives you the best instruction to learn a good and safe driving technique. It is a good starting point for all novice motorcyclists.
 - Novice bikers with little or no experience can take basic lessons. The government does not offer basic lessons, but private driving schools do.
- If you take lessons you will get a motorbike if you don't have one yourself. On the motorcycle course you also learn the first principles of handling the motorcycle and about safety.
- Many courses consist of a theoretical and practical part, with the driving test for your driver's license as the final part.
 Dealing with the ministry. Before driving, make sure you are familiar with the controls. Once you drive you will have to think fast, and if you are not familiar with the controls it can be dangerous.
 - The manual clutch is normally located with the left handlebar and is used to take the power off the rear wheel when shifting.
- The shift pedal is usually located by your left foot and is used to move up or down a gear while you are pulling in the clutch.
- The throttle is located on the right handlebar and is used to accelerate and accelerate. The handbrake, which brakes the front wheel, is located at the right handle.
- The pedal on the right side of the motor near your foot operates the rear brake.
- Usually, the rule is that the left side of your motorcycle controls the gearbox and the right side of your bike will speed it up or slow down.
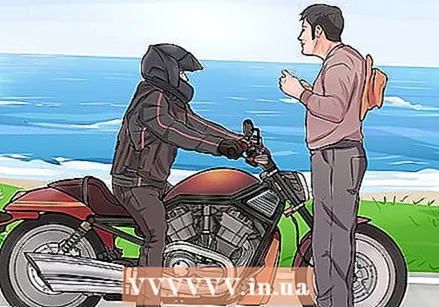
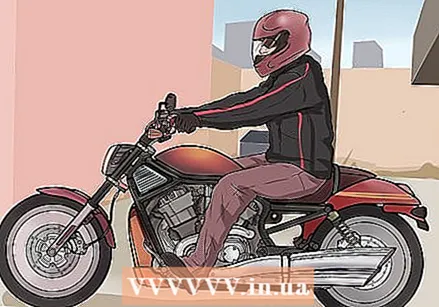
 Sit on the bike. To get a good seat on your bike, stand left in front of it. Grab the left handle and swing your right leg over the seat. Put your feet firmly on the ground.
 - The best way to understand how a motor works is to sit on it and run through all of its functions before starting it.
- Get a feel for how you sit on the bike. Grab the handles, clutch and brake levers. Make sure you have easy access to these levers. Your arms should be slightly bent at the elbow as you grasp the handles. Switches should also be within easy reach.
- Make sure you can easily put your feet on the ground. Feel the weight of the bike beneath you. Furthermore, you must be able to shift gears without having to take your foot off the support.
 Practice with the clutch to get a feel for it. The clutch is used for gear shifting. Squeezing the clutch frees the engine from the gearbox, allowing you to change gears.
 - See your coupling as a dimmer for the light. It's not an on / off switch, but you squeeze it gradually or let it come back on so your engine doesn't stall.
- When starting, put the engine in first gear by squeezing the clutch and pushing the shift pedal down with your left foot. You may have to push a few times. You know that you are in his 1 when you no longer feel resistance and you are through all the gears.
- Most engines have a "1 down, 5 up" pattern of gears. This pattern means 1st gear, neutral, 2nd gear, 3rd gear, etc. As you shift gears you will see the corresponding number light up on your dashboard.
- While driving, shift by first pulling the clutch with your left hand to release the rear wheel. Release the throttle while squeezing the clutch. Without gas, your engine will not buck when you release the clutch again. Shift with your left foot. Take it easy on the throttle to make the transition smooth. Finally release the clutch so that the rear wheel is driven again.
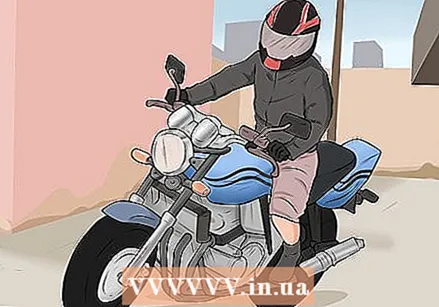
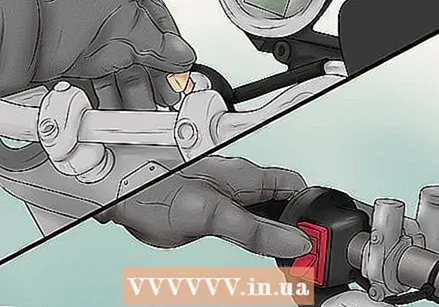 Start the engine. Squeeze the clutch and locate the power switch. This is usually a red switch on the right handlebar. Put him in the "on" position. You don't have to pedal most modern motorcycles, but if you have an older model you may have to. The kickstarter, if you have one, is behind the footrest on the right side of your bike.
 - Turn your key to the "start" position and make sure all lights and gauges are working.
- Put your motorcycle in neutral. The easiest way to do this is to shift down to 1st gear first and then up once. See if the "N" lights up on your meter.
- Press the start button with your right thumb. It is usually located under the off switch. Start buttons often have a round arrow with a lightning bolt in the center.
- Once it starts, let your engine warm up for about 45 seconds to run it properly.
- Squeeze the clutch with your feet flat on the ground. Roll your feet back onto your heels and repeat until you have a good feel for the clutch.
 Try "power walking" with the motorcycle. Start with your feet on the ground in front of you. Slowly release the clutch until the engine begins to pull itself forward.
 - Using only the clutch, walk the bike forward and balance it with your feet.
- Repeat until you can keep the bike upright when you lift your feet off the ground. You want to have a good balance on your bike.
Part 3 of 3: Riding your motorcycle
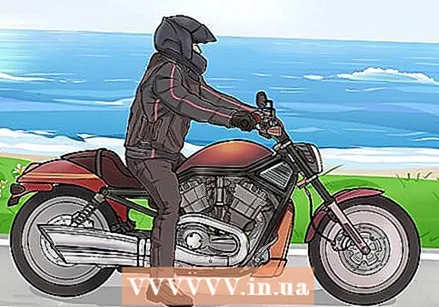
 Ride your motorcycle. As soon as the engine is running and warmed up you can start driving. You do this by shifting to 1st gear and releasing the clutch while you accelerate.
 - Make sure the sidestand is not turned off.
- Slowly release the clutch until the engine starts to roll forward.
- You may need to accelerate a bit to keep your engine from stalling while you release the clutch.
- As soon as you move forward, accelerate a bit and put your feet on the footrests.
- Try to drive in a straight line. If you release the clutch and hit the throttle a bit to go a little faster, you'll keep driving in a straight line. When you're ready to stop, squeeze the clutch and gently brake with both the front and rear brake. Use your left foot to balance the motor when you stop. When standing still, put your right foot on the ground as well.
 Practice shifting. If you can drive in a straight line, try to get some feeling when shifting. Find the "friction zone". That is the area of resistance that arises when the link emerges. This piece ensures the transfer of the power from the engine to the rear wheel. Gearboxes on motorcycles are sequential, which means that you shift through the gears in a fixed order, whether up or down. It takes a little practice to feel and hear when it is time to switch. The engine turns more revolutions per minute when it is time to change gears.
 - With your engine running, shift all the way down to 1st gear. You know you're in 1st gear when the pedal stops clicking down. You should hear a click when you switch to zn 1.
- Slowly release the clutch until the engine begins to move forward. While you release the clutch, accelerate a bit if you want to go faster.
- To get to ZN 2, squeeze the clutch, release the throttle and click your shift pedal firmly up to go through neutral. Make sure the neutral light is off. Release the clutch and accelerate. Do the same to shift to higher gears.
- You do not have to click up so firmly after the 2nd gear, because you no longer have to go through neutral.
- To shift down, release the throttle and brake a bit. Squeeze the clutch and push the shift pedal down. Then you let the link emerge.
- Once you get the hang of shifting down, you can stop while in Z 2. When you are standing still, you switch down to 1 again.
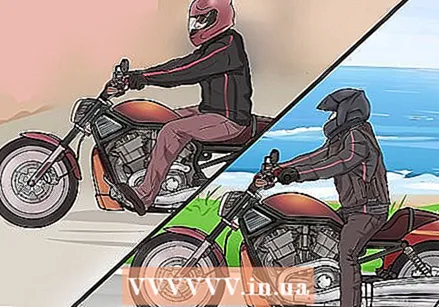
 Practice curves. Just like on a bicycle, a motorcycle is steered from about 15 km per hour by countersteering. Push the handle down on the side you want to turn on. Look in front of you and in the bend.
 - Remember to slow down when entering a corner. Do not brake in the corner. Release the throttle and brake if necessary before entering the corner.
- Look ahead and see through the bend. Push the handle on the side you want to go. Hold the throttle gently to keep going as you slide around the corner.
- As your speed slows down, watch the end of the turn. Your bike will follow your eyes. Find a point at the end of the turn to aim for and keep your eyes on it. Never look at the ground in a curve. Although it feels strange and you actually want to look at the turn, this is very dangerous and can result in you not being able to finish the turn properly.
- Push the side you want to go. If you want to turn left, push yourself away from the right side of the steering wheel. This causes the motor to hang to the left. Hang out and hit the throttle to speed up a bit. When you come out of the corner, hold the throttle and give a little bit as you sit up straight again. Allow the engine to straighten itself and do not pull the handlebars.
 Practice slowing down and stopping. Finally, now that you've practiced starting, shifting and cornering, it's time to learn how to slow down and stop. Remember that the lever on the right side of the handlebar operates the front brake and the pedal at your right foot operates the brake on the rear wheel. Normally you start with your front brake and use the rear brake to hit the brakes and stop.
 - If you want to stop completely, it is best to start with your front brake and brake with your rear brake when you slow down.
- Make sure you downshift while you slow down. You don't always have to go all the way to z 1. You can also downshift to 2nd gear and stop before shifting to 1.
- Squeeze the clutch when you brake and shift down.
- Apply pressure to both your front and rear brakes as you slow down and start to brake. Be careful not to accelerate. This can easily happen because you have to roll your hand forward to get to the front brake.
- Slowly increase the pressure on the brakes and do not brake fully, as this can cause the engine to stop too quickly and start jerking.
- Once you have stopped, keep the front brake pressed and your feet firmly on the ground. First your left foot, then your right foot.
Tips
- Find a friend who can already drive. He or she can help you do what.
- Get to know your motorcycle. Make sure you can find all the controls and that you can easily reach everything without having to look down. This is very important. You can't take your eyes off the road every time you shift gears.
- Always wear protective clothing. Helmet, gloves, eye protection, high shoes.
- Find an open space to practice. Empty parking lots work well.
- If you're just starting out, don't practice in congested areas with traffic. Place cones on the street so you can practice stopping in front of them.
Warnings
- Never ride a motorcycle while under the influence.
- Never ride a motorcycle without proper protection.
- Most motorcyclists have to deal with a fall at some point. Riding a motorcycle is dangerous and can cause serious injury. Always use the correct technique.
Necessities
- Motorcycle helmet
- Gloves
- Eye protection
- High, sturdy shoes
- A motorcycle (preferably a small one)


