Author:
Judy Howell
Date Of Creation:
1 July 2021
Update Date:
1 July 2024
Content
- To step
- Part 1 of 3: Preparing the surface of your CPU
- Part 2 of 3: Applying thermal grease to a round CPU surface
- Part 3 of 3: Applying thermal grease to CPUs with a square surface
- Tips
- Warnings
Cooling is an important consideration when maintaining or building your computer. Too much heat can overload your components, and overclocking becomes an even bigger problem. Knowing how to properly apply thermal paste to your processor (CPU) is the foundation of good computer cooling.
To step
Part 1 of 3: Preparing the surface of your CPU
 Choose a good thermal paste. Most thermal greases contain silicone and zinc oxide. The more expensive variants often contain heat conductors such as silver or ceramic. While silver and ceramics conduct heat better than silicone and zinc, silicone and zinc are sufficient for most applications.
 - If you plan on overclocking, buy a thermal paste that consists mainly of silver, copper, or gold. These are the metals that conduct heat the best.
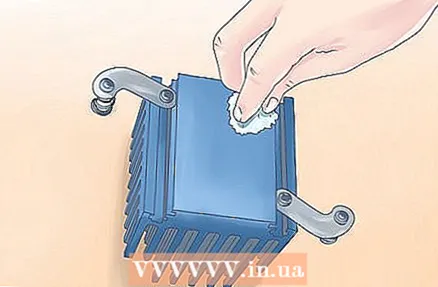 Clean the surfaces of the CPU and the heatsink. Rub the surfaces gently with cotton or a cotton swab dabbed in isopropyl alcohol. The higher the percentage of alcohol you use, the better. 70 percent is good, but 90 percent is better (if you can find this).
 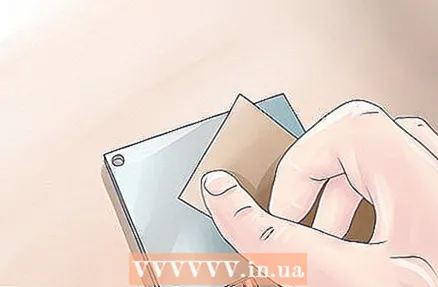 Use sandpaper on the heatsink and CPU surfaces as needed. If the two surfaces were completely flat, no thermal paste would be needed, but this is often not the case. If the surface of your cooling block is uneven, you can flatten it out with sandpaper. This is only necessary if you want to go for ultimate cooling of your processor.
 - Thermal grease is designed to fill the uneven surfaces of your processor and heatsink so that they still make contact. Since current production methods cannot produce surfaces without imperfections, thermal paste is always required.
Part 2 of 3: Applying thermal grease to a round CPU surface
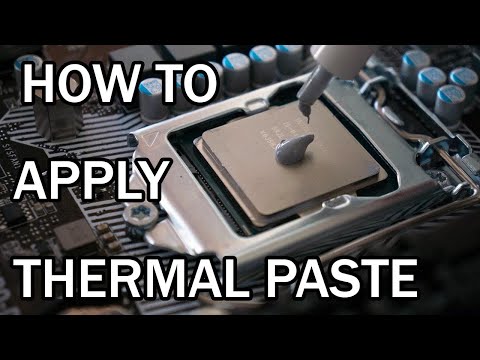
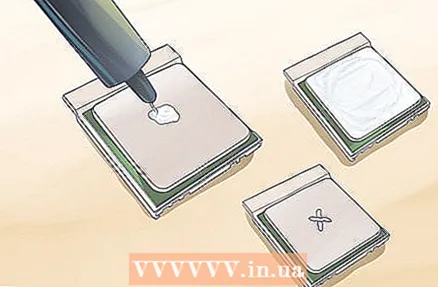
 Place a small drop of thermal paste in the center of the surface of your CPU. The drop of pasta should be smaller than a grain of rice. Some websites recommend a pea-sized drop of thermal paste, but that is too much and will result in thermal paste spilling on your motherboard.
 - With a round surface, the paste does not need to be spread. If you press the cooling block on it, it will automatically spread evenly.
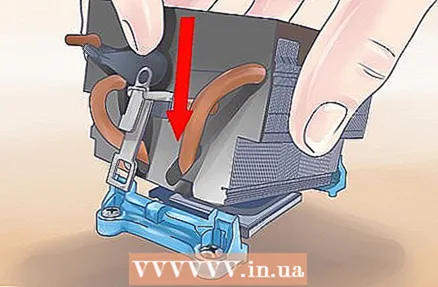
 Install the heatsink on the processor. Press the heat sink onto the processor with equal pressure on all sides. This ensures that the thermal paste is evenly distributed over the entire contact surface. The thermal paste will form a thin layer that fills all holes without running over your motherboard
 - If heat is present, the paste will thin and spread to the outside. It is therefore important not to use too much thermal paste.
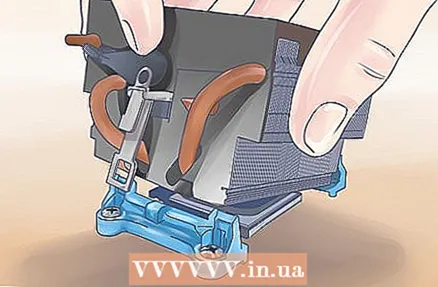
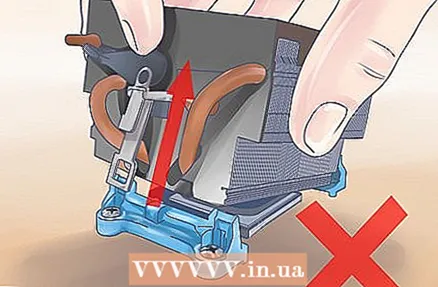 Do not remove your cooling block if it is not necessary. It can be difficult to check that your thermal paste is properly applied. If you take the heatsink off after installing it, you will have to redo the whole process. First remove the old paste from both surfaces and then apply it again.
  Reconnect the fan to the motherboard. The CPU fan must be connected to the fan outlet as it has the PWM functionality, which allows the computer to automatically adjust the fan speed without changing the voltage.
 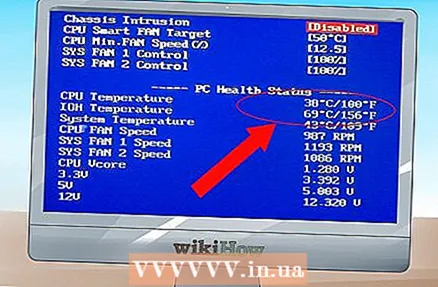 Boot your computer. See if the fan is running. Enter the bios by pressing F1 or delete while your computer boots. Check if the temperature is normal. The CPU temperature should be below 40 degrees. This also applies to your video card.
Part 3 of 3: Applying thermal grease to CPUs with a square surface
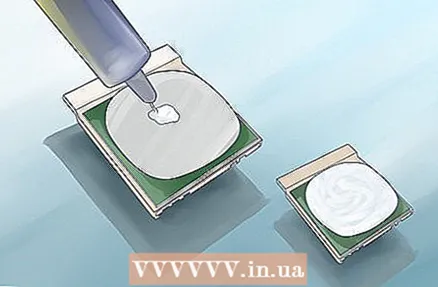
 Apply thermal paste to the surface of your CPU. Applying thermal grease to a square surface is a bit trickier than a round surface, as a drop of thermal grease on a square surface will not spread evenly when pressed. There are a number of different methods for this, and we'll cover some of the most popular here:
 - The stripes method. Apply two thin stripes of thermal paste to the surface of your CPU. The stripes should be parallel and both should be about one-third the length of the edge's surface.
- The cross method. This method is similar to the previous method, but the stripes are now crossed instead of parallel. The length and thickness of the stripes should be the same as in the previous method.
- The smear method. This is one of the most popular and effective methods, but it takes a little more effort. Apply a little bit of thermal paste to the surface of your CPU. Use a plastic finger guard or plastic bag to spread the thermal grease evenly over the surface with your fingers. Make sure the entire surface is covered and don't use too much thermal paste. You should just be able to see the metal under the thermal paste.
 Install the heatsink. If you are using one of the striping methods, press the heatsink straight on to make sure that the thermal paste covers the entire surface. If you use the smear method, you MUST install the heatsink at a small angle to ensure that no air bubbles form. The paste is normally too thin to compensate for air bubbles after the heatsink is pressed on.
 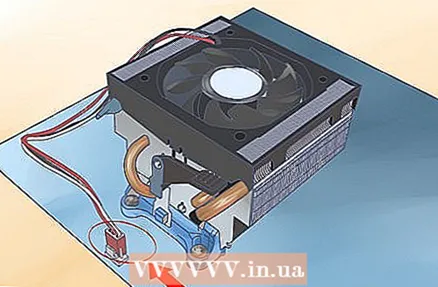 Reconnect the fan to the motherboard. The CPU fan must be connected to the fan connector as it has PWM functionality, which allows the computer to automatically adjust the fan speed without adjusting the voltage.
  Boot your computer. Check if the fan is running. Enter the bios by pressing F1 or delete while your computer boots. Check if the temperature is normal. The CPU temperature should be below 40 degrees. This also applies to your video card.
Tips
- Thin thermal paste is ideal. Thick thermal paste decreases the heat transfer rate. Thermal grease is designed to fill the small holes in the surfaces of the CPU and the heatsink.
- If you are using latex gloves to spread the thermal grease, make sure the latex gloves are powder-free. If powder gets into the thermal paste, your CPU will be damaged.
- Do not touch the cooling surfaces with your fingers after cleaning them with alcohol. Your fingers have oils that can damage the surface of your CPU and heatsink.
- Keep in mind that thermal paste needs some time to work optimally, the effectiveness of the thermal paste will gradually improve during this period. This period can be very short, but can sometimes last up to 200 hours.
Warnings
- Cleaning the cooling surfaces of your CPU and heatsink with an oil-based agent will destroy the cooling capacity. The oil will permanently settle in the small holes in the surfaces where the thermal paste belongs, causing the thermal paste to actually stop working. If an oil-based agent is used and then thermal paste is applied, the cooling surfaces will never function.


")