Author:
Morris Wright
Date Of Creation:
22 April 2021
Update Date:
1 July 2024

Content
You can charge your Playstation Portable (PSP) using an AC adapter plugged into the wall outlet or with a mini USB cable and your computer. The battery life of a PSP is approximately four to five hours. Sometimes you will have to fully charge your PSP to perform software updates. Don't forget to wait for the orange light to turn on!
To step
Method 1 of 2: Charging with an AC adapter
 Find the AC adapter port. You connect the AC adapter to the yellow adapter port at the bottom right of the device. Your PSP comes with a cable that fits perfectly.
 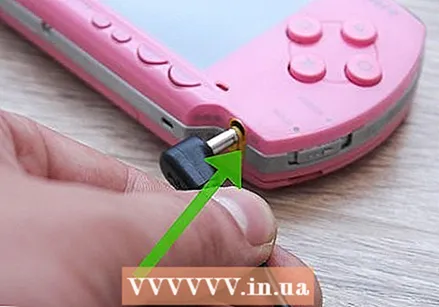 Connect the AC adapter. Plug the other end of the cable into the wall outlet if the AC adapter is connected to your PSP.
 - The PSP uses a 5V AC adapter. If you plan to use a different adapter, make sure the adapter uses the correct voltage. This will prevent the device from being damaged.
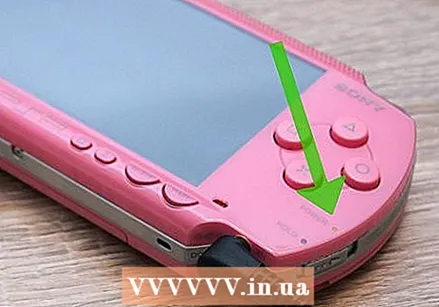 Wait for the power light to turn amber. The power light will first flash green a few times and then turn solid amber. This tells you that the PSP is properly connected. If the light does not turn amber, check that the AC adapter is properly connected and that the PSP's battery is properly installed.
 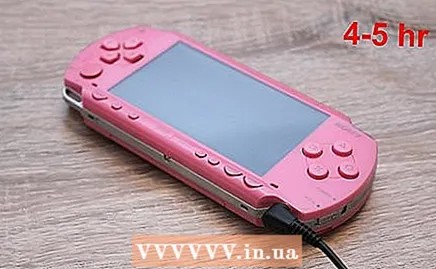 Charge the device for 4 to 5 hours. After 4 to 5 hours, the PSP will be fully charged, so that you can use the device again for a longer period of time.
Method 2 of 2: Charging with USB
 Turn on the PSP. If you still have some power and want to charge the PSP with a USB cable instead of an AC adapter, you can do this by adjusting the settings of the PSP.
 - Even if the PSP already has the correct settings, the PSP must be on in order to be charged via USB.
- Note: This charging method is not supported on the first generation PSP models (1000 series).
- You cannot play games while the PSP is charging via USB
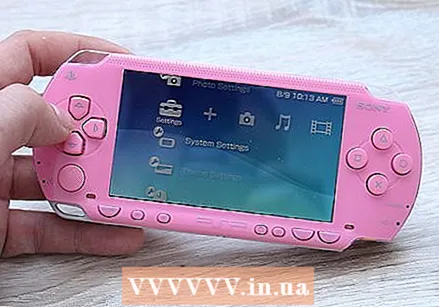 From the opening menu, go to "Settings". You can go to settings by scrolling left on the opening menu.
 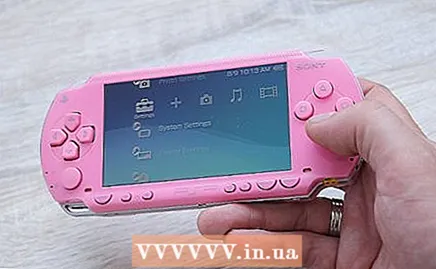 Select "System Settings". Scroll down the settings menu to access the PSP's system settings.
 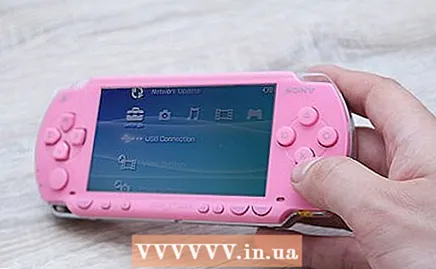 Turn on "USB Charging". This option appears in the system settings menu. This enables the option to charge via USB.
 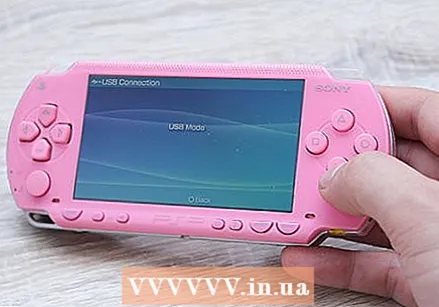 Turn on "USB connection". This option can be found in the same menu just below "USB Charging".
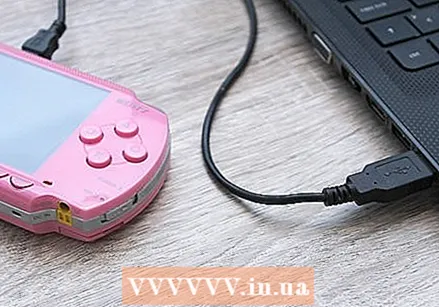
 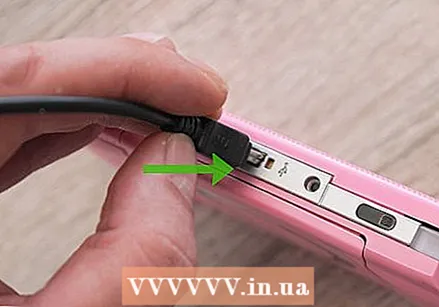 Connect the USB cable to the PSP. The USB port can be found at the top of the device.
 - The PSP uses a 5-pin mini-B USB port. Any USB cable with this specification will work.
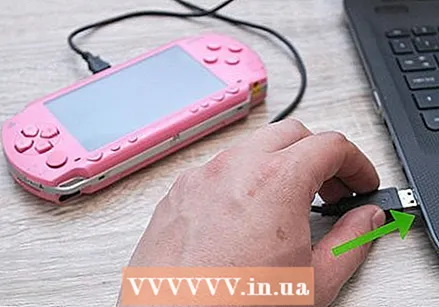 Connect the other end of the USB cable to a power source. You can connect this end of the cable to a computer or a USB wall charger.
 - If you connect the USB cable to a computer instead of an electrical outlet, both the computer and the PSP must be on for the PSP to charge.
 Wait for the power light to turn amber. The power light will first flash green a few times and then turn solid amber. This will let you know that the PSP is properly connected. If the light does not turn amber, check that the USB cable is properly connected and that the PSP's battery is properly installed.
 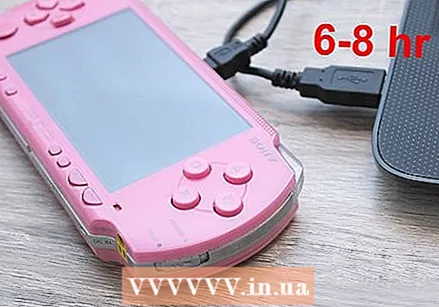 Charge the device for 6 to 8 hours. Charging via USB is slower than with an AC adapter. You will have to wait a little longer, but it will ensure that you can use the PSP for a longer period of time.
Tips
- You can dim the screen to extend the battery life of the PSP. To do this, press the button to the right of the PSP logo at the bottom of the screen.
- You can also save energy by turning off the wireless network. You do this by turning off the silver switch on the top left of the device


