Author:
Judy Howell
Date Of Creation:
3 July 2021
Update Date:
1 July 2024
Content
- To step
- Method 1 of 4: Add a new number
- Method 2 of 4: Delete your old number
- Method 3 of 4: Manually have a verification code sent to your device
- Method 4 of 4: Recover your account
- Tips
This article will teach you how to add a new number to your list of trusted numbers for your Apple ID on an iPhone or iPad and how to erase your old number for your account. A trusted number is used in two-step verification. When you sign in to a device with your Apple ID, a verification code is sent to your trusted number via text message or call. You must enter this verification code on your device to sign in with your Apple ID.
To step
Method 1 of 4: Add a new number
 Open the Settings app
  At the top of Settings, press your Apple ID. Your Apple ID name and image are listed at the top of the Settings menu. Press your name here to open the Apple ID menu.
 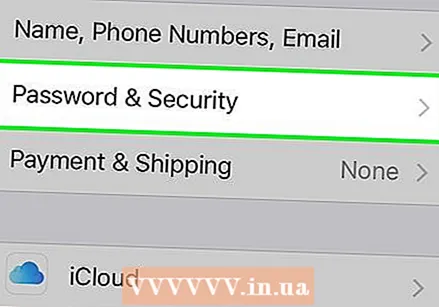 Press Password & Security in the Apple ID menu. This will open the security options for your account on a new page.
 - You may be asked to enter and confirm the password for your Apple ID to access this menu.
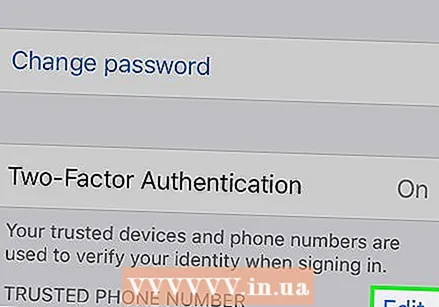
 Press edit next to the "TRUSTED TELEPHONE NUMBER" heading. This option is in blue letters on the right of your screen. Here you can add a new number and delete old numbers.
 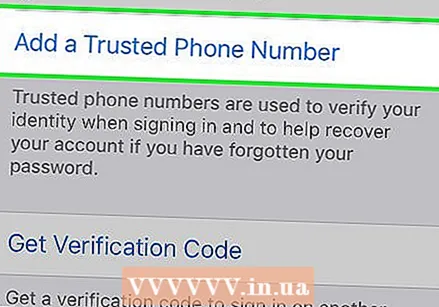 Press Add a trusted phone number. This will open a new page entitled "Add Phone Number". You must add the new number here before you can delete the old one.
 - If you are using a passcode, you must enter it before you can continue.
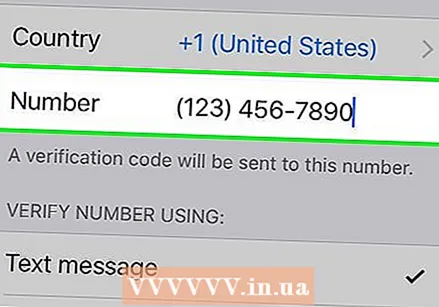 Enter the phone number you want to add. Press the "Number" field and enter the phone number you want to add.
 - Make sure you select the correct country code at the top of the form.
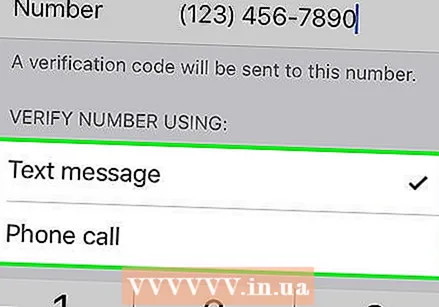 Select how you want to receive the verification code. Once you've added a phone number, you'll need to verify it by entering a 6-digit verification code from Apple.
 - You can select "SMS" or "Call" here. Regardless of what you select, you will receive the same verification code.
 Press at the top right Send. This will confirm your phone number and the 6-digit verification code will be sent.
 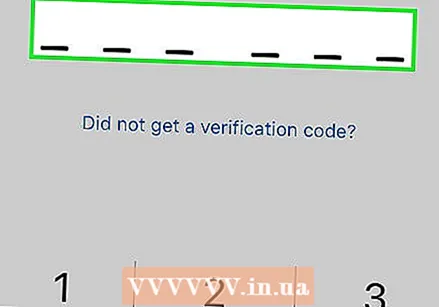 Enter your verification code. This will confirm your new phone number and add it to the list of trusted numbers on your Apple ID account.
 - When your new number is confirmed, you will be taken to the "Password & Security" page.
Method 2 of 4: Delete your old number
 Press edit next to "TRUSTED PHONE NUMBERS". After adding a new number, you can remove your old number from your list of trusted numbers.
 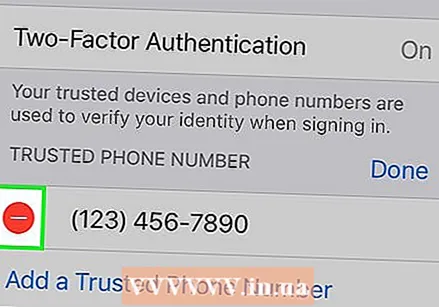 Press the icon
 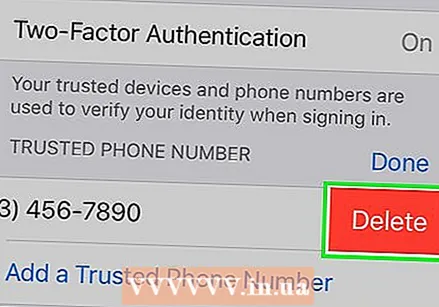 Press the red button remove next to the phone number. This button will appear on the right when you click on the icon
  In the confirmation popup, press remove. This will remove the selected phone number from your account and from your list of trusted phone numbers.
Method 3 of 4: Manually have a verification code sent to your device
 Open the Settings app
 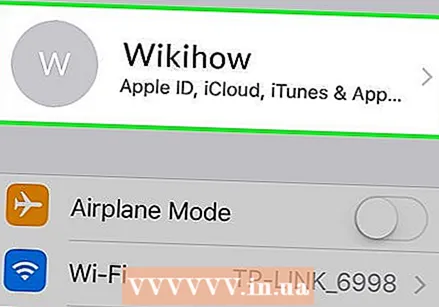 Press your name. It's at the top of the Settings menu and next to the profile image you've chosen for your account. This will bring up the Apple ID menu.
  Press Password & security. This is the second option from the top of the Apple ID menu. This will display the Password & Security menu.
 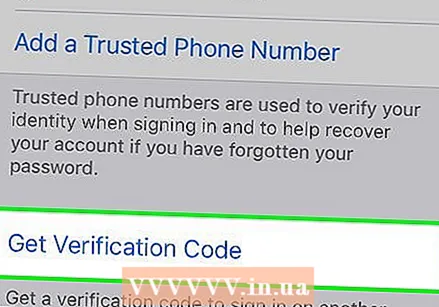 Press Get verification code. This is the last option in the Password & Security menu. You can use this code to sign in with your Apple ID on a new device or service.
Method 4 of 4: Recover your account
 Go to https://appleid.apple.com in an internet browser. You can use any internet browser on a PC or Mac.
 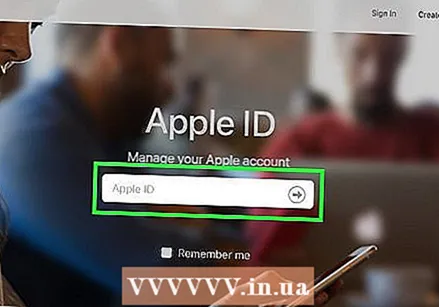 Sign in with your Apple ID. Enter the email address and password associated with your Apple ID to sign in to your account. Click the arrow to the right of your email address and password to continue.
 - If you can't remember your Apple ID or password, click "Forgot Apple ID or Password?" Under the lines you use to sign in. You can either enter your Apple ID email address and reset your password, or click "Lookup" and try to find your Apple ID.
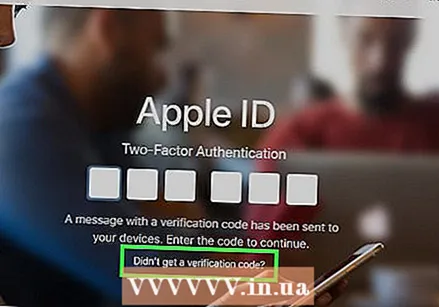 click on Didn't receive a verification code?. If you don't have access to your trusted device, click "Didn't receive verification code?" For more options.
  click on More options. This is under the icon with an "i". This will display options to recover your account.
 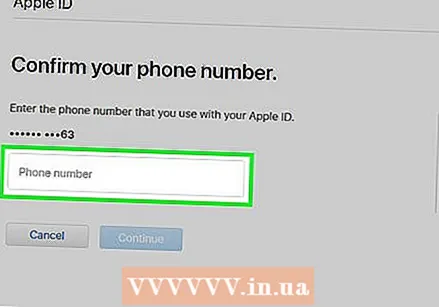 Enter your trusted phone number and click Further. The last two digits of your trusted phone number are displayed above the bar where you enter your phone number. Enter the phone number on the bar and press "Next".
 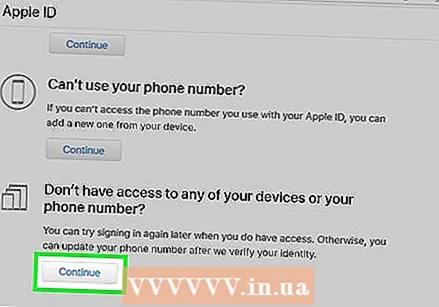 Under "Can't access one of your devices", click Further. If you cannot access the device with your trusted number, or any other device, press "Continue" under the option at the bottom.
 - If you can access your iOS device, use the methods described in Method 1 and enter a trusted number to your device. If your device cannot receive a verification code, use the steps described in Method 3 to receive a verification code on your device.
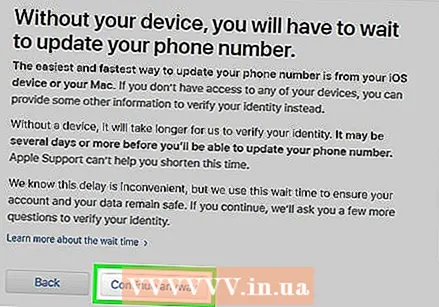 click on Continue anyway. This page informs you that there is a waiting period to update your phone number without updating your devices. If you want to continue, click "Continue Anyway".
 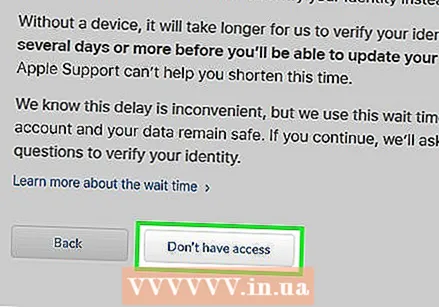 Confirm the credit card with your Apple ID. The last four digits of your registered credit card are displayed at the top of the page. Enter the full card number, expiration date and security code in the lines provided for that purpose.
 - If you don't have access to your registered card, click "Can't access this card".
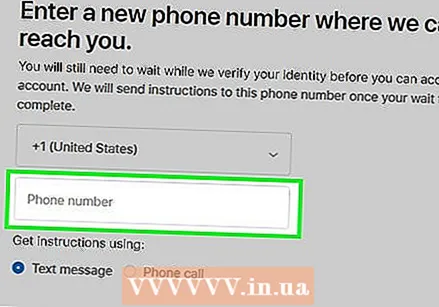 Enter a phone number where you can be reached. Select the country where you reside from the drop-down menu at the top and enter your phone number in the appropriate line.
 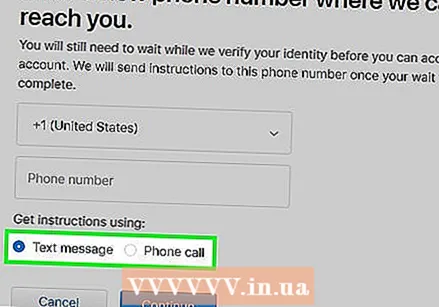 Select "SMS" or "Call" and click Further. You will receive instructions on the phone number you provided. Follow the instructions to recover your account. The recovery process can take several days.
Tips
- You can store multiple trusted numbers on your Apple ID account. You don't have to delete your old number when adding a second line.


