Author:
John Pratt
Date Of Creation:
16 April 2021
Update Date:
1 July 2024
Content
- To step
- Method 1 of 2: Using duct tape
- Method 2 of 2: Remove the surrounding ring
- Tips
- Warnings
- Necessities
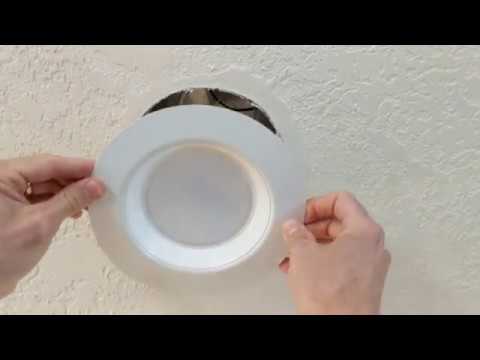
A recessed lamp is usually recessed in the ceiling or another surface, making it almost impossible to grasp the lamp by hand and unscrew it. As with so many other problems you need to get to grips with, duct tape offers an easy solution. If this doesn't work, you may be able to try a few other ways, such as removing the mounting ring around the lamp.
To step
Method 1 of 2: Using duct tape
 Wait for the lamp to cool. If the lamp was just burning, wait for it to cool down. This takes about five minutes with a normal light bulb. This can take up to twenty minutes with halogen lamps.
 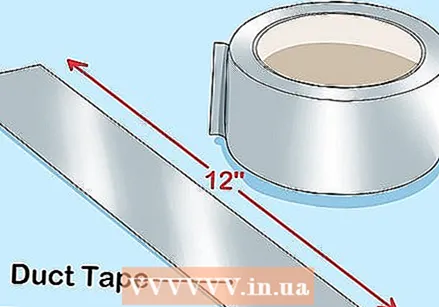 Tear off a piece of duct tape. The strip should be about 12 inches long, that's about half an arm's length.
  Fold the ends of the duct tape over. Fold a piece of the tape towards the sticky side and stick it down. Repeat this on the other side. These folded "handles" should be long enough to grip, with the sticky part in the middle.
 - If you find that easier, you can also make a circle out of duct tape, adhesive side out. Make the circle big enough for your hand to fit through it.
 Stick the duct tape on the light bulb. Hold the handles of the duct tape and press the adhesive part against the flat surface of the recessed bulb.
 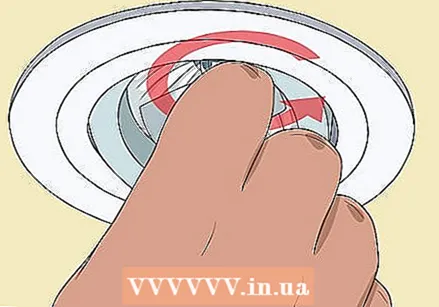 Unscrew the bulb. Once the tape sticks to the bulb, you can apply enough pressure to release the bulb. Almost all lamps have a standard screw thread, so turn it counterclockwise.
 - If you can't get the lamp moving, try the method below: removing the ring surrounding it.
 Unscrew the last piece by hand. Once the bulb sticks out enough to grip the sides, peel off the duct tape. At this point it will go faster if you further unscrew the lamp by hand.
  Turn in a new light bulb using the same method. Screw in the new bulb by hand as far as it will go. When the bulb is nearly flush with the surrounding surface, stick the duct tape on it and turn the bulb clockwise until it is tight.
Method 2 of 2: Remove the surrounding ring
 Turn off the light. Let the bulb cool to room temperature before handling it.
 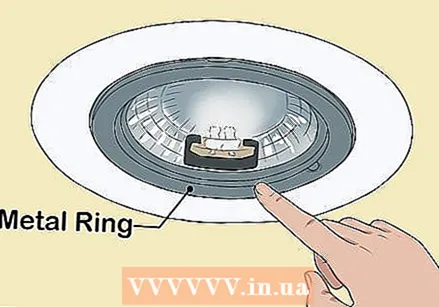 Look for a metal ring around the lamp. Many recessed luminaires have a metal ring around the lamp. Those rings are often removable, but just follow the instructions below to avoid damaging the ceiling.
 - It's not necessarily the big ring that the whole fixture fits into, but sometimes it does. Check carefully if there is a second smaller ring, which rests against the light bulb.
 Cut the paint loose if necessary. For example, if someone has painted over the ring, pieces of plasterboard may tear away as you unscrew the ring. To avoid this, cut the paint around the ring with a utility knife. Do this as close to the ring as possible. Then try the steps below until you find one that works for your model.
 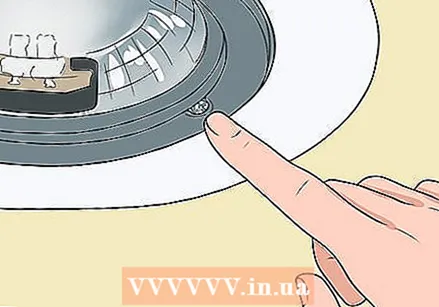 Check for screws or knobs. If you're lucky, your collar will just be held in place with a few screws. However, some models have metal knobs or sliders that you have to push to the side to release the fixture.
 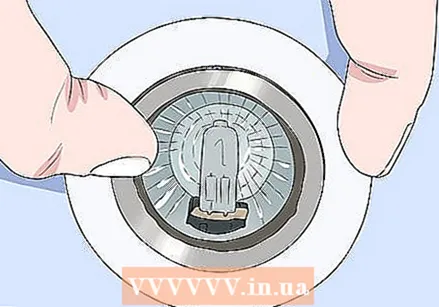 Try to turn or pull the ring. Some models can be turned or pulled out by hand. Only use light pressure unless the manufacturer's manual says otherwise. Here are two examples of lighting fixtures you can remove this way:
 - Modern recessed halogen lamps often have a plastic ring with three tabs. Press your fingers against these tabs and turn counterclockwise. Once you have access to the lamp, grab it as deep as you can and gently wiggle it out.
- Some LED recessed lights can be pulled directly from the ceiling. Watch out for your fingers, as a sharp metal clip will float down the edge when the lamp appears. You can carefully pull the lamp off.
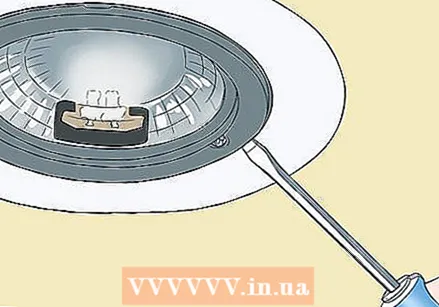 Pry out the ring with a screwdriver. Some older halogen lamps use a small, serrated metal ring without a special closure. Gently insert a flat screwdriver between the ring and the bulb and pry it out. There is usually an opening in the ring so you can take it out and gently pull it down with your fingers. Grasp the base of the bulb and gently pull the two pins out of the socket to remove it.
 - Make sure that you do not accidentally damage the glass of the lamp with the screwdriver.
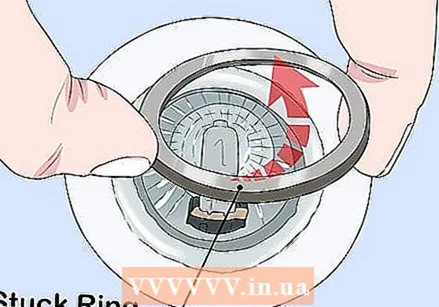 Remove a jammed ring. If there is no clear confirmation for the ring and it refuses to turn, it may be stuck. Try pushing the bulb a little deeper in with a few fingers of both hands. When the lamp starts to move slightly, press your fingers along the outer edges against both opposite sides of the ring. Try turning the ring while applying pressure to improve your grip.
 - If this still doesn't work, and your model has three small tabs on the plastic ring, grasp one of those tabs with pliers. Push with the pliers while pushing another tab with your hand.
Tips
- For lighting in high places, purchase a light bulb change rod from a hardware store. See if you can find a model with some sort of suction cup on the end that you can hold a lamp with.
Warnings
- To avoid electric shock, make sure the light is off before installing the new lamp.
Necessities
- Recessed lamp
- Duct tape


