Author:
Christy White
Date Of Creation:
12 May 2021
Update Date:
1 July 2024
Content
With a single line of HTML code, you can add a clickable image to almost any website. There are two things you will need to make this work. You need a URL for the image and also the URL of a website.
To step
Method 1 of 2: Write the HTML code
 Create an HTML file. Open a text editor and then create a new file. Save the file as index.html.
 - • You can use any text editor you want, even the simple text editors of Windows (Notepad) and Mac OS X (TextEdit).
- • If you want to use a text editor intended for working with HTML, click here to download Atom, a text editor for Windows, Mac OS X and Linux.
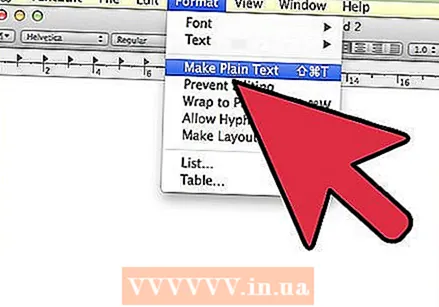
- • If you are using TextEdit, click the Format menu before creating the HTML file, then click Make Plain Text. This setting ensures that the HTML file loads correctly in a web browser.
- • Word processors such as Microsoft Word are not really good for writing HTML, because they add invisible characters and formatting that can corrupt the HTML file and render it incorrectly displayed in a web browser.
 Copy and paste the standard HTML code. Select and copy the HTML code below and paste it into your opened index.html.
 a href = "target url"> img src = "image url" /> / a>
 Find the URL of your image. Find an image on the web, right-click it and (depending on your browser) click Copy Image URL, Copy Image Address, or Copy Image Location.
 - • Firefox and Internet Explorer use Copy image location. Chrome uses Copy Image URL. Safari uses Copy Image Address.
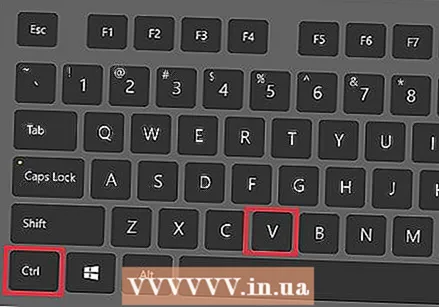 Add the URL of the image. In the index.html file, click and drag to select the URL of the image with your mouse, then press CTRL + V to paste the URL.
  Add the target URL. In index.html delete target url and type https://www.startpage.com.
 - • You can use any URL as the target URL.
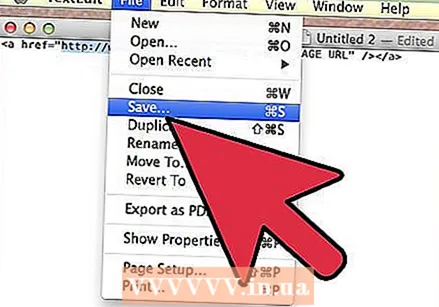 Save the HTML file.
 Open the HTML file in a web browser. Right-click on index.html and then open this file in the web browser of your choice.
 - • If the browser opens but you don't see the image, make sure you have spelled the image file name correctly in the index.html file.
- • When the browser opens, but you see HTML code instead of the background image, your index.html has been saved as a .rtf file (rich text file). Try editing the HTML file in another text editor.
Method 2 of 2: Understand HTML code
 Understand the anchor tag. HTML code consists of opening and closing tags. The a href = ""> tag is the start tag, and / a> is the end tag. This is called an anchor tag and is used for adding links to a web page.
 - The a tells a browser to create a link. The href is an abbreviation for HTML reference, the = tells the browser to change everything between ’ ’ create a link. Any URL can be placed between the two quotation marks.
- The / a> tells the browser that the anchor tag is closed.
- When you add text between a href = ""> and / a> that text becomes a clickable link on a web page. For instance: a href = "https://www.google.com"> Google / a> creates a link to Google.
 Understand the image tag. The img> tag is a closed tag. You can close it with img src = "" /> or img src = ""> / img>.
 - The img tag tells a browser to display an image. The src is an abbreviation for source, de = tells the browser to delete everything between the ’ ’ and retrieve the image from that location.
- The /> tells a browser to close the image tag.
- For example: {samp [} gets the image from that URL, then displays it in a web browser.
 Use this code everywhere. Now that you know this code, you can a href = "target url"> img src = "image url" /> / a> for adding clickable images to any web page with HTML code.


