Author:
Randy Alexander
Date Of Creation:
4 April 2021
Update Date:
1 July 2024
Content
This wikiHow teaches you how to install the latest version of Java Runtime Environment (JRE) on a Linux PC.
Steps
Method 1 of 4: Install on Non-RPM Linux
Open Java download page for Linux. You will see a number of options.

Click Linux. This link is in the middle of the page. Java installation file will be downloaded.- You can also click version Linux X64 if you want to install 64-bit Java.
Note down the file name. The latest Java version is the 8th version, but you may also need the updated version number after the "8u" section at the end of the filename.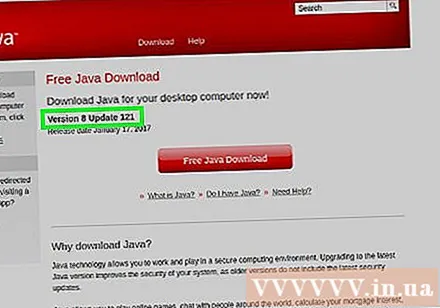
- For example, your file might be named "jre-8u151", this is version 8, update 151.

Open command line. This step will vary depending on the version of Linux, but you can usually find the command line by opening the Terminal app or clicking the bar at the top or bottom of the screen.
Change installation directory. Import CD enter the control panel, press the spacebar once, then enter the path (eg / usr / java / click on and then press ↵ Enter.

Enter the installation command. Type tar zxvfPress the spacebar once, and then enter the full name of the file. This will depend on the Java version and when you downloaded it.- As of October 2017, you will have to enter tar zxvf jre-8u151-linux-i586.tar.
Press ↵ Enter. Java will be installed on the computer in the folder titled "jre1.8.0_" where "", where "update" is the version number (eg: 151). advertisement
Method 2 of 4: Install on RPM Linux
Open Java download page for Linux. You will see a number of options.
Click Linux RPM in the middle of the page. The Java installation file for RPM will be downloaded.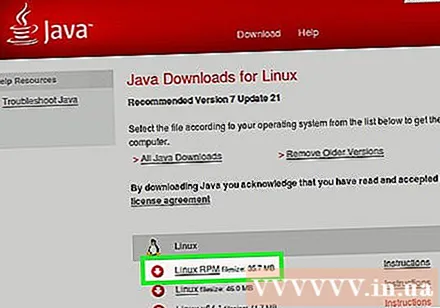
- You can also click version Linux RPM X64 if you want to install 64-bit Java.
Note down the file name. The latest Java version is the 8th version, but you may also need the updated version number after the "8u" section at the end of the filename.
- For example, your file might be named "jre-8u151", this is version 8 and update 151.
Open command line. This step will vary depending on the version of Linux, but you can usually find the command line by opening the Terminal app or clicking the bar at the top / bottom of the screen.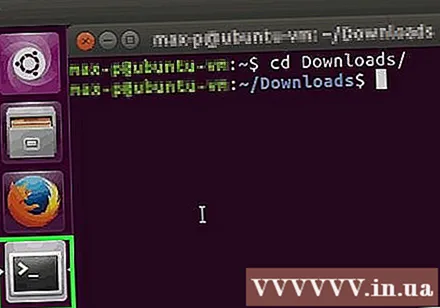
Enter the root command. Type sudo su and press ↵ Enter. The command line will ask for the user password.
Enter your account password. Type in the password for the account and tap ↵ Enter. As long as you have advanced access (or root) access to your account, this will allow you to install Java.
- If you don't have root access on the account, you'll need to enter the password for the account with root access.
Change installation directory. Import CD enter the control panel, press the spacebar once, then enter the path (eg / usr / java / click on then press ↵ Enter.
Enter the installation command. Type rpm -ivh, press the space bar once, enter the full name of the file, and then tap ↵ Enter. Java will be installed on the computer.
- The file name will depend on when you download it. As of October 2017, you will have to enter rpm -ivh jre-8u151-linux-i586.rpm then press ↵ Enter.
- Download file upgrade. Import rpm -Uvh jre-8u73-linux-i586.rpm and press ↵ Enter. This will check for updates for the Java package and apply them if possible. advertisement
Method 3 of 4: Install on Ubuntu (OpenJDK)
Open command line. Press Ctrl+Alt+T on your keyboard or click on the black frame icon with white "> _" on the left side of the screen.
Enter the update command. Type sudo apt-get update && sudo apt-get upgrade -y and press ↵ Enter. The package list will be refreshed and all available updates installed for you.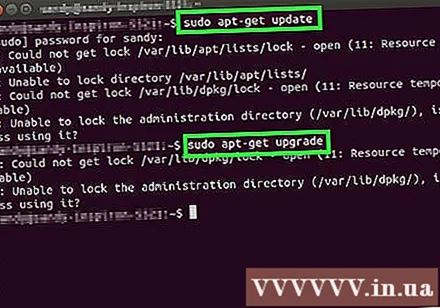
Enter your password if asked. If you're asked for a user password, you'll need to enter it and tap ↵ Enter.
Make sure Java is not installed. Import java -version and press ↵ Enter. If you see the message "The program 'java' can be found in the following packages", Java has not been installed on your computer.
- If Java is installed, you should see the command line reporting the current version of Java on your computer.
Enter the installation command. Import sudo apt-get install default-jre at the command line, then press ↵ Enter. Java will be installed into the default directory on your Ubuntu computer.
- If this command doesn't work, try typing sudo apt-get install openjdk-8-jdk for replacement
Method 4 of 4: Install on Ubuntu 16.04 via PPA
First of all, this is a third-party installation package so the Linux distribution's package management system (often referred to as the distro) cannot inventory this package, so use caution. First, though, you still have to press Ctrl+Alt+T to open the terminal.
Make sure the system is up to date. After importing sudo apt-get update && sudo apt-get upgrade -y Enter, the system will prompt you to enter the password, type in the password and press ↵ EnterNote that no periods or asterisks will appear as you type and this is normal.
- While this step isn't technically required, it's always recommended to do it before we install any content, so it's a good idea to keep your system up to date to avoid many problems.
Add the PPA repository to the system. Import sudo add-apt-repository ppa: webupd8team / java then press ↵ Enter.
Update the package lists again. Please type sudo apt-get update and wait for the packages to be refreshed.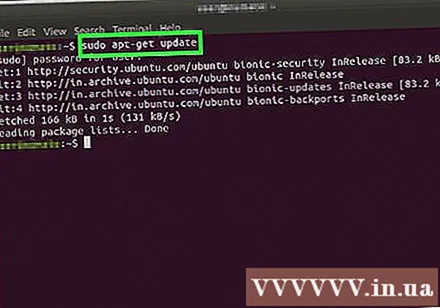
Install the package. Import sudo apt-get install oracle-java9-installer -y.
- You may be asked to enter a password, then enter and tap ↵ EnterNote that no periods or asterisks will appear as you type and this is normal.
Set Oracle Java as default. On many Ubuntu derivative, OpenJDK is usually the default Java used. If you want Oracle's Java to be used as default, you need to enter sudo apt install oracle-java9-set-default. advertisement
Advice
- Although there are many ways to load Java using a program interface (such as the graphical user interface - GUI), the installation process will take considerably less time if you use the command line.
Warning
- Oracle Java is no longer supported on Ubuntu. You can use OpenJDK (the free version of Oracle Java) instead.
- Oracle does not distribute package.deb, any Oracle Java package.deb comes from a third party and could harm your system.


