Author:
Frank Hunt
Date Of Creation:
16 March 2021
Update Date:
1 July 2024
![How to Create Apple ID / iCloud Account [3 Methods]](https://i.ytimg.com/vi/1TjeiIFLkmU/hqdefault.jpg)
Content
- To step
- Method 1 of 3: With your computer
- Method 2 of 3: With an iOS device
- Method 3 of 3: With OS X
Your iCloud account is linked to Apple's all-encompassing Apple ID. You can use this ID to log in to your Apple device or iCloud and to install iCloud on a Windows computer. The ID is tied to the information you need for iCloud, iMessages, the App Store and iTunes purchases, FaceTime, and many more things. You can create an Apple ID for free on the website or on an Apple device.
To step
Method 1 of 3: With your computer
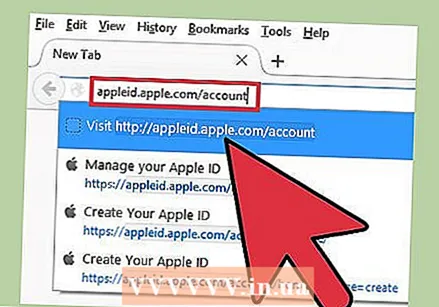 Go to the Apple ID website. An "Apple ID" and an "iCloud Account" are basically the same thing. iCloud has been part of the Apple ID system from the start. With an Apple ID you can access the documents you have stored on iCloud. With every Apple ID you get 5 GB of free storage space on iCloud. You can continue to use your Apple ID to make iTunes purchases and change your iCloud settings.
 - Go to appleid.apple.com/account to create an account. You can do this on your computer as well as on your mobile phone.
- Click on "Create Apple ID" at the top right of the page if you are not immediately forwarded to the correct page.
 Enter the email address you want to use as an Apple ID. You can use any email address for this, as long as it's not associated with another Apple ID. Make sure to use an email address that you can still access, as you will need to activate your account later.
 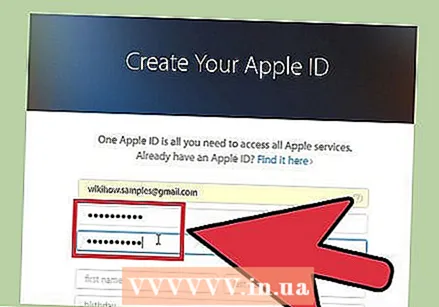 Choose a secure password that you will not soon forget. You will need this password to sign in to your Apple ID, so make sure you remember it. The password must also be secure, as it allows you to access your payment information, iTunes purchases, and personal documents.
 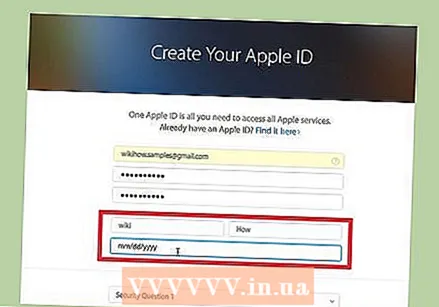 Enter your name and date of birth. You will have to enter your real details to be able to purchase things with your Apple ID.
 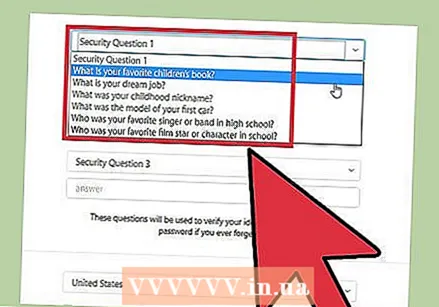 Select and answer three security questions. These questions are used to confirm your identity if you want to change your account information. It is very important that you remember the answers to the questions, because this can be requested every time you want to adjust data.
 - Write the questions and answers in a safe place if you're worried you might forget them.
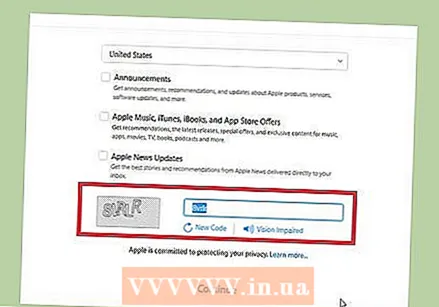 Set your email preferences and enter the captcha. Remove some checkmarks if you don't want to receive newsletters or other messages from Apple. Enter the captcha to prove you are not a robot.
 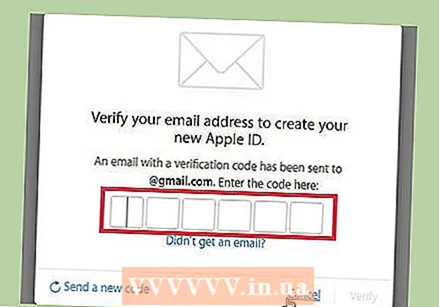 Verify your account. You will now receive an e-mail message with a code. Enter this code on the screen that now appears. Your account will now be verified and you will be redirected to the Account Management page.
  Use your new account. You can now use your new Apple ID to access the iCloud services. This includes Mac computers, iOS devices and iCloud for Windows.
Method 2 of 3: With an iOS device
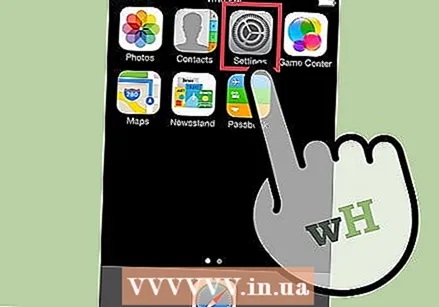 Open the Settings app. You can immediately create an Apple ID (iCloud account) on your iOS device. You can use this account to sync your settings and transfer files to iCloud.
 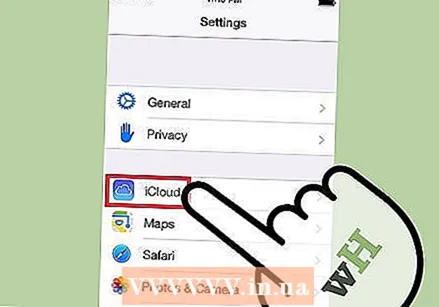 Press iCloud.’ Now the iCloud menu will open on your iOS device.
 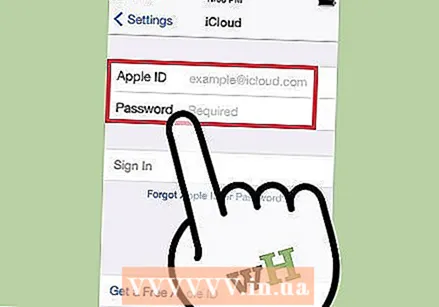 If you're currently signed in with a different Apple ID, you'll need to sign out first. You must be logged out to create an Apple ID (iCould account). To do this, press "Log out" at the bottom of the iCloud screen.
 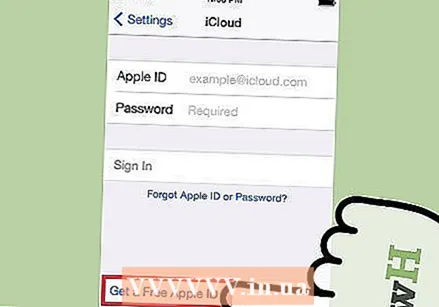 Press Create new Apple ID."You can now create a new account. Your Apple ID also gives you access to iCloud.
 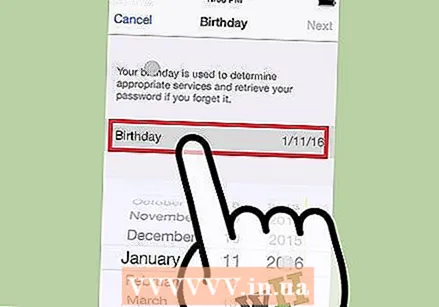 Enter your date of birth. The date of birth you enter determines which content you can view and is also used to reset your password.
 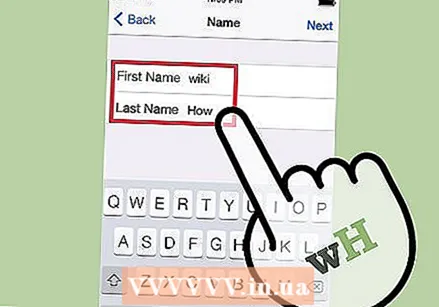 Fill in your name. You will now be asked for your name. Make sure this name is the same as the one on your bank account or credit card.
 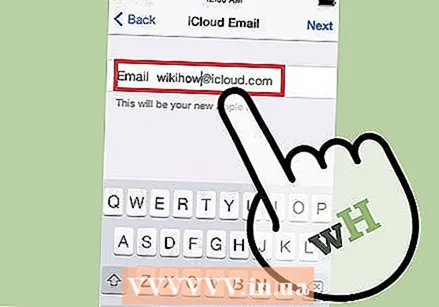 Enter your email address or create a free iCloud address. To create an Apple ID, you need an email address. You can use this address later to log in to your account. You can use an existing email address, but you can also create a free @ icloud.com address.
  Choose a password for your Apple ID. After entering your email address, you will be required to enter a password. Make sure this password is secure, as your Apple ID is tied to quite a bit of personal information. You will probably start using the ID and password on a regular basis, so it is wise to choose a password that you can easily remember.
 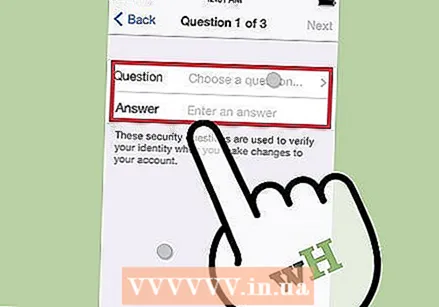 Select and answer three security questions. You will have to answer these questions if you want to change your account settings, so make sure you remember the answers.
 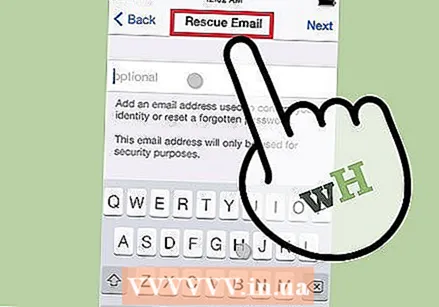 Enter an extra email address (optional). This is a second email address that you can use to reset your password. This can come in handy, for example, when you can no longer access your account.
 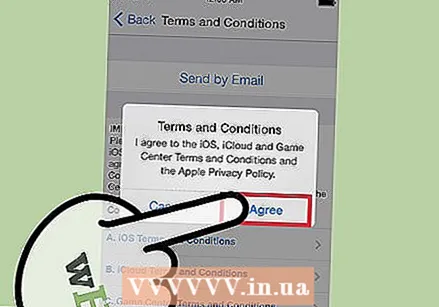 Finish creating your account. You will now see the conditions for creating an Apple ID. You must agree to this in order to create the account. Once you've done this, your account will be created and you will be logged in to the new ID.
 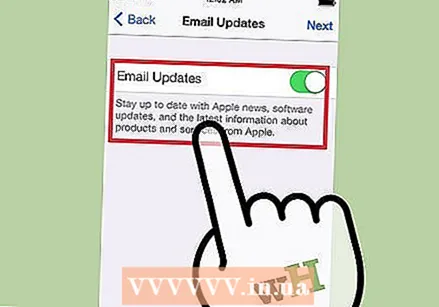 Use the App Store or the iTunes Store. If you are using the App Store or iTunes Store for the first time, you will need to sign in with your email address and password. You will also need to fill in more information, including your address and phone number. If you only want to download free apps and content, you do not need to enter any payment information.
Method 3 of 3: With OS X
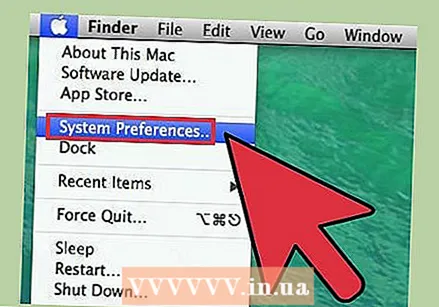 Click on the Apple menu and select System Preferences’. You can log in to your Mac computer with an Apple ID to link it to your iCloud account and settings. If you don't have an Apple ID, you can create one for free.
 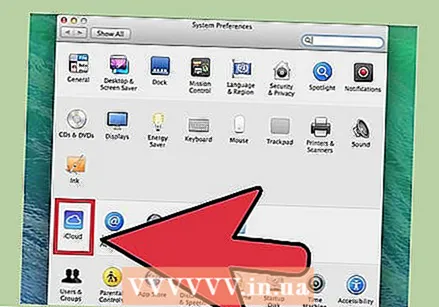 Select "iCloud" from the System Preferences menu. ICloud's settings will now open.
 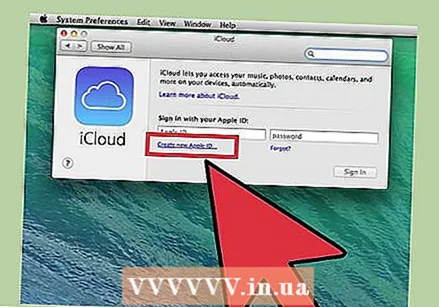 Click on "Create Apple ID" to create a new Apple ID. You will be immediately forwarded to the correct screen for this.
  Fill in the necessary information. You will have to fill out a form to create an Apple ID. You will have to enter an e-mail address and password, select security questions and enter personal information.
  Verify your account. A verification message will now be sent to the email address you entered. Enter the code from this message to verify your new account.


