Author:
Morris Wright
Date Of Creation:
21 April 2021
Update Date:
1 July 2024

Content
- To step
- Part 1 of 6: Create a plan
- Part 2 of 6: Cleaning the bathroom
- Part 3 of 6: Cleaning the kitchen
- Part 4 of 6: Cleaning the bedroom
- Part 5 of 6: Cleaning the living room
- Part 6 of 6: Finishing the cleanup
- Tips
- Warnings
- Necessities
Cleaning your house may seem like a natural thing to do, but if you think about it, you may not know where to start. How do you really clean a toilet properly, for example? We make it a streamlined process so that it becomes an easy and satisfying job. Once you're at it, you don't want to stop until your house is in perfect order.
To step
Part 1 of 6: Create a plan
 Decide how clean you want your home and how much time you have. Then you can draw up a cleaning schedule. Be honest with yourself about what you can do, how much time you have, and how motivated you are.
 - Work from top to bottom if you can. It makes no sense to vacuum first and then sweep crumbs onto the floor again from the table, or to dust something at the bottom and then sprinkle dust over it again a little later. If you don't have that much time, clean up the mess first and then move on to the more serious business.
- For the "moderately" busy person, it works better to do a little bit every day so that it does not accumulate, and also to do a day of big cleaning a few times a month. How you do it is completely up to you (unless you have roommates of course).
 Always have a list and an action plan. Know which rooms you will start and end in when cleaning (often working from the back door to the front door works best). This helps to structure the process so that you don't do things twice, especially if more people are involved in the cleaning.
 - Make a plan so that you vacuum, sweep and mop all rooms at the same time (so that your water doesn't get cold), so you don't have to keep switching tasks.
- The list of tasks below can serve as a general checklist, but you don't have to complete them in any particular order.
 Try to delegate tasks. If you live with others, cleaning shouldn't be your sole responsibility! You may need to take charge and create a turn schedule, but it's much better not to go it alone.
 - Make sure the tasks are appropriate for the age of your roommates; a primary school age child can tidy up their own room, teenagers can help clean the garage or bathroom, etc. It must also be fairly distributed; cleaning the toilet is not in proportion to tidying up the dining table.
Part 2 of 6: Cleaning the bathroom
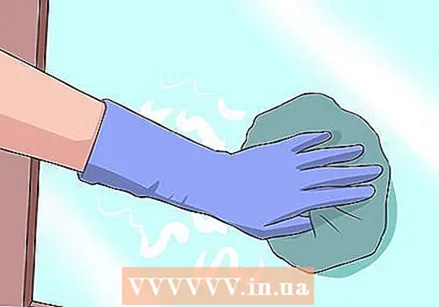
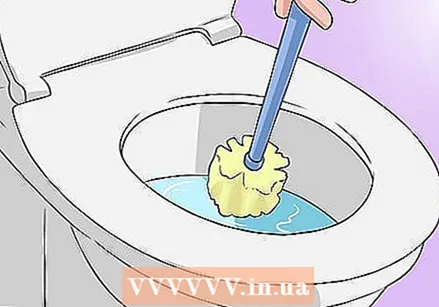 Clean the toilet. Yeah. Cleaning the toilet is one of the worst tasks, so get it over with as soon as possible. Put on a pair of rubber gloves (not the same ones you use for washing dishes) to protect your hands from the dirt and bacteria, and scrub the outside of the toilet bowl with hot water. Let the hot water soak for a while.
 - Then spray toilet cleaner into the bowl and under the rim. Leave it on for a minute and then scrub it clean with the toilet brush. Then continue.
- Then continue with the glasses. Spray it with a disinfectant spray and dry it with kitchen paper or a cloth.
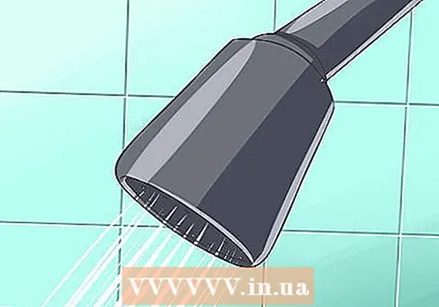 Clean the shower or bath. The shower or bath quickly gets dirty. A special shower cleaner and brush (plus some muscle power) work fine. If you don't have a shower cleaner, you can also use dishwashing liquid to remove greasiness in the tub or on the floor, just like you can remove greasiness from the dishes. Then move on to an antibacterial all-purpose cleaner such as Dettol.
 - If you want your shower to stay clean longer, you can use wax for the car. Don't use it on the floor or you could slip. To clean glass, you can dissolve half a cup of ammonia and 8 drops of dish soap in 4 liters of water.
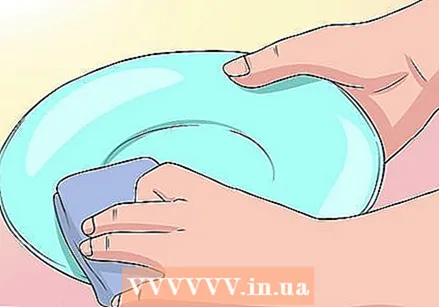
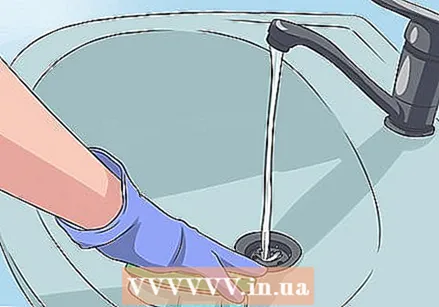 Clean the sink. Most washbasins are made of quite hard material, but first check whether your cleaning agent is suitable for the surface. Once you know that, you can spray it on. Leave it on for a minute to dissolve mold and bacteria, then scrub vigorously with a sponge. When it looks fresh and shiny again, rinse it with warm water and dry it with kitchen paper or a cloth.
 - If it has stubborn stains, you can scrub it with a brush. A brush with stiff bristles (with which you can also clean the shower) is fine.
 Clean the glass and mirrors. Many people think that glass cleaner cleans well. But it's actually for making it shine, not cleaning it. So it is not a substitute for soap, especially if your mirror is very dirty. Here's how to clean windows and mirrors:
 - First, wash the glass with a solution of hot water and dish soap using a cloth, sponge and squeegee. Then wipe it off with a dry, lint-free cloth or paper towel.
- If you want to clean your windows in an environmentally friendly way, do it with water and vinegar, dry it with a lint-free cloth, and then rub it with newspaper. No stripes! You have to have muscles, because it takes quite a bit of force to get the glass clean.
- You can also spray glass cleaner on a wad of kitchen paper and wipe the glass with it. The glass cleaner builds up a layer that makes it easier to remove stains and dust. If you don't use it properly, you will get streaks from glass cleaner. You can also use newspaper to wipe the glass after cleaning; the glass then becomes streak-free and it is a good way to use your old newspapers.
Part 3 of 6: Cleaning the kitchen
 Put the dishes in the dishwasher. A dishwasher will save you a lot of work if you use it properly. It is best to fully load the machine and turn it on immediately after eating.
 - It is better to wash large items such as pans by hand, because they often do not fit in the dishwasher.
- Your crockery will wear out faster in the dishwasher than if you wash it by hand, because the detergent is abrasive; wash your fine china and delicate wine glasses by hand.
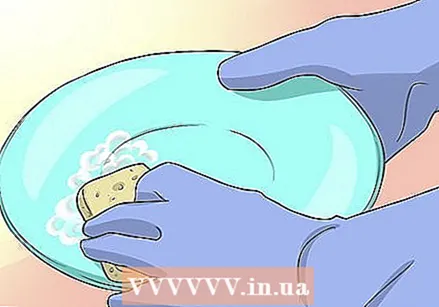 Wash the dishes by hand. It is easier to wash your dishes immediately after use; then you don't have to soak it or scrub it hard, because food scraps have not dried yet. Just wet your sponge or dish brush with hot water, spray some detergent on your dishes and scrub (all sides!) Thoroughly, then rinse with hot water.
 - If you usually soak your dishes anyway, imagine this: a bucket of brown water full of dirt, grease, food scraps, millions of bacteria and all the other things that come off your dirty dishes. Now you know how dirty (and unsanitary) it is to soak your dishes. If you let a caked oven dish soak for 15 minutes, that's fine, of course, but it's much better to wash your dirty dishes immediately after use so that you don't have to soak them.
 Also dry the dishes. If you don't dry your dishes, you can get water stains and bacteria on your dishes. If you wash your dishes by hand, put your dishes in a dish drainer and let them air dry thoroughly.
 - Make sure your sponge or washing-up brush is also thoroughly dry between the dishes, so that no bacteria can build up there.
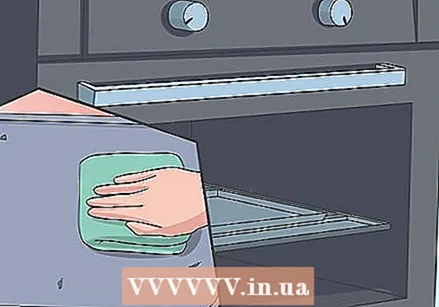 Clean the oven and microwave. Another tedious job is cleaning the microwave and oven, especially if you don't do it that often (you forget them quickly). But it is a job where you see the fastest results; your kitchen smells fresher when you prepare food, because no more leftovers can burn. Here are the details:
 - Check if the oven has a self-cleaning mode. That saves you a lot of work. If so, remove the grids and soak them in hot water, turn on the self-cleaning program, then wipe off any leftover ash from the bottom, clean the inside with an all-purpose cleaner and a wet cloth. If your oven does not have a self-cleaning function, take out the grids and let them soak, spray oven cleaner in the oven, let it soak, and then clean it with a sponge and brush.
- For the microwave you can use a bowl with vinegar, lemon and water, dish soap or glass cleaner. Put it in the microwave, turn it on for a few minutes, then wipe the inside with a cloth. All caked-on residues will then easily come off, making your microwave look like new again.
- By the way, you can read how to clean the sink in the section about the bathroom. A sink is a sink, after all.
 Clean up the cupboards. Now that you've had the hardest, it's time to tackle your lockers. It is up to you what makes sense to you. You can come up with a system that feels good and is practical.
 - Sometimes the easiest thing to do is to just take everything out and put it back again. Place the dishes with the dishes, the beautiful glasses with the beautiful glasses, the baking utensils with the baking utensils; well, you get the idea. Make sure the items you use the most are the easiest to reach.
Part 4 of 6: Cleaning the bedroom
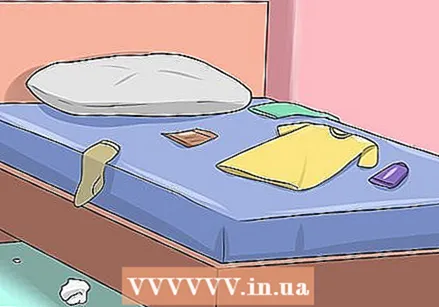 Clean up the mess. Again, we'll start from top to bottom. The first step is to get rid of or organize the little things. So tidy up those magazines, clothes and chocolate wraps next to your bed. Than you can really get started.
 - While cleaning the house, bring a garbage bag and a laundry bag. Then you can immediately pick up and dispose of everything without having to walk back and forth.
 Make your bed. Of course, making your bed seems a pointless task; you make a mess again in the evening; but if you do you will see that your room looks much better and feels. It makes cleaning the rest of the room more useful because once you are done it looks fantastic.
 - Of course you have to wash your bedding first and than make your bed. That also means your pillowcases and your flannel. Crawling in bed at night is wonderful, but it is even better to be in one clean to crawl into bed.
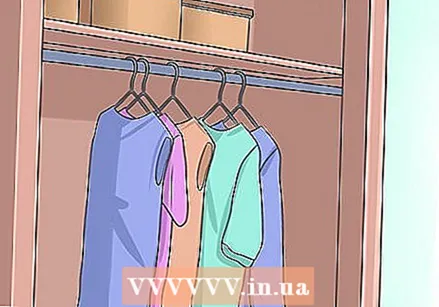 Clean up your closet. You should do this every day, but it often gets a bit out of hand. Make a good division in your mind: where do you put your pants, your shirts, your accessories, your underwear? Then put it neatly sort by sort, and put the things you wear the most on top.
 - Take a good look at what things you can get rid of. Chances are, there are a few (if not more) things you don't like anymore that are just taking up space. But don't just throw it away; probably you can give it to the cycle or the army of salvation.
 Dust, vacuum or mop, and spray a nice scent in the room. All those shelves, nooks and holes (not to mention the space under and behind your bed) are a paradise for dust and dander. To deal with that, you need a duster or hygienic wipes. If everything is dust-free, including the corners of the floor, you can vacuum and / or mop the room.
 - Be careful with certain objects, such as lampshades and curtains. You can also blow the dust off with a hair dryer.
- Top it off with a nice air freshener with lemon or lavender scent.
Part 5 of 6: Cleaning the living room
 Clean the floor. This depends on the type of floor you have: wood, tile, linoleum, or carpet all require a different method. Which method is suitable for your floor?
 - Vacuuming is the most effective way to get rid of all dust and other loose debris if you have carpet (and it's even necessary if you have pets).
- If you have a wooden floor or flagstone, you can wipe the floor with a dry mop (microfiber cloths work well). You can also use a special parquet brush if you have parquet. This is a non-electrical appliance with rotating brushes. Both options are less hassle than the vacuum cleaner and also ensure that you don't have to vacuum as often.
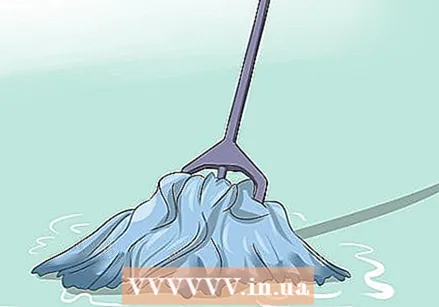
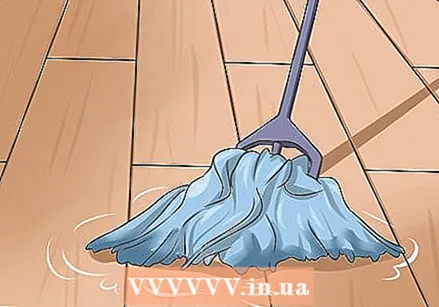
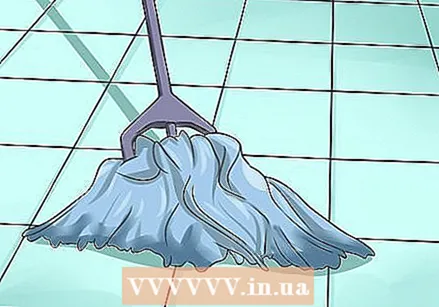 Mop the floor. There are new types of mop appliances, but nothing works better than an old-fashioned mop when you want to remove dirt from your floor. In the kitchen, this is mainly necessary to get rid of the grease so that the floor is radiantly clean again. If you have tiles or a textured floor, you can only get the dirt out of the edges with a mop.
 - There are a few types of jokes. A mop with strips of real fabric scrubs easier and lasts longer than a mop with a sponge. A good mop guarantees one thing: if you apply a little force, your floors will become really beautiful. Use hot water and a suitable cleaning agent for your floor (read the labels!).
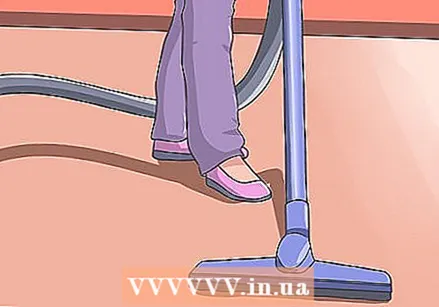 Control fleas if you have pets. The best remedy for fleas is your vacuum cleaner. Also, it is better not to take a carpet if you have pets. Carpet is a breeding ground for fleas (and all kinds of other things). If you have pets, vacuum daily. Then fleas cannot reproduce (because they need dander from animals and humans).
 - To kill fleas without poison, you can sprinkle some boric acid on your carpet after vacuuming and let it soak in. You will never have fleas again if you do this. You can buy boric acid online.
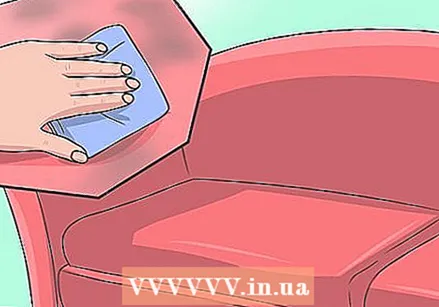 Dust your furniture. Tiny invisible dust mites are everywhere, and if you could see you would be dusting 24 hours a day. They are all over your house and can cause allergies. In addition to fabrics, vacuuming and mopping also help.
 - To dust your furniture, take a damp cloth or duster with which you run over the surfaces. Make circular movements so that you don't miss any spots and work in a specific direction throughout the room. You may enjoy using a scented furniture spray, such as Pledge.
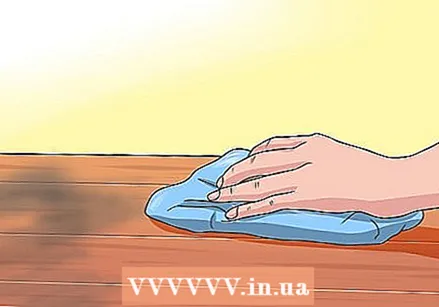 Scrub wood furniture. Just like glass cleaner, you don't clean with floor wax. First read the labels carefully so that you are sure that you are using the right product.
 - Some pieces of furniture can withstand water, so you have to clean them with soap and water first. Dry it off immediately.
- Then apply the recommended amount of wax and rub it in as directed. Then dust is less able to adhere to your furniture.
 Be careful with all-purpose cleaner. All-purpose cleaner is not safe for this everything. Make sure you read the labels carefully so that you know if it is suitable for the job you have in mind. You don't want to ruin your beautiful pieces of furniture, do you?
 - Never mix cleaning products. That can be very dangerous. Use them one at a time and read the directions for use on the label.
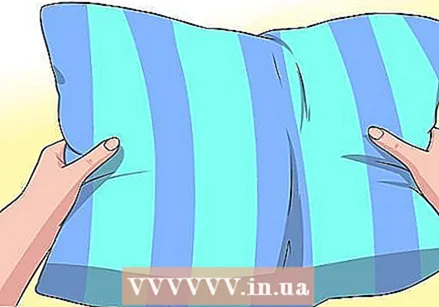 Tidy up small items and shake up the pillows. Now that everything is clean, it's time to tackle the little messes. Shake up the pillows, straighten rugs, put everything neatly in the room, as if you were putting your house up for sale. If there are too many items, put some in labeled boxes in a cupboard or storage; then you know where you put it.
 - When you're done, spray an air freshener around the room and sit down to enjoy your work. What have you forgotten? Lubricate the hinges? Cleaning the walls? Replace light bulbs?
Part 6 of 6: Finishing the cleanup
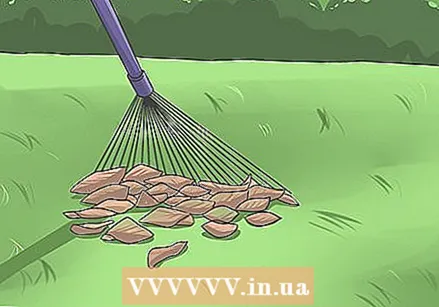 Don't forget outside. Chores around the house can contribute to a better living environment, but people often ignore this. Cleaning up leaves can prevent it from getting moldy. If you do it regularly, you will also be less bothered by insects and your garden will look tidier. And your grass grows much better if there are no leaves on it.
 - Do you not have a rake, or do you not feel like doing this hard work? A leaf blower saves you a lot of time!
- Cutting back plants (hedges, rose bushes, etc.) will help with water streaks and dirt on the walls of your home.
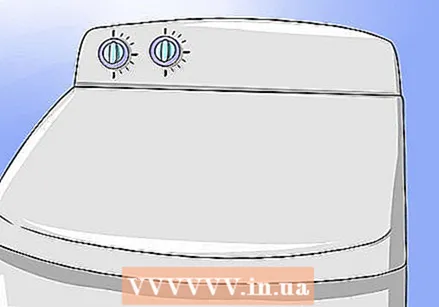 Do the laundry. That pile of dirty clothes on the floor has to go somewhere. Follow these instructions to wash:
 - Put your laundry in the washing machine.
- Pour detergent and fabric softener into the drawer.
- Set the washing machine to the correct program and press "Start".
 Dry the laundry. How you put your laundry from the washer into the dryer affects how it comes out. When the wash cycle is over, shake out your laundry to get rid of the worst creases and put them on than only put in the dryer. This way you will have less trouble with wrinkled clothes and your clothes will dry faster.
 - It also helps if you take the laundry out of the dryer while it is still warm. And it also feels so good, such a pile of warm clothes.
 Walk around the house and see if there is anything else you need to do. Although this was already quite a long list, it was not too bad. Other tasks can include:
 - Bringing out garbage bags
- Cleaning the kitchen table
- Change your bed
- Cleaning the walls
- Cleaning the refrigerator
Tips
- Clean the inside of the refrigerator with baking soda to get rid of bad odors.
- Many people swear by a wad of newspapers to clean glasses with glass cleaner.
- Do not put your dish sponge or brush near the dishes when they are drying. There are a lot of bacteria on it. If you have a dishwasher, you can also occasionally wash your sponge or dish brush. Replace sponges regularly. Rinse them out with hot water and wring them out well. Sterilize your sponge by putting it in the microwave for a while. Make sure your sponge is damp before putting it in the microwave! Otherwise it could catch fire. It doesn't have to be dripping wet; moist is fine.
- If your friends want to help you, time goes much faster, then you have someone to chat with while cleaning.
- Use loose socks as a dust cloth, that will save you a lot of money. You can also use old T-shirts as a cleaning cloth.
- Start by cleaning the living room, because that's what people who come to see will see first.
- Washing powder is very versatile, because you can also clean your oven or the bathroom with it, because it is less abrasive than scouring powder and it smells good.
- Take a shopping cart with you when you clean, you can take all your essentials in it.
- Don't worry too much about the mess. Take your time. Keep the house quiet and peaceful.
- Let baking soda soak in your rugs or carpet for 15 minutes. Then bad odors go out. Don't forget to vacuum afterwards.
Warnings
- Some cleaning products are NOT safe for your skin, linoleum floors, wood floors, surfaces and other things. This cannot be stressed enough, READ THE LABELS. It only takes a second, but saves you hundreds of dollars in case of a mistake. If you've read the labels and are still unsure, test it in an inconspicuous area first.
- Make sure your sponge is damp before putting it in the microwave. Also, be careful when handling the sponge after it comes out of the microwave as the sponge can be very hot!
- DO NOT MIX cleaning products! Doing this can cause a very dangerous chemical reaction. Use them one at a time and follow the warnings on the label.
Necessities
- Glass cleaner
- Polishing wax
- Cleaning agent for the bathroom
- Dishwashing liquid
- Kitchen paper, cloths, newspapers or sponges.
- Rubber gloves
- Brushes, scrubbers, etc.


