Content
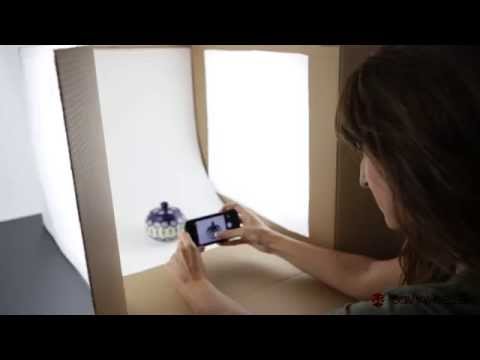
Close-up photography of detailed objects requires good lighting, a light box is a good solution. A light box provides the diffusion of light and a uniform, black background for you to place the object in front of. Professional light boxes can be very expensive, but you can make a cheaper version yourself at home. To make an inexpensive light box, first make a frame by cutting windows in the sides and top of a cardboard box. Cover each opening with fabric or tissue paper. Place a slightly curved piece of white poster board in the box to create the white background and cover the outside of each fabric-covered opening with black poster board to block out light as desired. You can then create the desired lighting effect with flashlights, desk lamps and other light sources.
To step
 Choose a box. The size must be appropriate for the objects you want to photograph. You may need to make boxes in different sizes.
 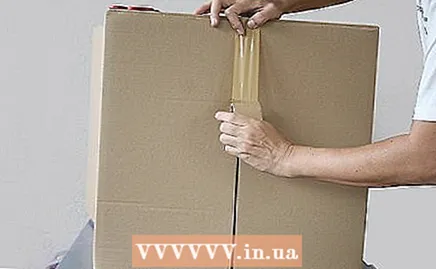 Tape the bottom of the box closed. Also stick the inner flaps with tape, so they don't get in the way.
 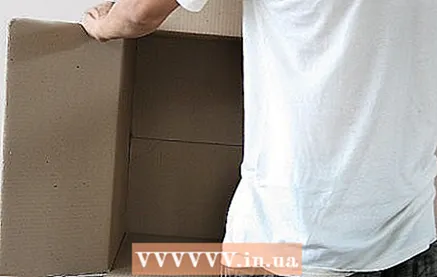 Lay the box on its side, with the opening facing you.
 Draw lines about an inch from the edge. Do this on all sides and the top. A standard ruler of 30 cm ensures a perfectly straight edge and has the correct width.
 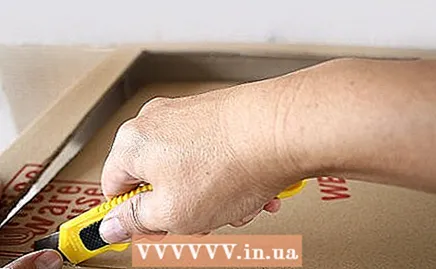 Use a utility knife to cut along the drawn lines. You can use the ruler as a guide to cut completely straight, but your lines don't have to be perfectly straight. Note: the flaps on the front of the box are still attached, they provide stability and make it easier to cut.
 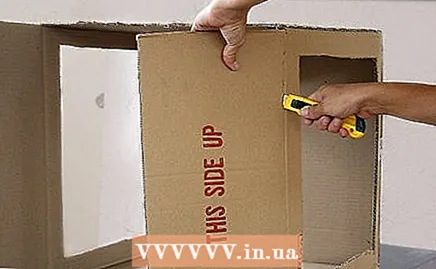 Cut off the flaps at the front with a utility knife.
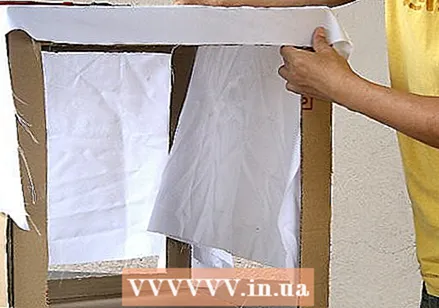 Cut a piece of white fabric (white muslin, nylon, or fleece) large enough to fit over the cutout. Then tape it to the outside of the box with masking tape. Start with 1 layer of fabric. After covering all of the crop and taking some test photos, you may find that you need several layers of fabric to get the right exposure.
 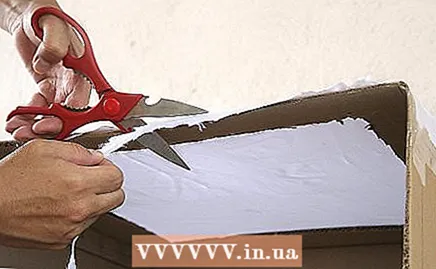 Use the Stanley knife and a scissors to remove any remaining pieces of cardboard from the front of the box.
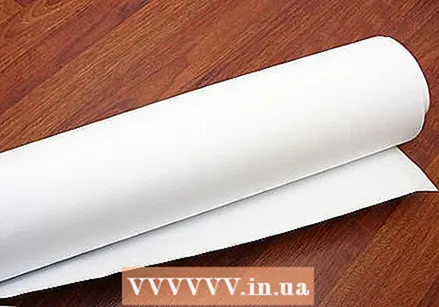 Cut out a piece of matte white poster board to fit the inside of the box. It should be in the shape of a rectangle and the width should be the same length as one side of the box, but the length should be twice as long.
 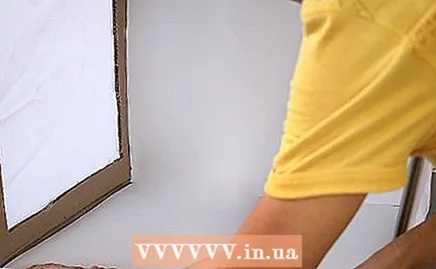 Place poster board in the box and bend it up towards the top of the box. Bend gently, taking care not to make any folds. Trim if necessary. This creates an infinitely smooth look as a background for your photos.
 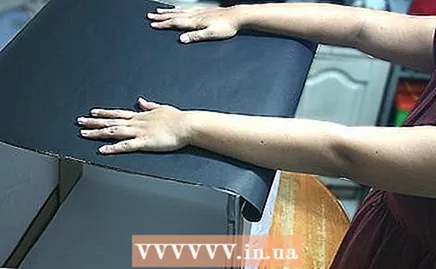 Cut a piece of matte black poster board into pieces large enough to fit over the tissue paper areas. This allows you to block light from certain directions when taking photos.
 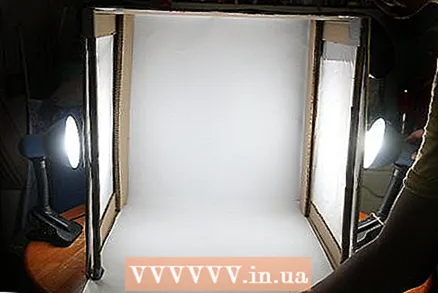 Add your lighting. Photo lights, flashes and even regular desk lamps can be placed on the sides or top of the box to create the desired exposure.
 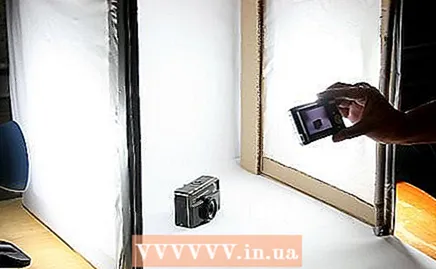 Take some test photos while you are at it. Check out how well the tissue paper distributes the light. Add additional layers of tissue paper if necessary. This photo was taken in the light box of this example and has not been edited (cropped). Now go and take beautiful pictures yourself!
 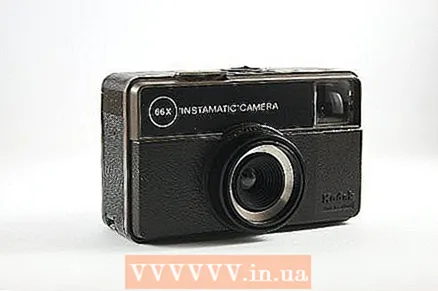 Ultimately, your photos should look neat, smooth, and devoid of all shades of gray. Check out this sample image taken with the light box described above.
 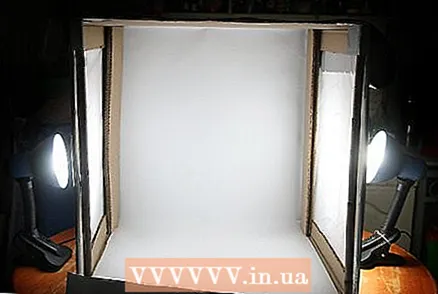 Ready.
Tips
- Make sure to use matte poster board instead of glossy. Glossy poster board can reflect the light and cause glare.
- If you are taking pictures from above, cut out the bottom of the box, the sides and top, and cover that too with tissue paper. Then place the box with the open side down and cut out a hole the size of your lens which is now the top. You can then place your object on a piece of white matte poster board and place the box over it, and then take the photo through the hole.
- Try different poster board colors, or even fabrics, to get the effect you want.
- If your camera has the function, learn how to handle the white balance-function. This feature can make a lot of difference when you take pictures this way.
- You may find it easy to remove the bottom of the box so you can simply put the box over the object.
Warnings
- Make sure the lamps do not start a fire!
- Also use flash units that are not on the camera.
- Be careful with the Stanley knife. You can't take pictures without fingers! Always cut off yourself and your hands.
Necessities
- Cardboard box (the size depends on what you are shooting)
- 2-4 sheets of white tissue paper
- 1 piece of matt white poster board
- 1 piece of matte black poster board
- Adhesive tape
- Tape
- 30 cm ruler
- Pencil or pen
- Scissors
- Creasing knife
- Photo lamps / flashes / desk lamps


