Author:
Roger Morrison
Date Of Creation:
7 September 2021
Update Date:
1 July 2024

Content
In this wikiHow, you'll learn how to use Google's "My Maps" feature to create a map of an area with landmarks, lines, and directions. Creating a personalized map is possible on all computers via Google's My Maps site, but if you have an Android, you can also do it via the My Maps app. The My Maps app is not available for iPhone, iPad or iPod touch.
To step
Method 1 of 2: On your desktop
 Open the Google website "My Maps". Go to https://www.google.com/maps/about/mymaps/.
 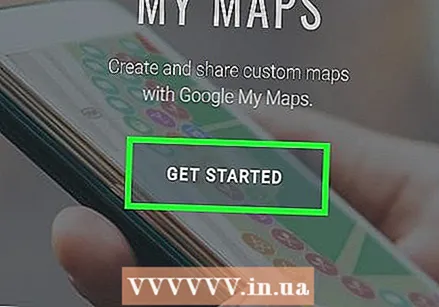 click on TO START at the bottom of the page.
- If you are not signed in to your Google account, you will be asked for your email address and password before continuing.
 click on + CREATE A NEW CARD. You can find this red button in the top left corner of the page.
 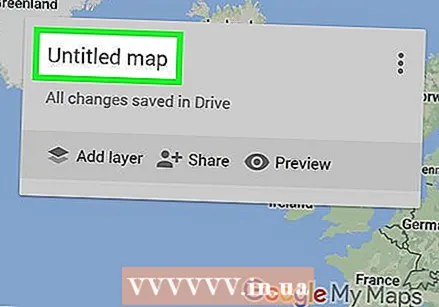 Rename your card. Click in the top left corner of the page Unnamed card, enter a new name and click Save.
 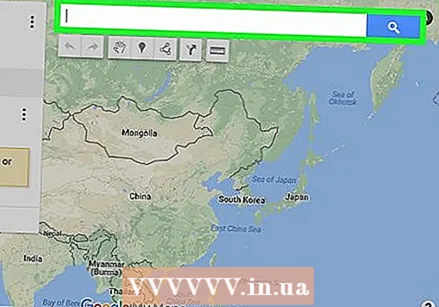 Navigate to a location. Click the search bar, type the name or address of a place and click ↵ Enter.
 - You can also click a specific location below the search bar after typing in an approximate location.
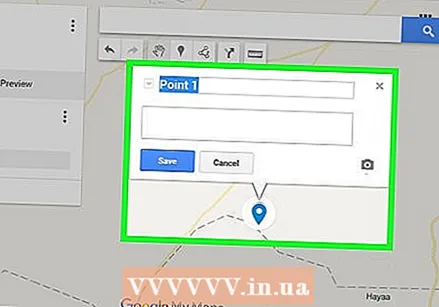 Add a place of interest. Click the flipped raindrop icon below the search bar, click a place you want to remember, then type a name and click Save. This will place a blue pin in the selected location on the map.
 - You can also add a description in the text field below the name field for the attraction.
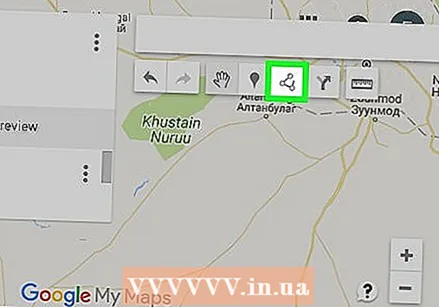 Click on the icon for "Draw a line". Click the line-and-dot icon to the right of the raindrop icon below the search bar. A drop-down menu will appear with the following options:
 - Add line or shape - With this you can sketch an area or measure the distance between two points.
- Add driving route - With this you can draw lines that run on the roads between two or more points.
- Add cycle route - With this you can draw lines that run on the roads between two or more points.
- Add walking route - With this you can draw lines that run on the roads between two or more points.
 Click on an option. This changes your cursor into a plus sign that you can use to draw your line (s).
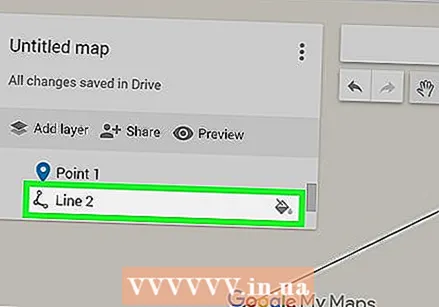
 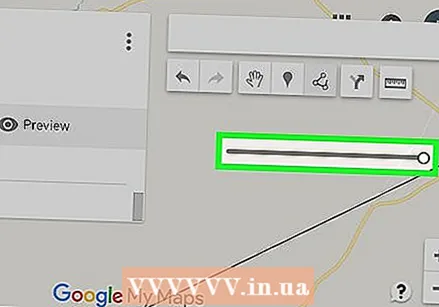 Create a line or route. Click on a point where you want the line to begin, click on the point where you want the line to stop, then click on the dot that appears at the end of the line to open the name field. Enter a name for your line or route and click ↵ Enter.
  Click on the icon for "Add directions". It looks like a deflecting arrow; you will find it to the right of the "Draw a line" icon. This will display an "A" field and a "B" field at the bottom left of the page.
 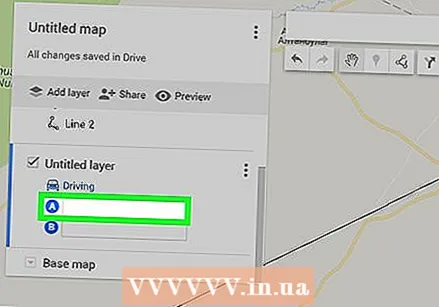 Enter the starting address of your directions. Do this in the "A" field at the bottom left of the page.
  Enter the end address of your directions. Do this in the "B" field at the bottom left of the page. This will cause a line to appear between the "A" and "B" addresses with directions.
  Close the card when you are done. As long as you are connected to the internet, your changes will be saved in Google Drive.
Method 2 of 2: On Android
 Open My Maps. This app is red with a white location marker on it. This will open your My Maps account if you are logged in.
 - If you are not logged in, enter your email address and password when prompted.
 click on + at the bottom right of the screen. A pop-up menu will appear.
 - You can also click at the top left ☰ click, and then click + Create new map in the selection menu.
 Give your card a name. Type a name for your card in the "Title" field and click OK. This will create your map.
 - You can also add a description in the "Description" field if you wish.
 Navigate to a place. Tap the search bar at the top of the screen, enter the name or address of a place, and then tap the name or address of the place from the drop-down list below the search bar. This will display a map of the selected place and the surrounding area.
 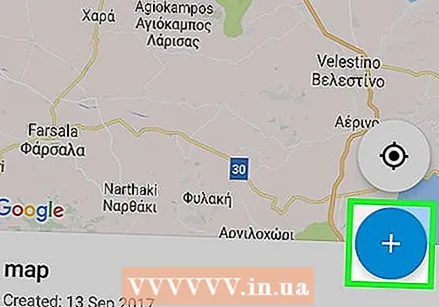 Tap again + . This is at the bottom right of the screen. A pop-up menu will appear with the following options:
 - Add a new point - Create a placemark for a location.
- Add a new line - Create a line from one point to another.
 Choose an option. Tap on Add a new point or Add a new line.
 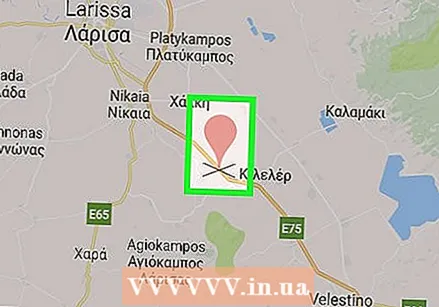 Make a point or line. The steps for this depend on the option you have chosen:
 - Add a new point - Tap and drag the screen until the red drop-shaped marker is over the spot you want to mark, then tap Select this location. Enter a name and tap ✓.
- Add a new line - Tap and drag the screen until the Xicon is above where you want to start your line, tap +, and repeat until your line crosses all the desired points. Tap on ✓, enter a name, and then tap again ✓.
 Close the app when you are done. As long as you have an internet connection, your changes will be saved to Google Drive.
Tips
- You can add images to saved locations and directions in Google Maps by clicking the camera icon and selecting a photo or inserting a link.


