Author:
Charles Brown
Date Of Creation:
9 February 2021
Update Date:
1 July 2024
Content
- To step
- Method 1 of 3: Make a simple braid
- Method 2 of 3: Make a French braid
- Method 3 of 3: Make a little side braid
- Tips
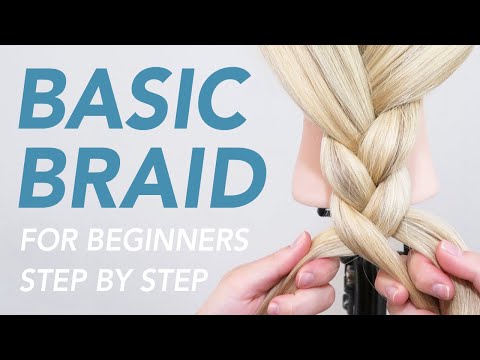
Braiding hair is easy and fun to do. Once you know how to make a simple braid, you can experiment with other, more complicated hairstyles. This article will show you how to make a simple braid as well as some more intricate braids using the simple braiding technique.
To step
Method 1 of 3: Make a simple braid
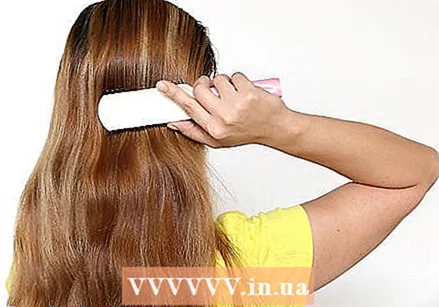 Comb or brush your hair beforehand and make sure it is free of tangles. Comb out your hair, starting at the ends and working your way up to your roots. If your hair is very frizzy, consider applying a little hair oil or cream to smooth your hair.
  Divide your hair into three equal sections at the bottom of your neck. You have one section on the right, one in the middle and one on the left. Hold the left section in your left hand and the right section in your right.
 - If you want a braid on both sides of your head, part your hair in the middle. Choose one side to braid first. Divide the hair into three sections on that side. Try to make the braid just behind your ear for an elegant chic look.
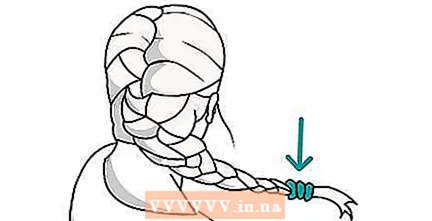
 Tie a hair tie around the end of the braid. You can make the braid as long or as short as you want. Most people don't braid the last 3 to 5 inches of their hair. You can choose not to braid a longer piece if you like. Hold the end of your braid tightly with one hand and use your other hand to wrap a hair tie around the end of your braid. Make sure the hair tie is secure. If it is too loose around the braid, you may need to wrap it around your hair a few more times.
 - Use a hair tie that matches your hair color: black, brown, or light brown / blonde.
- If you have dark red hair, opt for a brown hair tie. If your hair is a lighter red, use a beige hair tie.
- If you are making two braids, repeat the entire process on the other side of your head.
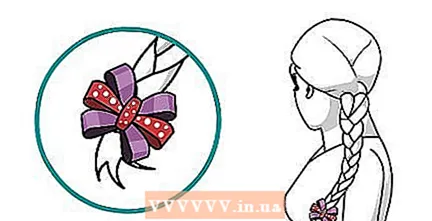 Consider attaching a ribbon or pretty hairpin to the end of your braid. You can tie a thick ribbon around the end of your braid and tie it into a bow. You can also put a silk flower in your braid or attach a pretty hairpin to your braid. This is an excellent way to make a regular braid look special. Here are some ideas to get you started:
 - When it's summer, consider tucking an artificial flower like a silk hibiscus or orchid into your braid for a tropical look.
- When it's fall, consider attaching a bronze, leather, or wood hairpin to your braid.
- When it's winter, opt for a delicate silver hairpin with transparent rhinestones. You can also create a festive look by using a red and green ribbon for Christmas, or a blue and white ribbon with Hanukkah.
- When it's spring, stick to ribbons, delicate flowers, pastels and bright colors.
Method 2 of 3: Make a French braid
 Tie the braid with a hair tie. Whether you decide to stop braiding at the bottom of your neck or only at the last few inches of your hair, you will need to tie your braid. Buy a hair tie that matches your hair color and wrap it around the end of your braid often enough so that it doesn't slip off.
 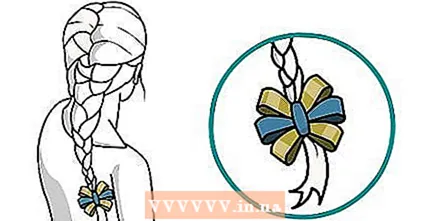 Consider tying a ribbon around the end of your braid after securing it with a hair tie. This way you can help hide the hair tie. You can also use a hairpin or a silk flower. Here are a few more ideas to get you started:
 - Be inspired by the season. Tuck a silk hibiscus into your braid when it's summer. Wear a leather hairpin in the fall.
- Be inspired by the holidays. When it's Halloween, tie an orange and black bow at the end of your braid. You can even glue a plastic spider in the center of the bow if you want.
- Match the decoration to your outfit. If you are wearing an elegant dark blue evening dress with silver decorations, then a delicate silver hairpin with transparent or white crystals will go well with it.
- Match the decoration to the occasion. If you're going to a sports game, consider tying a ribbon around your braid in the colors of your favorite team.
Method 3 of 3: Make a little side braid
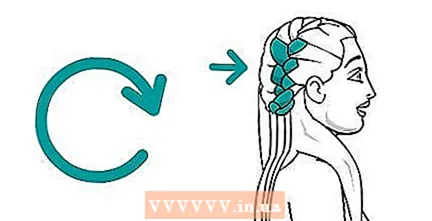
 Make a side part. The side part should be above one of your eyebrows. You start to braid at this part and then work your way to the temple on the other side.
 - This side braid is very suitable for shorter hairstyles.
 Keep adding plucking and continuing to braid. Try to make the braid between your ear and your side part. While braiding, try to keep the sections as tight as possible and smooth out your hair. You'll end up with a smoother, neater braid that way. You can always massage the braid later to loosen it up.
 - If you're braiding your hair or doing a reverse French braid, don't forget the outer sections below through the middle section instead of over it.
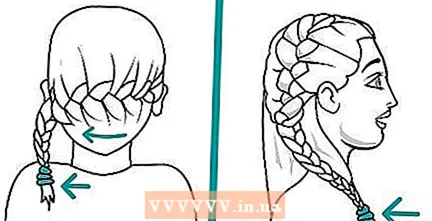 Stop braiding at a distance of 2-3 inches from the bottom of your neck. Then, make a horizontal French braid across the back of your head until you reach the other side of your neck. You can now secure the braid with a hair tie. You can also continue to make a regular braid and tie the braid 3 to 5 inches away from your ends.
  Consider adding decorations to the end of your braid after you tie it. This will not only help hide the hair tie, but also make your braid look more interesting. Here are some ideas to get you started:
 - Tuck a silk flower into your braid to create a boho look. The bigger the flower, the better.
- Consider twisting the rest of the braid into a bun and securing it with bobby pins. You can then tuck a decorated hairpin into the bun.
- If you made a small side braid, consider securing it with a thin strip of leather and letting the rest of your hair hang loose to create a boho or elf look.
Tips
- If you have short hair, you can make your braid look longer by tying a long, loose ribbon around the end.
- If you have long, thick and curly hair, you will get a nice braid with a clear texture. If you have loose strands of hair hanging around your face, consider straightening them for some variation.
- A braid lasts longer in dirty, unwashed hair. For best results, don't wash your hair before braiding. The natural fat in your hair helps keep your braid in your hair.
- If your hair is very smooth and slippery, your braid may not last very long. Before you start braiding, consider applying styling mousse to your hair.
- You may need to practice to master braiding. Don't get discouraged if your first braid doesn't turn out very pretty.
- Consider using two mirrors, one in front of you and one behind you. This way you can see the back of your head while braiding.
- When you have mastered making a simple braid, you can challenge yourself by making a French braid or braiding your hair. In doing so, you basically make a reverse French braid. You can also learn to make a four-section braid.
- Try to practice on a girlfriend if possible.
- Also watch videos about braiding. The MakeUpWearables YouTube channel has great videos that also explain more intricate braids so you can challenge yourself.
- Make sure to practice braiding thinner and thicker hair.


