Author:
Tamara Smith
Date Of Creation:
19 January 2021
Update Date:
1 July 2024

Content
- To step
- Method 1 of 6: Prepare your blanket
- Method 2 of 6: The basics: starting chain and stitches
- Method 4 of 6: Blanket of sticks
- Method 5 of 6: Blanket from Granny Squares
- Method 6 of 6: Add decorations
- Warnings
- Necessities
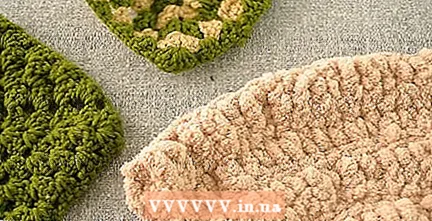
A homemade blanket makes a wonderful gift for a baby, and crocheting is a wonderful way to make one. Make a blanket for your own baby or as a maternity gift using one of the methods below.
To step
Method 1 of 6: Prepare your blanket
 Choose a size. You have baby blankets in all kinds of different sizes. Before you start you will have to decide how big it should be. Here are some common baby and child blanket sizes. The small sizes are nice to cover a newborn with; if you want your blanket to last you better choose a larger size.
 - Maternity blanket - 90 x 90 cm
- Baby crib blanket - 90 x 135 cm
- Toddler blanket - 100 x 150 cm
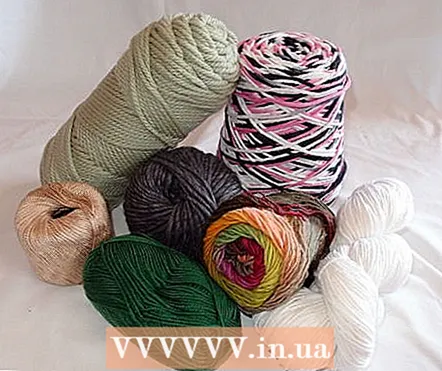
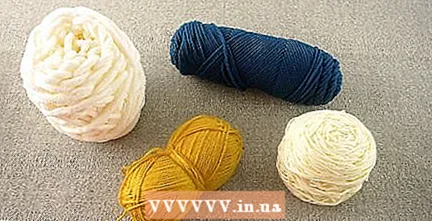 Choose your yarn. There are all kinds of different yarns. When you are just starting out, it is easiest to work with smooth yarn. Yarn is also classified by weight, that is, the thickness of the thread. The thickness of the yarn will determine the size of your stitches, how the end result will look and feel, and what size crochet hook you need. The time you need to complete your project also depends on the yarn size. The yarn thickness is always stated on the wrapper; it varies from lace yarn to super thick. The following are suitable variants for baby blankets:
 - 1 - Super thin or thin: suitable for light, lace-like blankets
- 2 - Thin or sports yarn: light but still nice and warm
- 3 - Quite thick: warm but not too heavy blankets
- 4 - Thick: a bit heavier but nice and fast and easy to work with
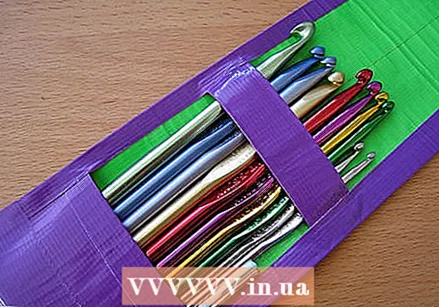
 Choose your crochet hook. You have crochet hooks in different thicknesses. In the Netherlands, these are indicated by numbers, the number of millimeters that the crochet hook is thick. The higher the number, the thicker the crochet hook. So a number 6 is thicker than a number 4. In general you choose a thicker crochet hook for thicker yarn. The following combinations are common:
 - Thin - 4 mm
- Sport - 4.5 mm
- Thick sports yarn - 5 mm
- Super thick - 5.5 to 6 mm
Method 2 of 6: The basics: starting chain and stitches
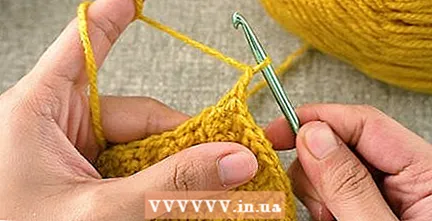
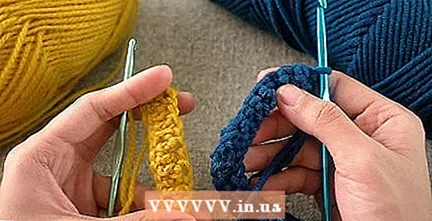 Know your stitches. There are all kinds of different crochet stitches and techniques, but most of them are a combination of two basic stitches: the single crochet (sc) and the treble (dc).
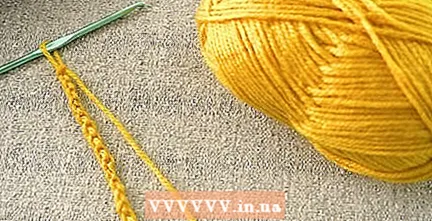
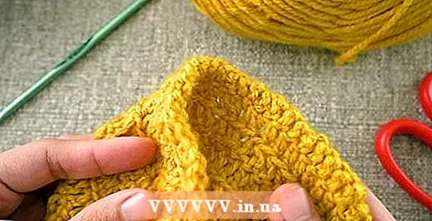
 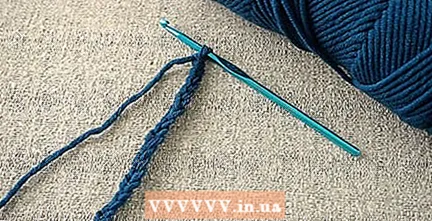 Start your blanket with a foundation chain. Make a starting chain with thick yarn and a 5 mm needle. While crocheting, check every few stitches that your foundation chain is not twisted. Straighten if necessary. Make sure your row Vs are always at the front.
 - For a blanket of 90 by 90 cm you make a chain of 150 chains.
- For a blanket of 90 by 135 cm, make a chain of 150 chains.
- For a blanket of 100 by 150 cm, make a chain of 175 chains.
 Continue crocheting this way until you have made the desired number of rows. The exact number will depend on your hook consistency, but here are some averages:
 - For a blanket of 90 by 90 cm you make 70 turns.
- For a blanket of 90 by 135 cm you make 105 turns.
- For a blanket of 100 by 150 cm you make 110 turns.
 Check your work regularly. It is very wise to stop and check your work from time to time. Count your stitches to know if you have the same number of stitches on each row. Check for errors. Measure your work with a tape measure to see how far you are. If you discover an error, you can do the following:
 - Pull your needle out of its loop and gently pull on the yarn. Your stitches will now come loose.
- Keep pulling gently until you get to the mistake. Extend your work to one stitch before the mistake.
- Insert your crochet hook into the loop of that stitch and continue working from that point.
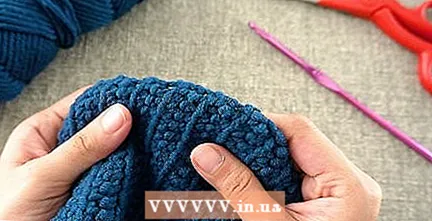 Finish the blanket. When your blanket has reached the desired length, work all the way to the end of your last row. Then you can make a border, cut your yarn and work up the loose ends.
 - For a simple edging, flip your work over so you're facing the right side, then rotate it 90 degrees. Chain 1 and insert your needle into the corner of your work. Make 2 single crochets in the corner stitch. Make single crochets along the entire edge of your work until you reach the next corner and make 3 single crochets in the corner. Continue in this way until you return to your starting point. If you want you can add a second round.
- To tie off, chain 1 and pull it into a large loop. Pull your needle out of the loop and cut the thread 6 inches from the last stitch. Pull the end of the thread through the loop and tighten the knot.
- To tie off the loose strands, hold your work wrong side towards you. Insert the thread into an embroidery needle. Insert the needle through the bottom of a few stitches (about 5 cm). Skip the second half of the last stitch, then stitch back through the same stitches, about an inch. Pull the thread and cut close to the work.
Method 4 of 6: Blanket of sticks
 Start your blanket with a foundation chain. Use a 5 mm crochet hook and matching yarn. Regularly take the time to check that your basic chain is not twisted. Correct this if necessary, make sure that the row of V's is always turned towards you.
 - For a blanket of 90 * 90 cm: Chain 150
- For a blanket of 90 * 135: 150 chain
- For a blanket of 100 * 150: 175 chain
 Continue crocheting until you have made the desired number of rows. The exact number depends on how tight you crochet, but here are some guidelines:
 - For a blanket of 90 * 90 cm: 48 turns
- For a blanket of 90 * 135: 72 rpm
- For a blanket of 100 * 150: 80 rpm
 Check your work regularly. It is wise to stop and check your work now and then. Count your stitches to make sure you have the same number every row. Look for mistakes.Measure your work with a tape measure to know if you are almost far enough. If you discover an error, you can do the following:
 - Pull your needle out of the loop and gently pull the end of the thread. Your stitches will come loose.
- Keep pulling gently until you get to your mistake. Take the work out to a stitch for the mistake.
- Insert your crochet hook into the loop of that stitch, and continue crocheting from there.
 Finish the blanket. When your blanket is long enough, continue to the end of your last row. Then you can make an edging, cut your thread and work up the loose ends.
 - For a simple edge, turn your work so that the right side is in front of you, then rotate it 90 degrees. Chain 1 and insert your needle into the corner of your work. Make three single crochets in that corner stitch. Crochet single crochets all along the side of your work until you reach the next corner, make 2 single crochets in that corner. Continue in the same way until you reach your starting point. If you want you can work a second row in the same way.
- To tie off, chain 1 and pull a large loop in the yarn. Pull the crochet hook out of the loop and cut the thread 6 inches from the stitch. Pull the thread through the loop and pull it tight.
- To finish the loose ends, keep the work with the back towards you. Pass the thread through an embroidery needle. Insert the needle through the bottom of a few stitches, about 2 inches (5 cm). Skip the last half of the last stitch, then pass the needle back through the same stitches, about an inch. Pull the thread and cut the thread close to the work.
Method 5 of 6: Blanket from Granny Squares
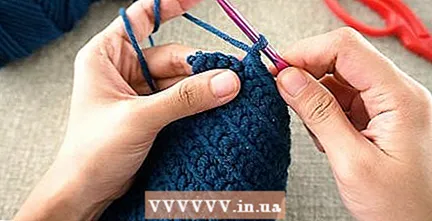
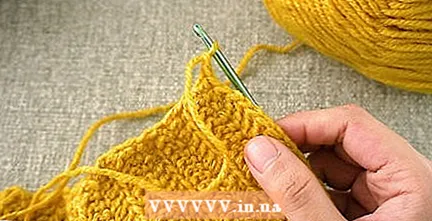
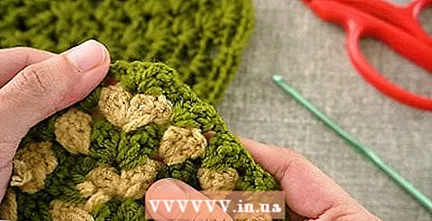
 Get to know the design and technology. A Granny Square consists of chains and groups of sticks. It is not worked in back and forth rows but in rounds. By combining a number of small squares you can make blankets and all kinds of other workpieces. But you can also easily make a blanket that is in fact one big Granny Square.
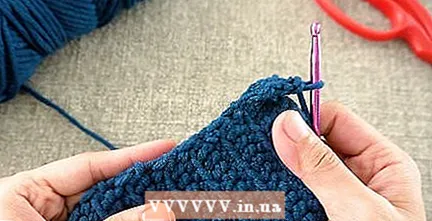
 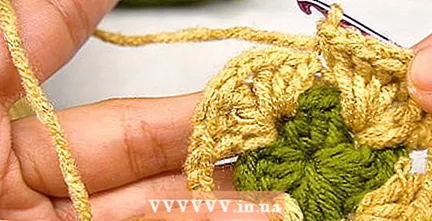 Crochet the second round. The second round expands your first corner.
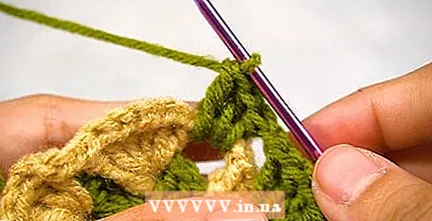
 - Make slip stitches on top of the first three stitches until you reach the first corner.
- You are now going to work in the corner: insert your needle into the hole and work 3 chain stitches (these count as the first treble crochet), 2 treble crochets, 2 chain stitches, 3 treble crochets.
- You will now arrive at one side of your square. Chain 2 to "bridge" the treble crochets from the previous round. In the next corner you work (3 treble crochets, 2 chain stitches, 3 treble crochets).
- Chain 2 again, and continue like this until you reach your starting point again.
- Close the round with a slip stitch in the top stitch of your "turning loop".
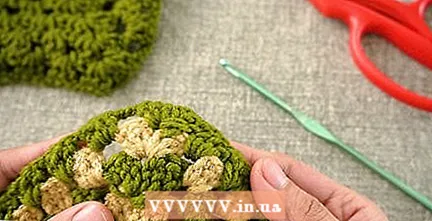
 Make more and more laps. You repeat the third round over and over until your blanket is the size you want. {
 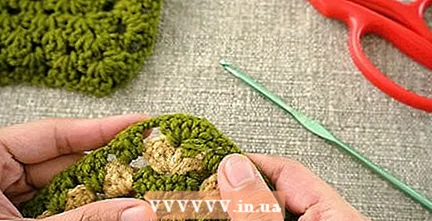 Finish your blanket. For the finish you can add a simple border. Tie off and work up the loose ends.
 - For a simple border, work as follows: chain 1 and insert your crochet hook into the corner of your work. Make three single crochets in the corner. Crochet single crochets all along the side of your work until you reach the next corner; crochet three single crochets in the corner; keep it up until you get back to your starting point. If you want you can crochet a second round of single crochet.
- To tie off, chain 1 and pull a large loop. Pull the crochet hook out of the loop and cut your yarn 15 cm from the work. Pull the end of the thread out of the loop and pull firmly.
- To finish the loose threads, hold your work wrong side towards you. Insert the end of the thread into an embroidery needle. Insert the needle through the bottom of several stitches (about 5 cm). Skip the second half of the last stitch, pass the needle back through a number of stitches (2.5 cm). Pull the thread through and cut the end of your thread short on the work.
Method 6 of 6: Add decorations
 Brighten up your blanket with fun decorations. The directions for a simple border can be found above. In this section, we'll cover a few more exciting ways to finish your blanket.
 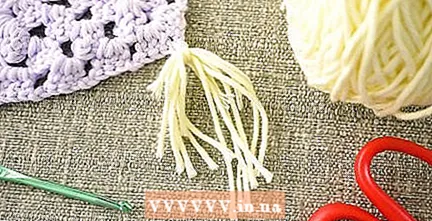 Make fringe. Fringe is a really easy way to finish a blanket. You can make a simple fringe as follows:
 - Think about how long your fringe should be. Find a piece of cardboard or something else that size (eg, a book or a CD case). So if you want 7 cm fringe, look for something that is 7 cm wide.
- Wrap your yarn around the cardboard several times.
- Take a pair of scissors and cut the wraps once. You now have a bunch of double length threads.
- Insert a crochet hook at the top of a stitch at the end of your blanket.
- Take two pieces of the cut thread and fold them together so that you have a loop at the top.
- Put your crochet hook through that loop and pull that loop through the stitch of your blanket.
- Pull out the crochet hook and pull the loose ends of your threads through the loop. Put on carefully.
- Skip two stitches and make another fringe. Continue like this to the end of your side. Then make fringe on the other end as well.
 Make a trim with two colors. A simple edge of single crochet looks nicer with two colors. Here's how that goes. Follow the instructions above to make a single crochet border all the way around your blanket. In the last stitch you change color.
 - To change color, make the last single crochet with color A to the point where you have two loops on your hook.
- Let go of color A and pick up color B.
- Yarn over with color B and pull the needle through the other two loops to complete the stitch.
- Cut color A at 15 cm from the piece.
- Now work single crochets with color B until you are at the end of the round again. Make a slip stitch in the first stitch of the round, fasten off and work off the loose ends.
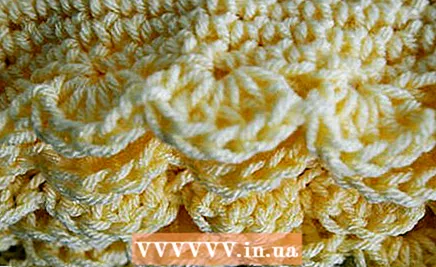
 Make a shell border. A shell trim is a classic and fun way to finish a baby blanket. You can make a shell border like this:
 - Crochet single crochets around your entire blanket, in the corners you make three single crochets in one stitch.
- Close the round with a slip stitch in the first stitch.
- Skip one stitch, make 5 double crochets in the next stitch and then a slip stitch in the stitch after that. Keep this pattern for the entire side.
- When you get to the corner, make 1 chain stitch, 1 slip stitch in the first stitch of the next side, and continue the pattern again.
- Go around like this until you get back to your starting point. Close the round with a slip stitch, fasten off and work away the loose threads.
Warnings
- Fringes can be dangerous for babies and small children. So if you're using fringe to decorate your blanket, it should be very short.
Necessities
- Crochet hooks
- Yarn
- Embroidery needle
- Tape measure or ruler


