Author:
Janice Evans
Date Of Creation:
28 July 2021
Update Date:
23 June 2024

Content
Valuable tips for decorating antique furniture. Tips on how to finish furniture professionally, without harming its safety and integrity. Save your investment.
Steps
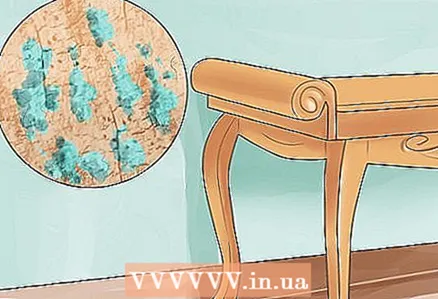 1 Make sure not to remove the patina from expensive antiques. You don't want to take a $ 1000 table and turn it into a $ 100 table after finishing.
 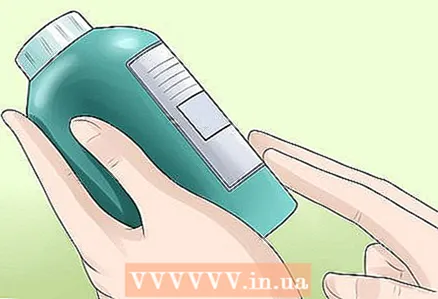 2 Always read and understand the instructions on all chemical and solvent labels you use before starting work. And always work in a well-ventilated area. A specialist or shop assistant can also serve as a source of information regarding this project, its steps and required materials.
  3 Cleaning or stripping: Decide if you will remove the old finish or clean it thoroughly... Perhaps a restorative varnish will bring it back to its original luster. If you are cleaning an unpainted area, a toothbrush with hand wash containing pumice is a good choice to get into all the cracks. After cleaning, you will know better what you are dealing with. In many cases, you can save a lot of time by finishing only part of the piece. For example, the front of a drawer and the surface of a table or bureau, or maybe just the handles and seat of a chair, and later you can update the rest of the product.
  4 Paint stripper / finish: Always use rubber gloves and a mask when using solvent. Take a large amount of the product and do not brush back and forth. Apply a thick layer of solvent in one stroke. The solvent forms a crust like a pudding. Place a plastic garbage bag or newspaper on top of the solvent to keep it from drying out. Always place the product you are working with on a horizontal surface to avoid unnecessary movement. Place a piece of duct tape on the back of each key or handle hole to prevent solvent from splashing on the inside of the drawer.
  5 Do not remove the solvent until you reach the unfinished wood using your finger (but not scratching). If the product has threads, leave the solvent in this place for a longer time.
  6 Solvent removal: periodically look under the plastic bag to determine how quickly the solvent works. You may need to add some thinner if the finish is thick. When the finish is soft, scrape it off with an expired credit card or putty knife, but the credit card is less likely to damage the wood.
 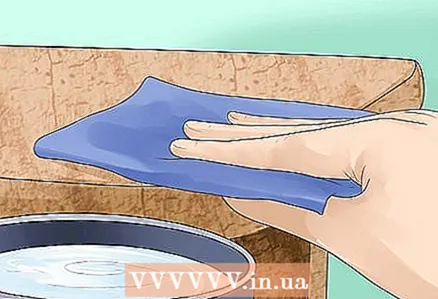 7 Cleaning: When the solvent has softened the finish, scrape off as much as you can, then rinse the area with an appropriate solution or water. It is very important to read the contents of the detergent to determine the correct detergent. Brush with a stiff wood chip brush; The pet store hamster cage filler works great. This will scrub and dry around the post and threads. If the product you are finishing is plywood, be careful using water to prevent the plywood from swelling. When finishing, do your best to reproduce the original surface, not create a new one.
 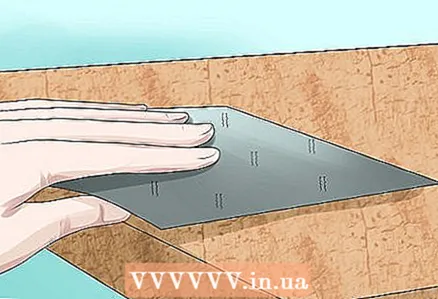 8 Sanding / Sanding paper: To remove light scratches, which is exactly what you need to do, use the correct grit sandpaper. If you are a beginner, the better the paper you use, the longer it will take before you make a mistake. Alumina 120 grit sandpaper works well. To clean off solvent residues and prepare wood for finishing, 220 alumina will do.You can use old felt to sand the various profiles and moldings on your product. Give it the desired shape and cover with sandpaper. (Important information about sanding paper: 120 refers to the grit size. The lower the grit, the rougher the paper).
  9 Painting: Your best bet is to buy a pigmented stain from a leading brand that will stain quickly; designed specifically for wood, strengthening and emphasizing the texture of any kind of wood. Paints can be mixed to achieve specific tones, such as adding mahogany to walnuts for a reddish brown, or ebony to walnuts for a deep dark brown. Apply paint with a brush, let it sit for a moment, then wipe dry. Be sure to use rubber gloves and a mask when painting.
  10 Remember to place all used rags in a suitable airtight container.Not leave them crumpled on the bench, as sudden ignition will cause a flame to burst out. If you do not have a container, remove the rags outside the apartment to dry, preferably somewhere outside. Any rag that contains solvent is very dangerous.
 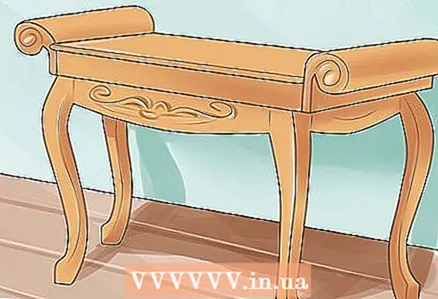 11 Finishing: Your piece is now ready for finishing. If you want to make the process easy, a washable finish is the best way. A washable polyurethane finish can also be used for optimal protection. Just Apply the finish with a soft piece of cloth, keeping it damp until it stops absorbing. Then wipe dry... Wait 24 hours and then lightly sand your garment with sandpaper (320), then re-apply the topcoat. You can do this as many times as you like, but three or four times will be enough. Start with a high-gloss finish and the final finish should be semi-high-gloss. Now your product is ready to take its rightful place in your home.


