Author:
Tamara Smith
Date Of Creation:
25 January 2021
Update Date:
1 July 2024
Content
Have you ever thought about how to start an SMPS (switched-mode power supply) without a motherboard? This may be necessary to troubleshoot your SMPS, or to add an additional SMPS to your system. You can start an SMPS without a motherboard, using a paperclip. This tutorial shows you how to remove and test the SMPS. If you have already removed the SMPS, continue with step 4.
To step
 Open the case of your computer. Make sure your computer is completely shut down and has mains power before you begin. Remove the screws from the side panel of your computer. You just need to remove the side panel.
 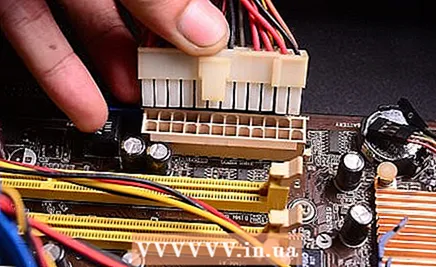 Remove the cables from the SMPS to all components of your computer. Note: some cables are secured with a clamp. Make sure to remove the clips before attempting to remove the cables.
 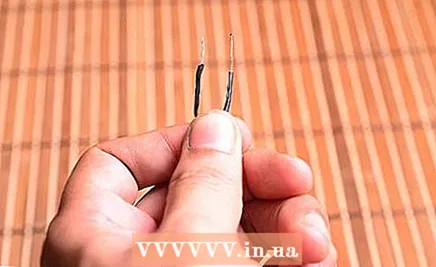 With the SMPS removed, take a paper clip and bend it into a "U" shape.
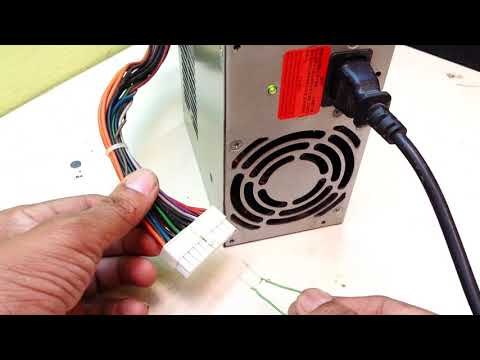
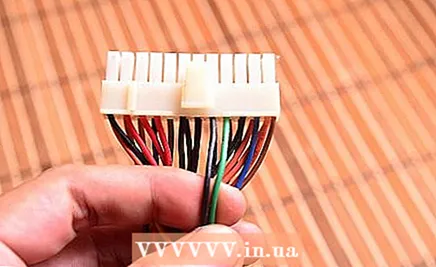 Locate the 24-pin plug on the SMPS (This is clearly the larger plug on the SMPS). Find the green and black wire. Note there will be one green and many black wires. You can select any black wire you want.
  Insert one end of the bent paper clip into the green plug and the other end into the black plug.
 Turn on the SMPS with the wire connected. The SMPS should now turn on. If it does not turn on, insert the paper clip more firmly into the plug and try again.If the SMPS still won't turn on, then your SMPS may be broken.
Tips
- Make sure you are grounded before you start removing your SMPS. This is a necessary step, as static electricity can damage the components of your computer.
Warnings
- Make sure you do this test on a table where you can stand on rubber or some other insulating material.
Necessities
- Screwdriver (to remove the SMPS from your computer case)
- Paperclip
- Nutrition


