Author:
John Pratt
Date Of Creation:
11 April 2021
Update Date:
1 July 2024
Content
Databases such as MySQL are sometimes difficult to get started. Follow these instructions to properly install and configure MySQL.
To step
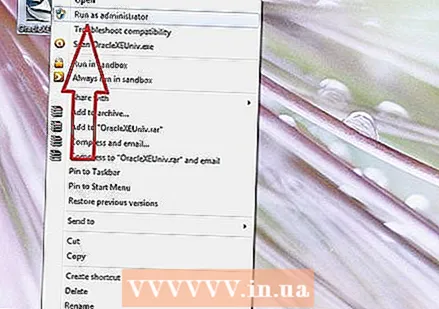
 Log in to your computer as an administrator. You need administrator rights for a smooth installation. This is no longer necessary after you have installed the program.
 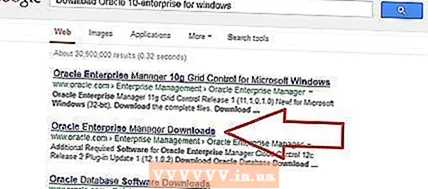 Download the free MySQL Server Community Edition. Make sure to download the version with a Windows installer. Save the file to your desktop.
 - If you are not sure which version to choose, select MySQL Installer for Windows.
 Double click on the downloaded file. You have just downloaded a .zip file, if you double click on it the zip will be extracted.
  Double-click Setup.exe (it should be the only file out there). Now the installation process begins.
  Click on Next.
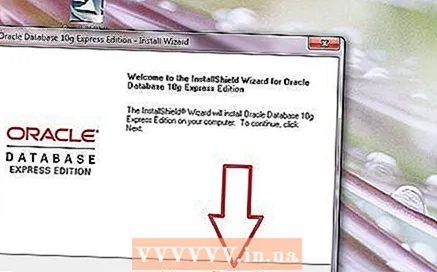 Click on Custom> Next. By choosing "Custom" you can specify where you want to install MySQL. If you have installed Apache in C: Server you must put MySQL in the same folder.
 - In the next window, select MySQL Server and click on Change.
- In the next window change in the text box Folder Name the folder name to C: Server MySQL . Then click on OK.
- In the next window, click Next. MySQL is now ready to install.
 Click on Install. Wait for the program to finish installing.
  Click on "Skip Sign-Up" and then click on Next. When the installation process is complete, a window with the name will appear MySQL Sign-Up. You can skip this and log in later if necessary. Now a new window will pop up with the words Wizard Completed.
 - Configure MySQL. Leave the option Configure the MySQL Server Now checked and click Finish.
 Click on Next. This will start the configuration settings.
  Check: "Standard Configuration" and click Next. You have opted for the default configuration, recommended for most users.
  Make sure the following options are checked: "Install As Windows Service" and "Launch the MySQL Server Automatically". Click on Next.
  Create a root password. Now type in the text box what you want to set as the root password and make sure the "Enable root access from remote machines" option is checked. Always choose a hard-to-guess password and keep it in a safe place so you can't forget it. Click on Next.
  Click on Execute. Now the MySQL server will save the settings. Click on Finish.
  Now go to Start> All Programs> MySQL> MySQL Server 4.x> MySQL Command line client. This will open a command window and you will be asked for your password.
  Enter the chosen root password and press Enter. This will start up MySQL.
 - Ready!
Tips
- MySQL works on the following versions of Windows: 2003 Server, 2008 Server, XP, Vista, and 7.
- If you want to install the Apache / PHP / MySQL combo package on Windows, you need to download the XAMPP package. This package contains: Apache, MySQL, PHP + PEAR, Perl, mod_php, mod_perl, mod_ssl, OpenSSL, phpMyAdmin, Webalizer, Mercury Mail Transport System for Win32 and NetWare Systems v3.32, JpGraph, FileZilla FTP Server, mcrypt, eAccelerator, SQLite and WEB-DAV + mod_auth_mysql.


