Author:
Roger Morrison
Date Of Creation:
7 September 2021
Update Date:
1 July 2024

Content
This article will show you how to set an ISO file as a virtual disk on your computer and how to run the installation wizard to install the app data from the ISO file on Windows or Mac.
To step
Method 1 of 2: With Windows
 Open the folder containing the ISO file. Find the ISO file that you wish to use as a disk on your computer and open the folder containing the file.
  Right-click on the ISO file you wish to install. This will display the options under that button in a pop-up menu.
  click on Mount in the right-click menu. This option is at the top of the right-click menu. This will mount the selected ISO file as a virtual disk on your computer.
  Open the "My Computer" window on your computer. In My Computer, all of the disks and drives on your computer are listed. You can find this in the Start menu or in the left pane of the Explorer window.
  Double-click the ISO software disk under "Devices and Write". When you mount an ISO file, you will see the disk there. The installation wizard will run, making it possible to install the software in the ISO file.
 - You will see the software installation package of your ISO file mounted as a new drive under Devices and drives. It can look like a DVD or CD drive.
Method 2 of 2: With Mac
 Open the Applications folder on your Mac. The applications folder is on your Dock, so click on it or open a Finder window and click "Applications" in the left pane.
 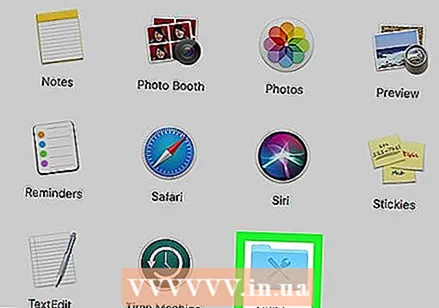 In Applications, double-click the Services folder. This folder contains your Mac's utility tools such as Activity Monitor, Terminal and Disk Utility.
  Double click on Disk Utility in the Amenities folder. Disk Utility allows you to perform disk and volume related tasks on your computer.
 - Disk Utility is a regular app on Mac. This app is located in the Amenities folder on every Mac.
 Click on the tab in the menu bar File. This button is in your menu bar in the top left corner of the screen. This will bring up a drop-down menu.
  On the File menu, click Open Disc Image. This will open a new Explorer window where you can select the disk file you want to mount.
  Select the ISO file you wish to install. Locate the ISO file in the File Explorer window and click on it to select it.
  Press the button Open. This button is in the lower right corner of the Explorer window. This will mount the selected ISO file as a disk image on your desktop.
 - The software installation package is now mounted on your desktop.
 Double-click the mounted disk image on your desktop. This will open the contents of the mounted ISO disc image. Here you can install the app from the ISO file.
 - Depending on the contents of the ISO file, the installation procedure may vary.
- If you find a PKG file in the mounted disk image, double-click it to run the installation wizard. When you see an app, click on it and drag it to the Applications folder.


