Author:
Christy White
Date Of Creation:
9 May 2021
Update Date:
1 July 2024
![B1 - Faded [Music Video] (Prod By G8Freq) | Link Up TV](https://i.ytimg.com/vi/SbeSddAMtFc/hqdefault.jpg)
Content
Over time, joints can easily discolor and become grubby - something many people find annoying. Instead of suffering from the unattractive dark lines between your tiles, you can take action to change the color of the grout. You can choose to paint your grout or give it a thorough cleaning, but neither of these options is easily done.
To step
Method 1 of 2: Paint joints
 Choose a grout paint. Most people choose to paint the grout because they have lost their former splendor and now look brown and dingy. Instead of trying to get the original shade back, choose a new color to cover up the discoloration. While it may sound strange what is adding paint that is in color close to Earth usually most effective, because you thus no need to worry about new discolorations in the future.
 - Light-colored grout does not stand out and blur the shape of your tiles, while dark grout makes your tiles stand out and are themselves striking.
- If possible, find a grout paint that is also a sealant so that you can skip the last step of sealing the grout.
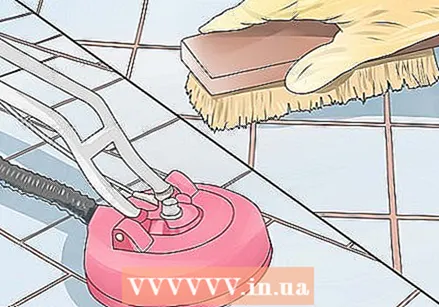 Clean the tiles and grout. Gather your cleaning supplies and get ready for some work, because before you start painting your grout, they should be thoroughly cleaned. Use bleach and a brush to kill any fungi that could be causing problems. While it can be uncomfortable, it is good to use a damp sponge / brush to clean your tiles and grout, even if they are floor tiles. The grout paint cannot be applied to damp grout, so after cleaning you should wait 30 minutes before starting the painting process.
  Apply the grout paint. Some grout paint kits come with a small brush, but if yours doesn't, you can just use a very small stiff-bristled brush for application. Dip the brush in the paint and gently brush only the joints. The paint is permanent and cannot be removed from the tiles after drying, so be careful to only paint the lines and wipe any paint off the tiles.
 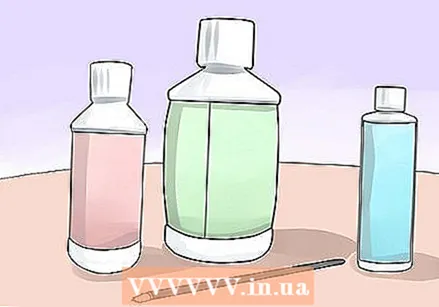 Add additional layers. Depending on the desired result, you may need to apply more than one coat of grout paint. If so, you should wait at least 24 hours for the first coat to set, then gently apply the second coat. Again, be careful not to get paint on the tiles as it is very difficult to remove.
  Seal the joints. Some grout is a combination of grout and sealant, but in general you will need to use a special oil-based sealant to finish the grout. This is especially important for areas that regularly come into contact with water (such as in a bathroom or kitchen sink). Follow the instructions that come with the sealant when covering the joints.
Method 2 of 2: Cleaning the joints
 Choose a cleaning agent. Grouts, especially those between floor tiles, can become particularly dirty and grubby over time. Depending on the amount of discoloration of the grout, you have to use different cleaning products. For mild discoloration, you can use a combination of baking soda and hydrogen peroxide to make a paste. For more severe discoloration, use an oxygen bleach to bleach the grout.
 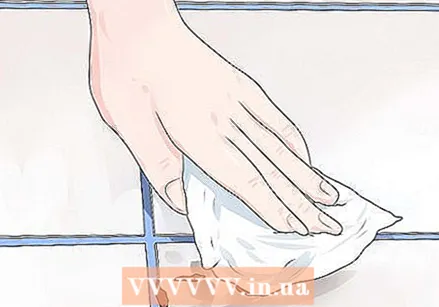 Do a first cleaning. To avoid extra work when you start the deep cleaning, do a gentle round of cleaning before thoroughly cleaning the grout. Use a mixture of bleach and water to kill mold and wipe away any dirt on the surface.
  Apply the cleaning agent. Work in small sections of approx. 30 x 30 cm. Apply the cleaning agent to the joints and leave it on for 3-5 minutes; this will make scrubbing much easier.
  Start by scrubbing the grout. Use a new toothbrush (ideally an electric one) to scrub off the grime and discoloration from the grout. This can be relatively time consuming, so don't give up right away if it doesn't work right away. Use fresh water and a cloth to wipe off the cleaning residue and apply a new coat of detergent if necessary.
  Continue cleaning the joints. Work outwards from the starting point using the method mentioned above. Apply the cleaner to small sections, let it soak in and scrub until you see light, clean and shiny grout.
  Finish it. When you are happy with your freshly polished (and colored!) Grout, wipe away any remaining cleaning solution. It is also a good idea to apply a sealant to the joints once a year, so apply an oil-based sealant if necessary to protect your joints.
Tips
- If your joints are not properly sealed, it is good to have a professional come and check that the discoloration is not a sign of more serious damage.


