Author:
Robert Simon
Date Of Creation:
23 June 2021
Update Date:
1 July 2024
Content
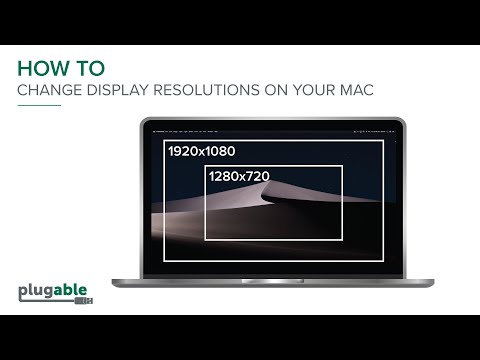
To change the display resolution on your Mac, click the Apple menu → System Preferences → Displays → Display → Scaled, and select the (scaled) resolution you want to use.
To step
Part 1 of 2: Changing the display resolution
 Click on the Apple menu. You can find this in the top left corner of the screen.
  Click on System Preferences.
 Click the Displays option. If you don't see it, click "Show All" at the top of the System Preferences window. Then click on "Display".
 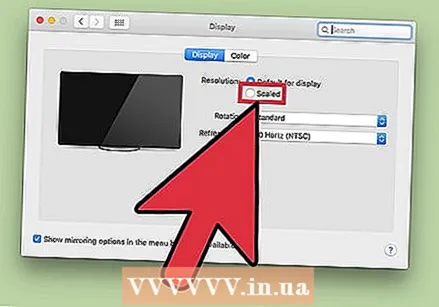 Click the Scaled radio button.
 Double click on the resolution you want to use. Selecting the "Larger Text" option is the same as a lower resolution. The "More Space" option is the same as selecting a higher resolution.
Part 2 of 2: Open an app in a lower resolution
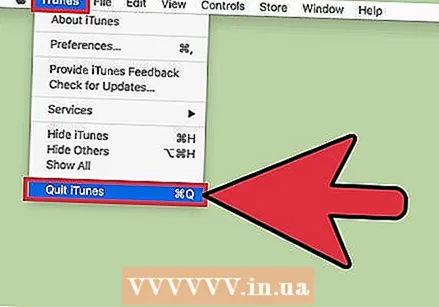 Close the app if it is already open. To do this, click on the name of the app in the menu bar and then on "Close".
 - You may need to set a low resolution for apps that don't display properly on a Retina display.
 Click on your desktop. This makes Finder the active program.
  Click the Go menu.
 Click on Programs.
 Click on the program to select it.
 Click the File menu.
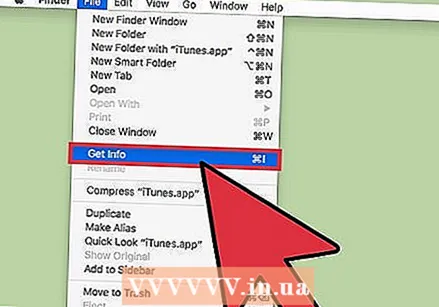 Click on Get Info.
 Click the Open in low resolution box.
 Close the Show info box.
 Double click on the app icon to open it. The app will now open in the low resolution.

")

