Author:
Christy White
Date Of Creation:
3 May 2021
Update Date:
1 July 2024

Content
This wikiHow teaches you the basics of installing the Roku, a device to connect to your television for streaming digital media.
To step
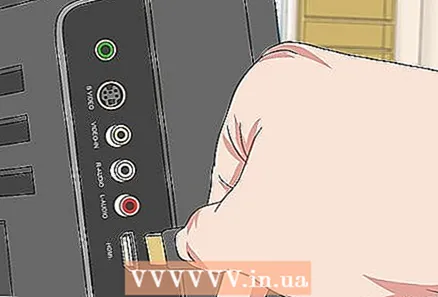 Plug the HDMI cable into the television. This will give you a sound and picture once the device is turned on.
 - The HDMI cable will be about 1 to 1.5 meters long and has two plugs on each end, in the shape of a flat pentagon.
- You will usually find the HDMI port on the back of the television, on the right, and some televisions have more than one input.
- Older televisions have a component or composite input, instead of HDMI.
- You have to purchase the HDMI cable separately as it is not included with the device.
- A component connection consists of green, blue and red circular ports.
- A composite connection has yellow, white, and red circular ports.
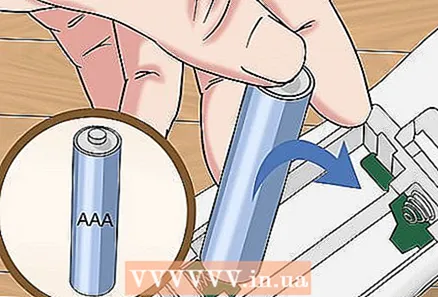 Place batteries in the remote control. You do this by opening the back of the remote control and installing two AAA batteries.
 - These should be included with the Roku player, but all standard AAA batteries will work.
- Open the battery compartment by pressing the tab on the top of the cover.
 Plug the adapter into the wall socket. This is the rectangular plug with two contacts.
 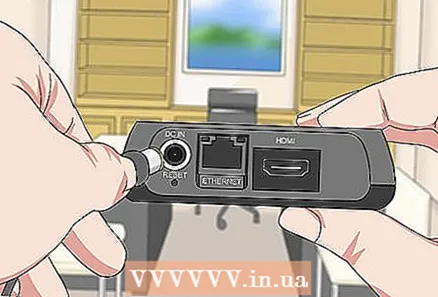 Plug the other end of the adapter into the Roku. The device should now turn on by itself.
 - Note that the Roku player does not have an On / Off switch.
- Make sure the television is off before connecting the Roku player.
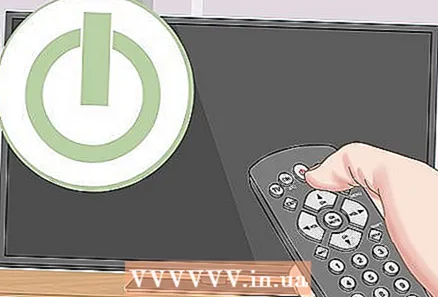 Turn on the television and change the input to the one the Roku is connected to. After plugging in the Roku, the following message will appear:
 - Roku - Starting, please wait
- Roku - Launching home screen
- Welcome to the Roku player
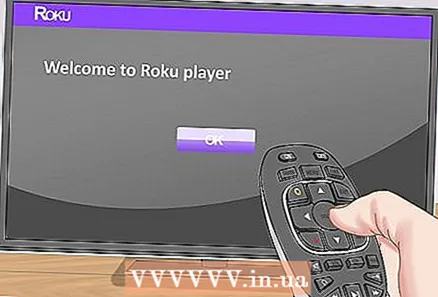 Tap Ok.
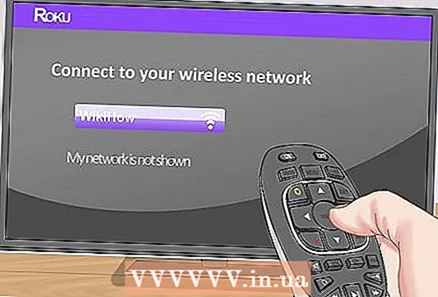 Connect to WiFi. This is done by clicking on the network you are using for other wireless devices and entering your password:
 - Some models also support an ethernet cable, which you can plug into a port that looks like a phone jack on the back of the Roku.
- The Roku player will automatically select available wireless networks.
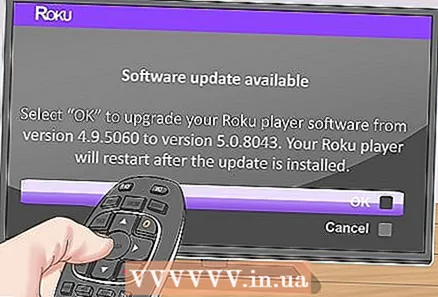 Wait for the Roku to install the accompanying software. The most recent version of the software will be automatically downloaded and installed.
 - After the software updates, the player will restart automatically.
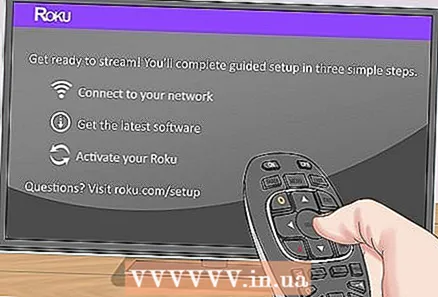 Enter your details. You do this as soon as the Roku has restarted after installing the software.
 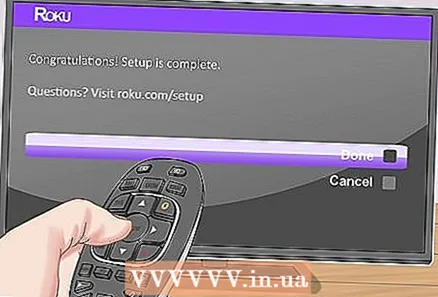 Tap Done. A code will now appear that you can enter at www.roku.com/link to sync your account with the device.
 - You can now log in to an existing account or create a new one.
- You must provide a valid credit card number when setting up the account, but Roku is free, and the only time your credit card is required is if you purchase an app or subscription.
Tips
- If your television does not show the Roku screen after plugging in the adapter, double check all connections, both on the Roku player and the television. You must also press the "Input" or "Source" button on the television or on the television remote control to switch to the correct video input. If you don't know which input is correct, keep switching between inputs until you see the Roku screen.
Necessities
- Roku player
- Television
- HDMI cable (optional)
- A / V cable (optional)
- Component cable (optional)
- Ethernet cable (optional)


