Author:
Charles Brown
Date Of Creation:
3 February 2021
Update Date:
1 July 2024

Content
- To step
- Method 1 of 3: Improve your drawings
- Method 2 of 3: Perfecting the contour drawing
- Method 3 of 3: Perfecting the shadows
- Tips
- Warnings
- Necessities
Many people want to be able to draw better, but some believe that drawing talent is innate. Nothing is less true. By learning to look carefully and a lot of patience, everyone can learn to draw better.
To step
Method 1 of 3: Improve your drawings
 Draw every day. Practice, practice and practice again. That is the mantra of many famous artists from around the world, and with practice you can be sure that your drawings will improve. Even if you sketch for just a few minutes each day, your brain will become more involved in your drawings and you will be able to master new techniques more easily.
  Take your sketchbook everywhere you go. If you always have a small notebook with you, you have the opportunity to draw anything - from people on the bus, to landscapes or beautiful buildings in the city. You have to practice to become a better draftsman, so always be ready to practice.
 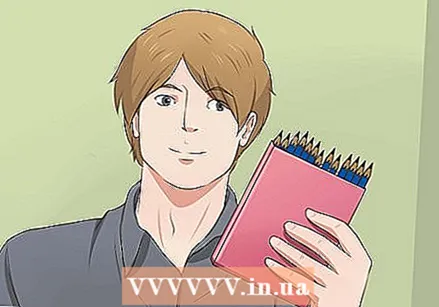 Buy all kinds of different pencils. Pencils come in different degrees of hardness and thicknesses. If there is an "H" on your pencil, it is harder, leaving a fine, light line, while the pencils marked with "B" are more likely to make thick, dark lines.
 - A decent set to start with, available for purchase at art supply stores, includes pencils 4H, 3H, 2H, H, HB, B, 2B, 3B, and 4B.
- Play around with your new pencils to test how they all feel. Note the difference in lines and try to use different pencils for different drawings.
 Experiment with the texture, color, and how they blend. Use some pages from your sketchbook to experiment with the colors the different pencils give, how to mix the colors with your fingers, and how to shade simple shapes. You need to understand how your materials work to improve your drawings and use the right pencils for the right lines.
 - Draw 3-4 bars and practice the transitions. How can you use any pencil to shade the line from completely black to completely white?
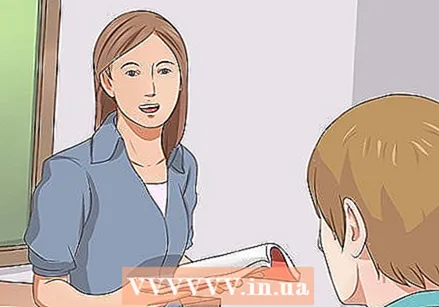 Take drawing lessons or take an art theory course. While many young artists feel that they can teach themselves how to draw, there are many techniques that you can only learn from an experienced teacher. Spend time practicing perspective, proportions and drawing real models. Spending time in a studio with a teacher can help you spot what you're doing wrong and learn what to do about it more quickly than trying it alone.
 - Ask at the art supply store or the community center where you can take drawing classes near you.
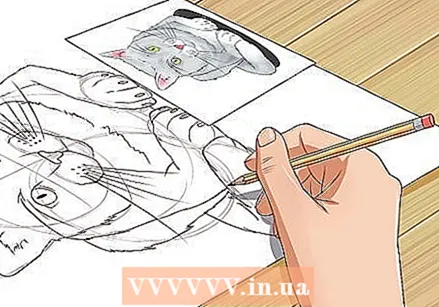
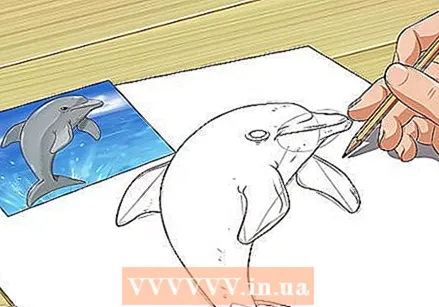 Copy pictures or other paintings. While you should never copy a work of art and pretend you made it yourself, you can learn valuable techniques by copying photos or paintings you like. Since a picture is already two-dimensional, you don't have to worry about perspective and just focus on the lines and angles.
 - Practice copying classical paintings to learn from the masters - da Vinci was the king of human anatomy, and you can learn a lot from his drawings.
- Never trace it - you don't practice drawing with that, you just draw lines.
 Draw upside down. Drawing upside down forces you not to make it look precise, but you have to draw what you actually see. You can get similar results by painting through a mirror or by copying distorted photos with Photoshop.
  Study your sources. Accurately drawing the outline of a subject requires more than simply looking for a picture on the Internet. The best artists and teachers look over loads of books, real life examples and studies to learn to understand the lines they create. However, this depends on the type of drawing you want to make. It is good for all artists to put the sketchbook aside every now and then.
 - If you want to draw people, invest in an illustrated book of human anatomy, or take classes with real models.
- If you want to draw animals, take your sketchbook to the zoo or buy an illustrated book on animal anatomy.
- If you want to draw landscapes or buildings, invest in a book on perspective so that you can properly add depth to your drawings.
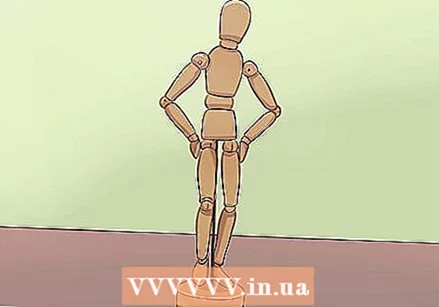 Buy a wooden mannequin. These little standing dolls have lots of joints that you can move so that you can learn to draw the proportions of the body better. They are very useful for drawing all kinds of complex postures. Put the doll in the correct position and use it to make your sketch so that you can add details later.
 - If you can't find a model, use the skeleton from your biology class to learn the different proportions.
- There are also such models of hands, heads and the skeletal system, but they are often a lot more expensive.
Method 2 of 3: Perfecting the contour drawing
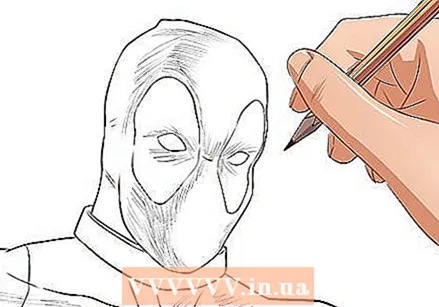
 Know that contours are only lines. Contours are the outer lines of your drawings. You don't apply shadows or shades yet, just lines. It is important to learn to draw the contours properly if you want to get a good end result, because this gives your drawings shape and proportions.
 - Usually the first thing you draw is the contours.
 Make use of guide lines. This is often overlooked by artists who dive straight into the work, but it is extremely important to create an accurate drawing. For example, if you're drawing a large scene, start with faint lines that divide the drawing into three parts, both horizontally and vertically. You now have nine small squares on your sheet. With this you can put everything in the right place, and you have reference points while you work.
 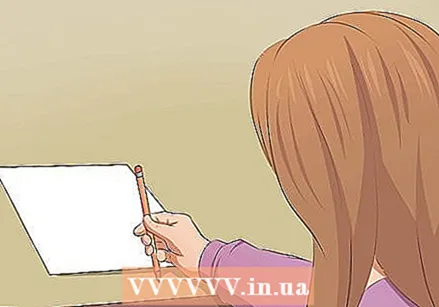 Focus on the proportions first. Ratio is the difference in size between two objects. For example, if you draw arms and legs out of proportion, your drawing will look awkward and crooked. Close one eye and hold your pencil along the subject. Your arm should be fully stretched. Now use your pencil as a ruler and mark the length of your subject on the pencil with your thumb. Now you can compare this distance with the other objects in your drawing, or even use your pencil to transfer exactly this distance to your drawing.
 - You can also use your guide lines. In which "box" on your drawing does this object fit? Does it take up the whole page, or maybe just a third?
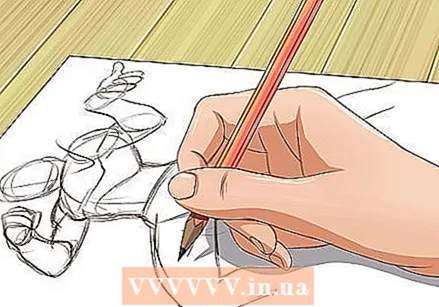
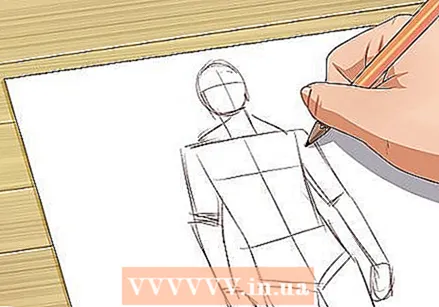 Sketch the basics of your entire drawing before moving on. There is nothing worse than finding out halfway through a drawing that your model's arm is way too short. A good draftsman knows how to prevent this by sketching everything in advance. Use simple shapes to represent the proportions of all objects. For example, make an oval for the head, a rectangle with rounded corners for the upper body, and longer ovals for the arms and legs. Keep adjusting until you feel like all the proportions and the pose are right.
 - Make sure you sketch it lightly so that you can easily erase it.
- Put a small circle or dot in front of each joint, then you can "move" the arms and legs in the correct positions.
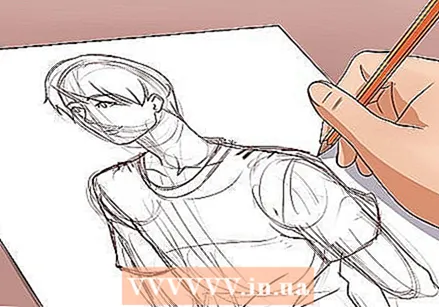
 Slowly add more and more detail to the contours. Keep adding more complex layers. At first it's just guide lines and stick puppets. Then you add simple shapes and postures. Then you will sketch the permanent lines over the contours, connect the joints, draw facial features, etc. Think about how to create the final contours of the body by connecting the joints together so that you get a recognizable shape.
 - Once you're happy with your new lines, erase the light sketch lines underneath.
- Work slowly, drawing each line accurately, and erase if you're not happy with it. Your outlines must be all right if you want the final drawing to be better.
 Start with the largest object and end with the smallest. Never start with the details. Once you are done with the basic outlines, it is time to move on to the details. This is where many artists go wrong, because they put all their energy and time into the details, while the broad outlines are not yet right.
  Practice in perspective to give landscapes realistic depth. Perspective is what makes objects appear smaller further away and things closer to bigger. To make an accurate drawing, your perspective must be correct. One way to practice this is with a vanishing point. Think of this as the farthest point on the horizon, such as where the sun is right before it sets. Draw straight lines from this point to make your drawings consistent - anything closer to the vanishing point is farther away, so smaller, and anything farther from the point is closer to you, so bigger.
 - Draw two diagonal lines coming towards you from the vanishing point. Everything that fits between those lines is really the same size, but because of the perspective they seem different in size.
Method 3 of 3: Perfecting the shadows
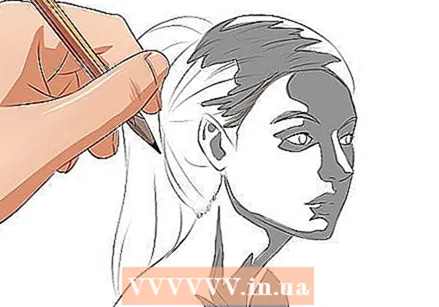
 Know that shadows add depth to objects. Shadow ensures that a drawing stands out and does not appear flat. An important factor in creating the illusion of three dimensions is shadow. But shading is hard to master, especially if you want to shade something that you draw from memory.
 - Lines can also have shade. Consider, for example, the two small edges between your nose and your upper lip. Although you could just draw lines, it looks unrealistic. Instead, try shading them, and darken the areas next to them slightly to make them show up in the middle of darker patches.
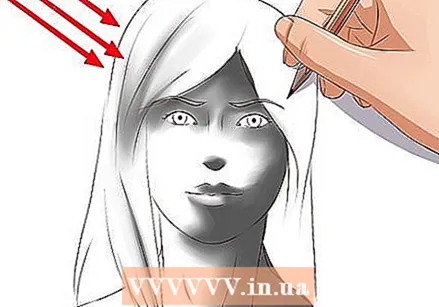 Think about the light sources. Shadows are created because they get less light than other parts of the drawing. Your shadows are affected by where the light comes from, what kind of light it is, and even what the time of day is. Shadow falls on the other side of where the light comes from. For example, if you put a ball down and shine light on it from the right side, the left side of the ball will be darker. So that's where you have to make the shadow when you draw the ball.
 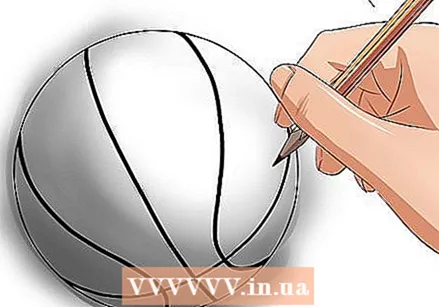 Note the edges of the shadow. The edge of the shadow is where the shadow ends. Think of making a shadow puppet with your hands - if your hand is close to the light and the wall, you will see a hard edge where the shadow and light meet; but if your hand is farther away, the shadow fades more softly in the light. However, keep in mind that each shade has a bit of a soft edge as well. The difference between shadow and contour drawing is how the edges become blurred.
 - Direct light, such as a spotlight or bright sunlight, produces dramatic shadows with hard edges.
- Indirect light, light from further away, multiple light sources or an overcast sky, produces softer shadows with blurred edges.
 Map out your shadow before you start. Before you start, make soft, careful lines around the edges of your shadows so you know where to put them.
 - Map the highlights: where is the light strongest? Is there a glow?
- Sketch the shadow: where does the shadow start on each object and where does it end?
- Draw the outlines of harsh shadows. Are there any dark shapes created by the light, such as a person's shadow from the sun?
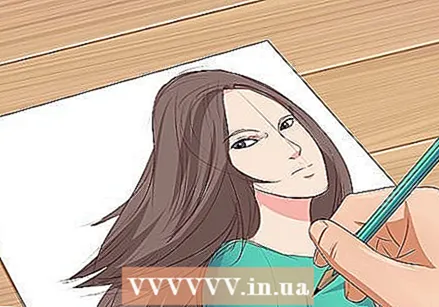
 Focus on gradual transitions. Shading is the art of gradually blending light from one area to the next. Start lightly, and lightly shadow the entire object with the lightest shading possible. Keep moving across the drawing by slowly filling in the darker areas, one shade at a time.
 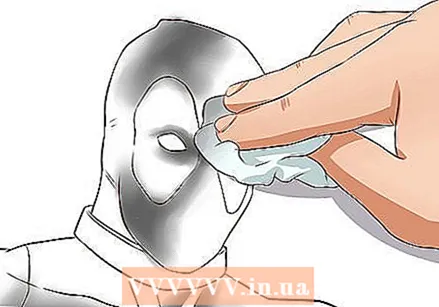 Let the shadows merge. This is the best way to apply realistic, gradual shadows to any drawing. Use a tissue, your finger or light lines with your pencil and blend the dark areas into the lighter ones by rubbing from dark to light. Most pencils will fade just a little bit, while charcoal lets you blur the shadow very dramatically with your fingers.
 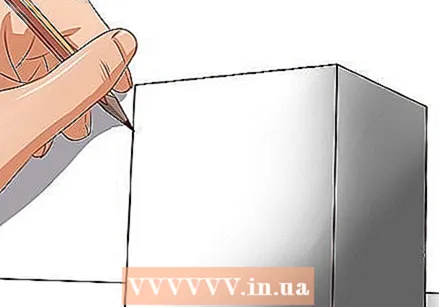 Practice shading simple objects. Create a very simple "still life" to practice shading. Place a few easy-to-draw objects (a ball, a small box, a water bottle, etc.) under a bright light and turn it on. Draw the outlines of the objects, then practice shading exactly as you see it.
 - As you gain experience, add transparent objects, more complex shapes, or a second light source to practice more difficult shading techniques.
- In a coloring book for kids, apply shadows, which are usually simple outline lines, to practice a little more.
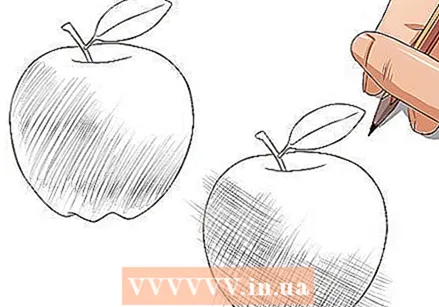 Learn the different ways to apply shade. While the most realistic way to apply shading is to gradually blend it, there are other styles used by different artists or for different art forms. For example, many cartoon artists use cross hatching or dots to imply shadow. However, the basic principle is the same - more dashes means a darker shade. Try some different techniques to see what works best for you.
 - Shading: Single straight lines indicate a shadow. More lines means a darker shade.
- Cross Hatching: Cross diagonal lines provide shadows. The further apart the lines are, the lighter the shadow will be. This works well if you need to shade something with a lot of lines, such as hair or fur.
- Stippling: A collection of small black dots indicate the shadow. The more dots, the darker it appears, until you can no longer distinguish dots at all in the darkest corners.
- Circular Shadow: By drawing small, overlapping circles with your pencil, you indicate the shadow. The longer you keep drawing circles in one place, the darker it will get. This is a good way to draw shadows with colored pencils.
Tips
- Experiment with your mistakes. A wrong line may actually make your drawing better! By compromising with your own work, you can discover techniques that can improve your skills in the future.
- Go to an art gallery and look at the work of artists you admire for inspiration.
Warnings
- Make sure you enjoy drawing and don't get angry or frustrated.
Necessities
- Pencils
- Paper or sketchbook


