Author:
Roger Morrison
Date Of Creation:
2 September 2021
Update Date:
1 July 2024

Content
- To step
- Method 1 of 3: Batik basic techniques
- Method 2 of 3: Batikken without wax
- Method 3 of 3: Silk batik
- Tips
- Warnings
- Necessities
- Batik basic supplies
- Batik without wax
- Silk batik
Batik is a Javanese technique that allows you to create designs on fabrics by covering the fabric with wax. Once the fabric is covered with a pattern in wax, the fabric is put in a dye bath. The areas of the fabric that are not covered with the wax are then dyed. Batik masters create complex patterns by applying multiple layers of colors and by creating slits in the wax to create refined detailed lines. Even if you are not a master you can create beautiful effects with just a few materials and a good dose of creativity.
To step
Method 1 of 3: Batik basic techniques
 Wash the fabric before batik. Use hot water and a mild detergent to remove any chemicals in the fabric and dirt that could affect the paint.
 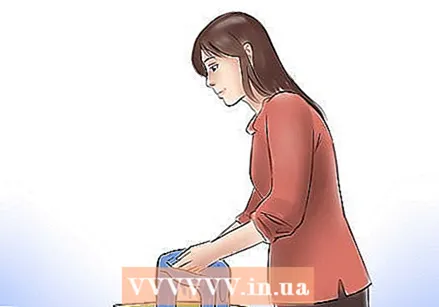 Paint the fabrics in basic colors. You will see these colors around the laundry later.
 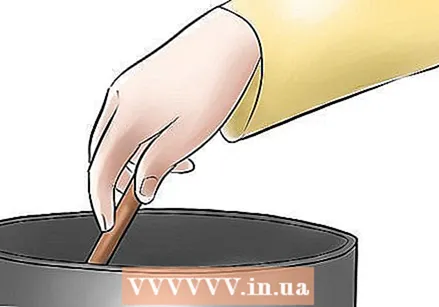 Let the batik wax melt. Batik wax is sold in the form of a brick and can be melted in an electric batik pan or in a bain marie pan.
 - Be careful with hot wax. Do not heat the wax above 115 °, because then it will smoke and it may even catch fire.
- It is safer not to let the wax melt directly on the fire. In a batik or au bain marie pan the wax melts slowly and at a lower temperature.
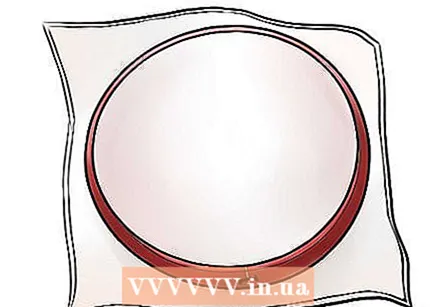 Hoop the fabric on an embroidery frame. The window keeps the fabric taut and stable so that you can apply the laundry precisely and neatly to the fabric.
 - If you want to apply the wax to a large piece of fabric, you can place newspaper or cardboard on your work surface. Because the wax drips through the fabric, it is useful to protect your work surface.
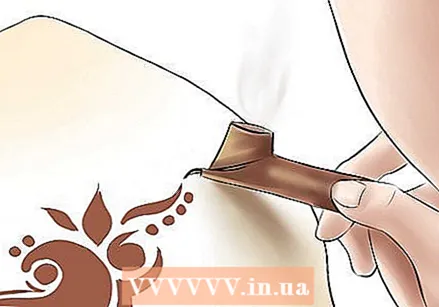
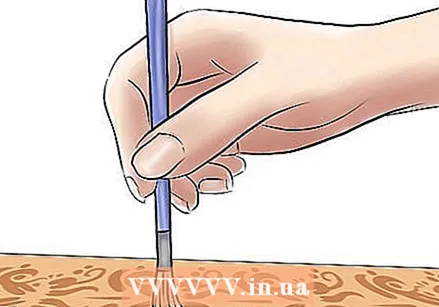
 Apply the wax to the fabric with some tools. Different tools create different types of lines, so experiment with that beforehand so that you know what effects you are sorting with the different tools.
 - Use a tjanting with a spout to create thin lines and shapes. It is a standard batik tool that is very versatile in use. Many sizes are available, from very thin spouts to wide ones.
- With a tjanting pen with double spout you can draw parallel lines and fill in large areas.
- You can also use brushes to fill in large areas. They can be used in the traditional way, with wide swipes or to create dots.
- Use templates if you want to keep making the same shapes. You can make these yourself from any material that is resistant to the heat of the wax. Try cutting a shape out of a potato or use the end of a celery stick to make semicircles.
 Regulate the temperature of the laundry. The wax should be hot enough to penetrate the dust but not so hot and thin that it will run when you apply it. The wax will be clear once it has run through the other side of the fabric.
  Prepare the dye bath. It is best to start with the lightest color (such as yellow) and then use darker colors.
 - Dissolve the paint as described on the paint pack. Some colors (such as reds) are more difficult to dissolve than others.
- Add the correct amount of salt (without iodine). Per 250 g. fabric you need 1 ½ cups of salt.
- Put the damp fabric in the tub. Stir gently but constantly for 20 minutes.
- Mix the sodium carbonate. This is used to make the dye adhere to the fibers of the fabric. Dissolve the sodium carbonate in warm water and slowly add it to the tub (over a quarter of an hour). Make sure that you do not pour it directly onto the fabric as this can cause discoloration. Use for every 250 g. dust 1/6 cup of sodium carbonate. Stir half gently but constantly.
- Wash the fabric and rinse out any leftover paint. Rinse the fabric with cold water until the water remains clear after rinsing. Then wash the fabric with warm water with a little liquid detergent in it. With dark colors such as red or brown, it is often necessary to wash the fabric a second time so that all residues of paint are properly removed. Let the fabric dry.
 Create a new layer of wax patterns so that you add another color and pattern to it. With every layer you add, you follow the painting steps again. Make sure you apply the dark colors last.
  Get the laundry off. When you are done with all the dyeing, you can pick up the laundry in two different ways:
 - Boil out the wax. Fill a pan that will hold the fabric with water. Once the water boils, put the fabric in and put a stone on top. The wax will float to the surface and this will prevent the wax from adhering to the fabric again. After a few minutes, the wax will come off the fabric. After all the wax appears to be out of the fabric, let the pan cool completely and remove the wax layer at the top of the pan.
- Iron out the wax. Place the fabric between two layers of kitchen paper and iron over the paper towel. The wax can leave a residue on the fabric so make sure all the wax is ironed off. Change the kitchen paper every now and then, so that it can absorb more laundry.
 Wash and dry the fabric. Put the fabric in the washing machine with some mild detergent to make sure that all paint residue is washed out. Dry the fabric on the clothesline or in the dryer and enjoy your beautiful homemade batik fabric!
Method 2 of 3: Batikken without wax
 Place the plastic rug on the work surface. Place the washed and dyed fabric on top of the plastic.
  Create designs on the fabric with a water-repellent batik compound. As with traditional batik, you can use a tjanting with one or two spouts to create thin lines in the design. Use brushes to fill in large areas with the batik medium. Let the batik dry for about half an hour, although the drying time depends on the thickness with which it was applied.
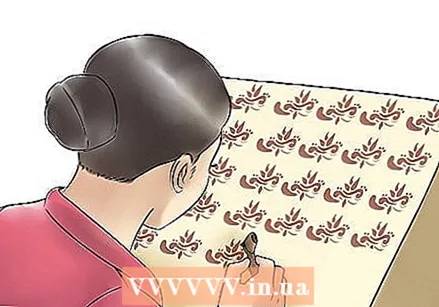
 - You can use stamps that you dip in the batik so that you make a pattern with recurring shapes. You can also use a template that you place on the fabric and spread the batik over it with a brush.
 Mix the paint powder with water. Follow the package directions for mixing the paint with water. If you are using a liquid paint you can play with the ratio of paint to water so that you can make softer colors (more water) or brighter colors (more paint).
  Apply the paint. The paint can be dripped, painted, sprayed or dabbed onto the fabric. You can also mix two or more colors for more color variations.
 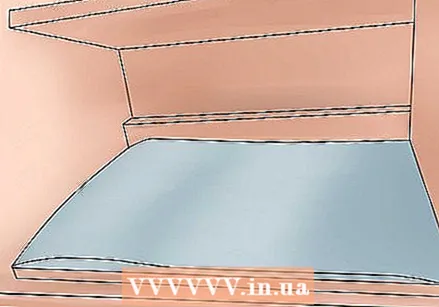 Cover the fabric with plastic wrap when you are done dyeing. Cover the edges with tape.
  Heat the fabric. Place paper towels on the bottom of the microwave to keep the microwave clean. Place the plastic wrapped fabric in the microwave on high for 2 minutes (you may need to fold the package in half once).
 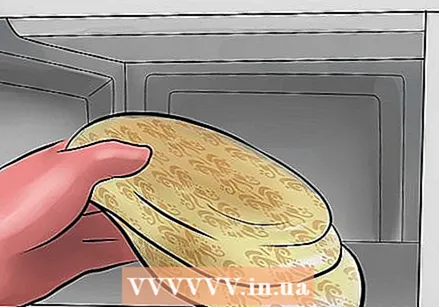 Remove the fabric from the microwave using thick rubber gloves. The fabric will be hot so be careful! Let the pack cool for a few minutes before removing the plastic.
  Wash and dry the fabric. Rinse the fabric under cold water until the water runs clear. After you have removed the first paint residue, you can wash the fabric in warm water with a mild detergent and rinse again. Let the fabric dry.
Method 3 of 3: Silk batik
 Wash the silk before batik. Put one or two drops of dish soap in a tub or bucket of water. Wash, rinse and dry the fabric. If the fabric is still slightly damp, you can iron the fabric on the "silk" setting.
 - If you want to sketch a design instead of painting it in one go, you can sketch it after ironing.
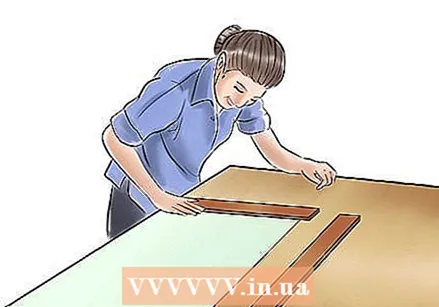 Stretch the silk. Put safety pins on the edges of the silk and connect them with rubber bands - every 10-15 cm. Place the silk on the frame and pin the fabric with thumbtacks. The rubber bands hook on the thumbtacks so that you have a kind of tight trampoline.
 - The rubber bands should be small enough to create enough tension but long enough to prevent the fabric from tearing.
- You can tie two rubber bands together to make them longer if your frame is much larger than the fabric.
- The goal is to create a smooth surface that you can paint on well. The surface should be smooth but not so tight that it will crack.
 Increase the framework. Place 4 plastic cups or containers under the frame so that it is above the work surface.
  Apply the batik compound. You can do this with a brush or with the narrow spout of an application bottle. Let the batik dry completely before proceeding with painting the silk. Depending on your personal preference, you can choose from two types of batik fabric that work well for silk painting:
 - Rubber-based products, the so-called gutta. These are similar in consistency to rubber cement and can be thinned, making them suitable for applying thin lines. After it has been applied, it can be removed by steaming the fabric. The disadvantage of this agent is the smoke it produces. Use a mouth cap to breathe through and make sure the area in which you use the gutta is well ventilated.
- Water-soluble wax such as soy wax is non-toxic, odorless and can be rinsed off with warm water. These waxes are more suitable for silk dyes than dyes for cotton. The disadvantage of this wax is that it is not as smooth as other gutta making small details difficult to apply.
 Apply the color. Apply the paint gently with a brush. Let the colors flow to an area that has wax on it. If you paint directly on the wax, it can dissolve and become colored. There are two options regarding the colors:
 - Silk dye is based on pigment that dyes the surface of the fabric but does not penetrate into the fibers of the fabric. Silk paint can be used for many types of fabric (including synthetic) and is bonded by the heat of an iron.
- A silk dye bath is a good option if you don't want to damage the natural shine of the silk. The colors are solid (do not discolour by sunlight) and also remain well in the wash.
 Leave the painted silk on for 24 hours. If you have opted for silk dye, the dye will adhere by ironing the fabric on the back for 2-3 minutes. After ironing, you can wash the silk in warm water and iron it again when it is still slightly damp.
 - If you opt for a silk dye bath: let the fabric dry for 24 hours, rinse well until the water runs clear. Add a few drops of mild dish soap in a bucket or tub and wash the silk. Rinse again with cold water and hang the fabric out to dry. When the silk is almost dry, iron the silk on the "side" position of your iron.
Tips
- If you put your paint in application bottles (with nozzles) you can apply multiple colors at the same time.
Warnings
- Wear gloves so that your hands are protected from the dyes. Some dyes can damage your skin and all paint stains anyway.
- Use a face mask if you are using paint or gutta that gives off smoke. Always try to work in a well-ventilated area.
- If the batik wax catches fire DO NOT try to extinguish the flames with water! Water only fuels the fire. Instead, use a fire extinguisher or baking soda.
Necessities
Batik basic supplies
- Liquid detergent
- Thin cotton, muslin or silk cut to size
- Textile paint (reactive paint in powder form or liquid)
- Batik was
- Electric batik pan or au bain marie pan
- Embroidery hoop
- Newspapers or cardboard
- Tjanting or batik pen (tjanting pen is filled with wax so that you can draw fine lines and details on the fabric)
- Brushes
- Large plastic tub
- Iron
Batik without wax
- Plastic foil
- Fabric that has already been dyed and washed (cotton, muslin, or silk)
- Batik agent that can be washed off with water
- Tjanting or batik pen
- Brushes
- Liquid textile paint
- Microwave
- Mild dish soap
Silk batik
- Silk stretcher or stretcher that is 10-15 cm on all sides. is larger than the piece of silk.
- Silk fabric
- Safety pins
- Rubber rubber bands
- Thumbtacks
- 4 plastic cups or plastic containers
- Batik was for silk with a water or rubber gutta
- Silk paint for painting or for a silk dye bath
- Application bottle
- Brushes
- Iron


