Author:
Judy Howell
Date Of Creation:
3 July 2021
Update Date:
1 July 2024

Content
To change application permissions on a MAC click on the Apple icon → click on "System Preferences" → click on "Security & Privacy" → click on "Privacy" → click on a service → click the check box to enable an app to add or remove to the selected service.
To step
 Click on the Apple icon. This is the Apple logo and can be found in the top left corner of the menu bar.
 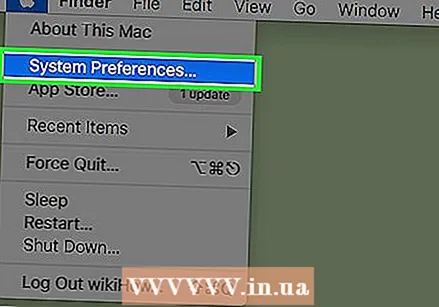 Click on System Preferences.
 Click on the "Security & Privacy" icon. The icon is in the shape of a house.
  Click on Privacy.
 Click on a service in the left pane. The services on the left contain apps of that service's function that appear in the window on the right.
 - In front of Location services on the left is for example Cards on the right, because Maps uses location services to provide directions.
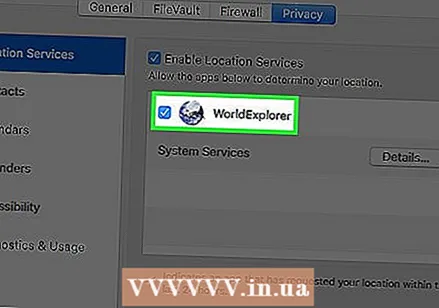 Click the check box next to an app to add or remove permission. Apps marked with a blue check mark have permission to the service marked in the left pane of the window.
 - If you don't see any apps here, it's because you don't have one that uses the feature of the selected service.
- If the apps and checkboxes are gray, click the padlock icon in the lower left corner of the window.
- Enter your password.
- Click on Unlock.
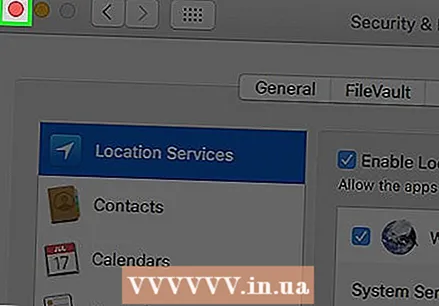 Click on the red "x" button. Your consent changes for the affected apps will be made!
Tips
- Some services, such as “Accessibility”, allow you to add or remove app permissions right from the “Privacy” window.
- To add an app, click +, then click Applications in the left pane of the pop-up window. Click on an application and click Open. Click - to remove an app from the list of accessibility rights.


