Author:
Morris Wright
Date Of Creation:
24 April 2021
Update Date:
1 July 2024

Content
- To step
- Part 1 of 3: Planting or transplanting Aloe Vera
- Part 2 of 3: Daily care and problem solving
- Part 3 of 3: Promoting the growth of new plants
- Tips
- Warnings
- Necessities
Aloe vera is both popular and easy to grow, provided you understand how much water and sunlight are required, enough to create conditions similar to the hot climate this plant thrives in. Unusually for a succulent, the Aloe plant cannot grow by leaf pruning, but usually propagates by attaching young cloned plants from the base of the parent plant, or from the shared root system. These young plants should be handled with care, as will be explained in detail in the section on reproduction.
To step
Part 1 of 3: Planting or transplanting Aloe Vera
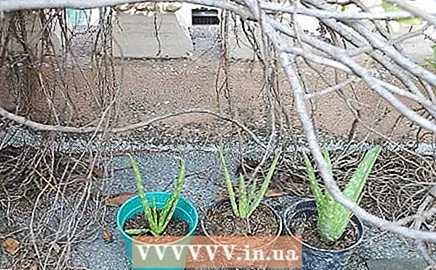 Know when to transplant. Aloe plants have relatively short roots and heavy leaves, so they are usually moved to a heavier pot when they start to get top heavy and start to tip. If aloe vera does not have enough space for the roots to grow, it can start producing seedlings that can be put in its own pot (see the section on propagation). If you are more interested in growing the mature plant than producing new plants, move them to a larger pot before the roots start to grow along the edge of the pot.
 - If you want to repot a young plant that grows at the base of an older one, see the section on propagation.
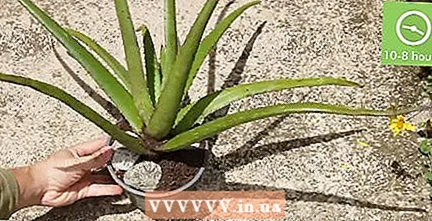 Provide the plant with sufficient sunlight and heat. Aloe vera plants prefer 8–10 hours of sunlight per day. While they grow best in a warm or hot environment, they are able to survive cooler seasons in a somewhat more dormant state. But they can be damaged at temperatures below -4ºC.
 - Hardiness zones 9, 10, and 11 (the plant can survive temperatures of -7ºC and above) are best suited for keeping aloe vera in the garden all year round. If you live in an environment where the temperatures are lower, it is better to bring the plant indoors during the winter, before the frost.
- The sunniest windows are those facing west or south if you live in the northern hemisphere, or west and north if you live in the southern hemisphere.
- Despite the plant's adaptations so that it can survive in a hot environment, it is still possible for the plant to burn in the sun. Put the plant in a (partial) shade when the leaves start to turn brown.
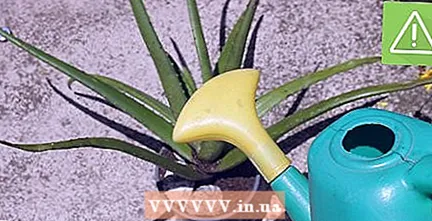
 Do not water the plant for the first few days after planting. Before you start watering, give the plant a few days to repair any roots damaged during repotting. Watering damaged roots increases the risk of root rot. Aloe plants store a lot of water in their leaves and therefore should not suffer from a lack of water for a certain period of time. Don't overwater the first few times if you want to play it safe.
 - For instructions on how to water it daily during the daily care of the plant, see Daily care.
Part 2 of 3: Daily care and problem solving
 Water occasionally during the winter period. Aloe plants often go into an inactive state during the winter, or when it is cold for an extended period of time. Unless you have placed the plant in a heated area throughout the year, you should not water the plant more than once or twice a month during this time.
 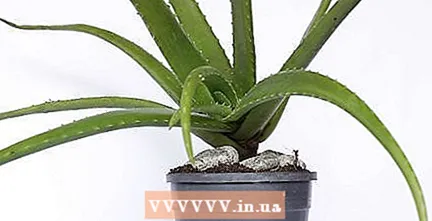 If the leaves are growing flat and low, give the plant more sunlight. The leaves of the Aloe vera should grow upwards or outwards at an angle, in the direction of the sunlight. If they are close to the ground, the plant is probably not getting enough sun. Then move the plant to a sunnier spot. If the plant is indoors, you can also place it outside in the sun during the day.
  If the leaves start to turn brown, reduce the amount of sunlight. Although aloe is one of the strongest plants when it comes to sun exposure, it is still possible for its leaves to burn. If the aloe starts to turn brown, move the plant to a spot that will have more shade in the early afternoon.
 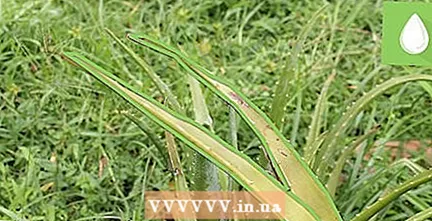 If the leaves thin and curl, water the plant more. The thick, fleshy leaves store water for periods of drought. If the leaves look thin and curled, water the plant more often. Be careful not to overcompensate: water should drain quickly through the soil to prevent root rot, which is difficult to stop.
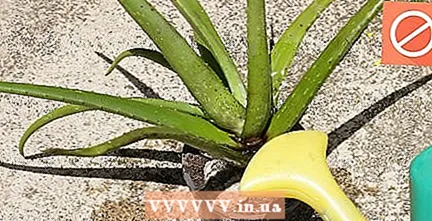
 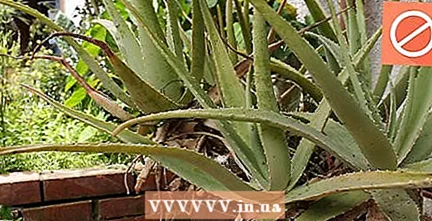 If the leaves turn yellow or fall apart, stop watering. Yellowish or "melting" leaves suffer from excess water. Stop watering completely for a week (or two weeks in the dormancy period), and then water the plant less often. You can remove discolored leaves without much risk of damaging the plant, although it is better to use a disinfected knife.
Part 3 of 3: Promoting the growth of new plants
 Grow the adult plant until the entire pot is filled. While any healthy plant has the chance to produce new plants (seedlings), this will usually happen when the mature plant gets too big for the pot.
 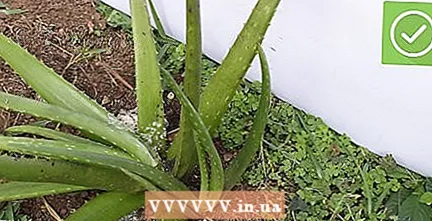 Wait for young plants to appear. The Aloe vera should start producing "seedlings", which are clones of themselves and use part of the root system of the mother plant and may also be attached to the base of the plant. These sometimes grow from the holes at the bottom of the pot, or even from roots that grow into the pots of other plants!
 - Sprouts are usually a lighter green than the leaves of the adult plant and, when just emerging, do not have the same spiky edges in the leaves as the adult plant.
 Leave loosened plants above ground for a few days. Instead of planting the new plant immediately, you can also give it the opportunity to form calluses over the cut. If you place the cutting edge in the ground immediately, the risk of infections is increased.
  Water sparingly at first. Aloe plants can go very long without water and if you water the plant long enough before the roots are long enough, the water level can get too high and cause the plant to rot. Wait at least a few weeks for the seedling to develop its own roots before watering it. If the seedling has its own roots, you can give it a little water instead to help the roots grow, then leave the plant in the shade for 2-3 weeks.
 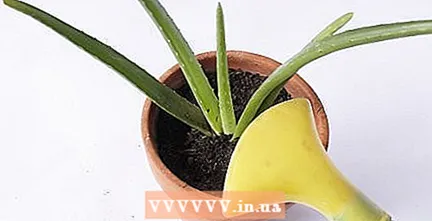 Make sure it is an adult plant. Once the plant is in its own pot and has its own roots, it can be treated as an adult plant. Follow the instructions in the daily care section.
Tips
- If you are lucky enough to see your Aloe bloom and bear fruit, you can try to collect the seeds and try to plant them. Because a bird or insect can have the plant cross-pollinated with another type of Aloe vera, producing a plant with completely different properties, and because breeding from seeds has a much smaller chance of success, this is almost never done. If you are trying to grow Aloe from seeds, use black seeds and spread them on the ground. Cover them with sand and water them regularly until they sprout. Grow them under indirect lighting and transplant to a larger pot 3 to 6 months after germination
- Any plant that is kept in the shade for an extended period of time will need time to adapt to direct sunlight. Place the plant in partial shade before placing it in full sunlight.
Warnings
- Unlike many succulents, aloe vera plants cannot grow by cutting leaves. Instead, you should use the younger, single plant attached to the mature plant, preferably with its own roots and multiple shoots.
Necessities
- Aloe vera seeds, cutting or an adult plant
- Flowerpot
- Water
- Seed potting compost for cacti, or a homemade mixture of sand, gravel and soil.


