Author:
Helen Garcia
Date Of Creation:
15 April 2021
Update Date:
1 July 2024

Content
- Steps
- Part 1 of 4: Set Printing Preferences
- Part 2 of 4: Set up your print job
- Part 3 of 4: Printing a Document
- Part 4 of 4: Obtaining copies of a document
Have you ever had to print something in the office on a local network or on a shared printer, running from floor to floor to get to the printer while printing? You may not want other people to see what you are typing because it is sensitive or personal information. In order to protect their documents, many offices install printers that support document filing technology. The files will be available for printing in the vault until you print them directly from the printer. Plus, they can be password protected, which means only you can unlock them for printing.
Steps
Part 1 of 4: Set Printing Preferences
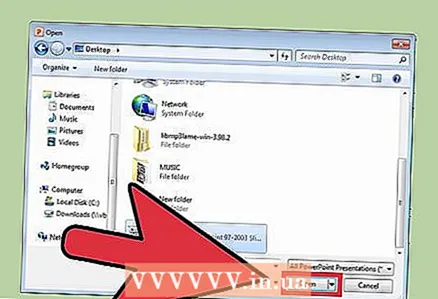 1 Open the document you want to print. Run the document on your computer from the desktop. It can be both a Word document - format, and a table, PDF - file or photo. In short, all of the extensions available for printing.
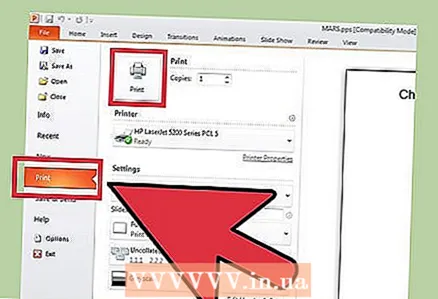
 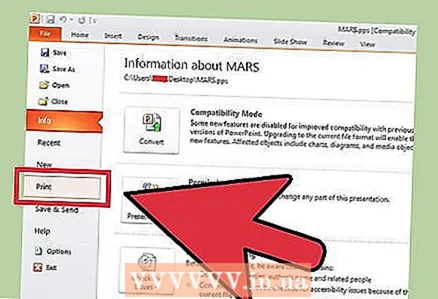 2 Bring up the Print Options menu. Select the "Print" tab from the File menu and you will be presented with a print window.
 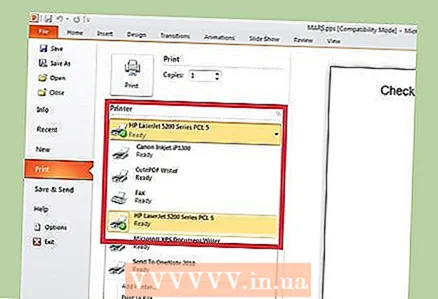 3 Select your printer. Select the printer you want to use from the drop-down list in the printer selection menu.
 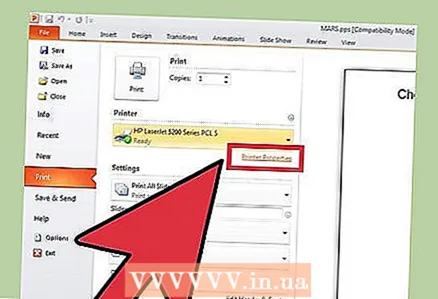 4 Open the printer properties. The button is next to the printer name. Click on it to open the properties tab. Then a window with document properties will appear.
Part 2 of 4: Set up your print job
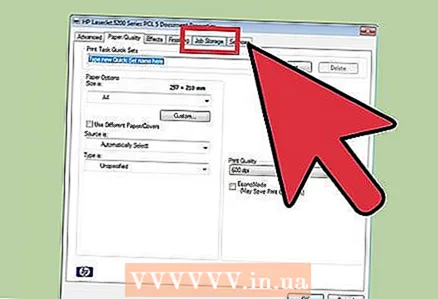 1 Go to the file storage panel. In the File Properties window, select the File Vaults Panel by clicking on it. This is where you will set the parameters for your documents.
 - It is worth noting that the additional menu of settings or properties is only available in printers that support file storage.
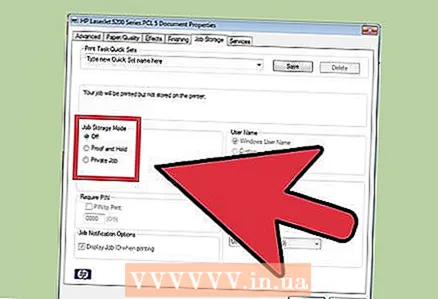 2 Select "File Storage Mode". Then click on the "Saved Documents" button.This will switch the printer from automatic print mode to document filing mode.
 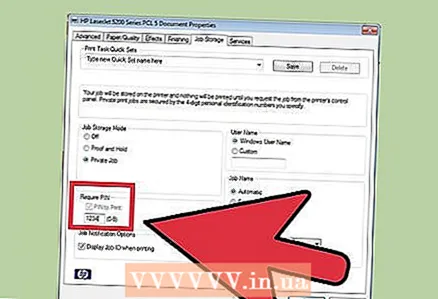 3 Set your PIN. Check the box next to "PIN code for printing" to make it so that you have to enter the PIN code into the printer to access the file and print it. In the bottom cell, enter your four-digit PIN code. This is what you will use during printing.
 - You can change it every time you send your document to print.
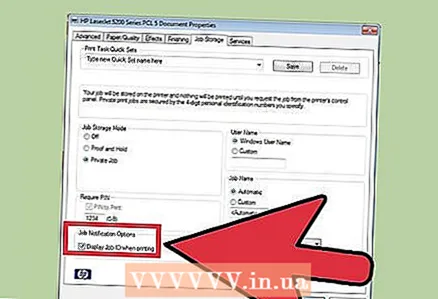 4 Set up notifications for documents. Check the box next to "Show Document ID while printing" to see which document you have sent to print.
 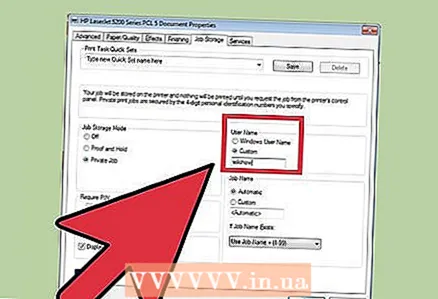 5 Please enter your username. In this section, you must enter your username or unique ID. The username will be used by the printer to identify and collect all documents that you submit.
 - Some printers offer the option to batch print as a single user.
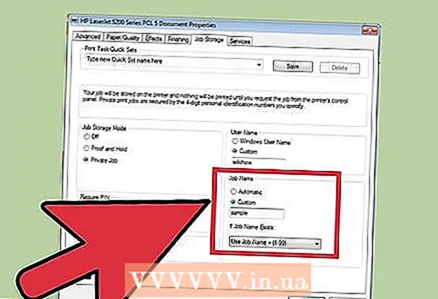 6 Please enter the title of the document. Decide how the file will be named. You can manually set and change the name of the document by clicking on the "Custom settings" button and specifying the name of the file, or check the box next to "Automatic settings" and then the name of the document will be assigned automatically by default.
 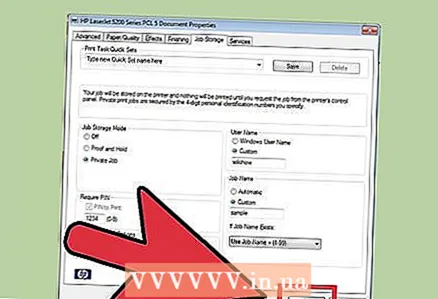 7 Save the file you want to print. Click OK at the bottom of the window to save all changes and close the window.
Part 3 of 4: Printing a Document
 1 Print the file. The print window will appear after you set the print settings and send the file to print. Click the OK button at the bottom of the screen to send the file to printer memory.
 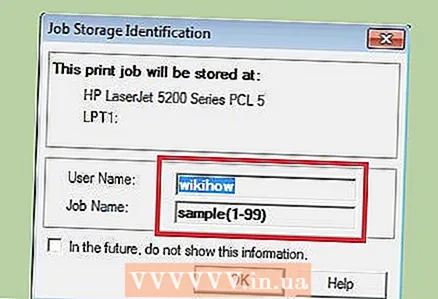 2 Review the print options. After you send the document to the printer, a confirmation notification appears. The document recognition window will display the printer's name, IP address, your username, and the name of the document. Click OK to close the dialog box.
 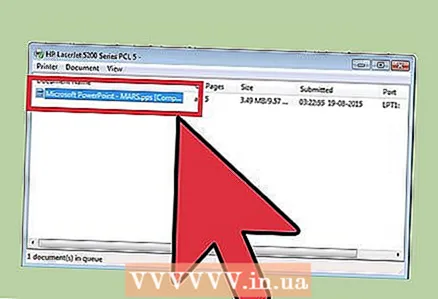 3 What happens next? Your document will be sent to the printer and stored in its memory. But nothing will print until you access the printer control panel and unlock the print. Depending on the printer settings, your document may be erased over time or stored until you delete it by entering the PIN code.
Part 4 of 4: Obtaining copies of a document
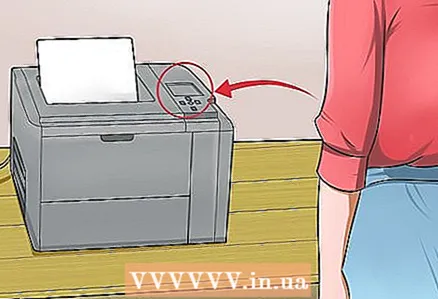 1 Go to the printer. When you need to print your documents, go to the shared printer. No need to run headlong through the floors. Your documents are stored securely in the printer's memory and locked with your PIN.
 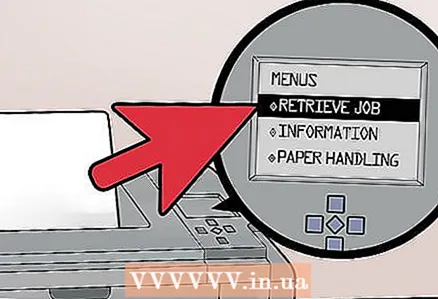 2 Open your document. From the printer control panel, find the Receive Copies menu. A list of stored documents will be displayed. Scroll through it with the arrows until you find your username. The number next to the name will indicate the number of documents you will be printing.
 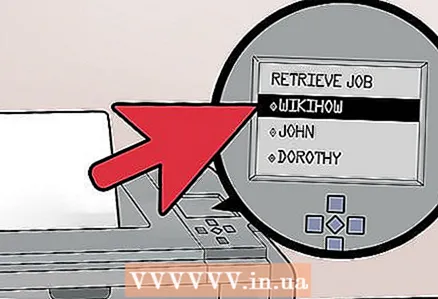 3 Review the print jobs. After you find your username, select it. All print jobs made on your behalf will be displayed along with the file names. Use the arrow buttons to scroll through the list.
  4 Select the job to print. Once you see the action you want in the list, select it. You will be prompted to select "Print" or "Delete" the document. Select "Print".
 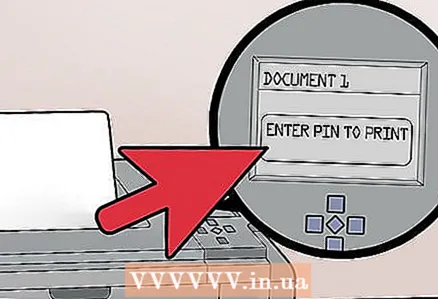 5 Enter PIN. You will be prompted to enter your PIN. This is the four-digit electronic code that you set earlier. Enter the code using the arrow buttons.
 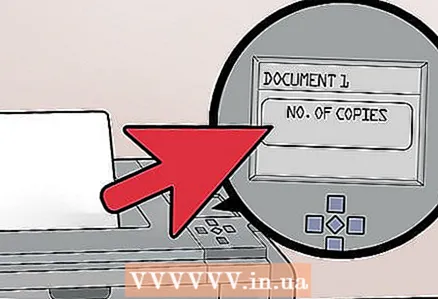 6 Specify the number of copies. After you have entered the PIN code, you will be prompted to enter the number of copies of the document you want to print.
 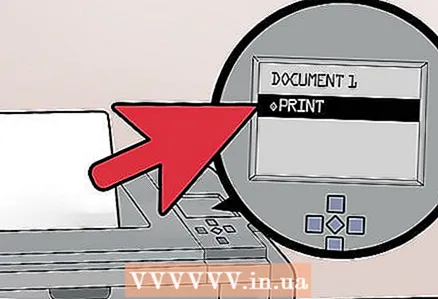 7 Print your documents. Press the green button on the printer (color may differ) to start the printing process. It will start immediately if the printer is operational, has an ink cartridge and paper in the tray.
  8 Collect the printed copies, but do not leave the printer. Before leaving, make sure all the documents you send to print are ready and folded in the correct order.


