Author:
Mark Sanchez
Date Of Creation:
28 January 2021
Update Date:
29 June 2024
Content
- Steps
- Method 1 of 3: Prepare before recording
- Method 2 of 3: Buy What You Need
- Method 3 of 3: The recording process
- Tips
- Warnings
At some point, you will want or need to burn something to a DVD disc, be it data, a video file, or a copy of your favorite movie. There are many different programs with which you can do this, but this article will focus on the process of writing information to a DVD disc in general, regardless of the program used.
Steps
Method 1 of 3: Prepare before recording
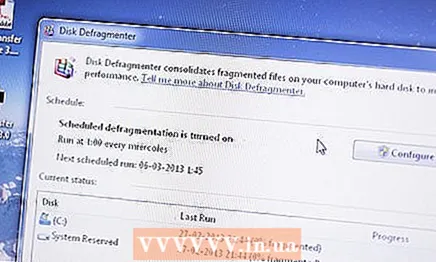 1 Defragment your hard drive from time to time. When writing any data to the hard disk, the same data is not always written in the same place on the hard disk. This makes the programs run slower as the computer spends time looking for file clusters all over the hard drive. Disk Defragmenter sorts all files and free space in an organized way. If you burn discs frequently, defragmenting will help speed up the burning process and reduce the chances of errors.
 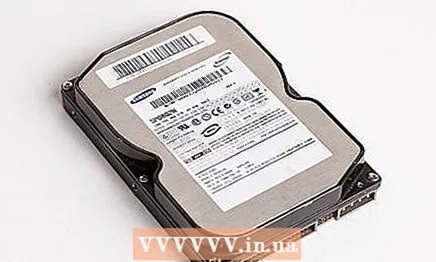 2 Make sure the hard drive is in working order. When recording with a camcorder, transfer the video to a computer for editing, and then burn the movie to DVD. It is recommended to leave from 120 to 160 Gigabytes under the video. A 90-minute video can take up up to three gigabytes of space, so if you plan on storing your favorite movies on your disk, you'll quickly run out of space for them.
  3 Check for updates. Check the manufacturer's website to find out if there are updates available for download that are required when burning DVDs. If you are using a Windows operating system, then you can use Windows Update to check for new updates.
  4 Install your DVD drive as the main device. This can improve the performance of the disk drive. To check the driver settings, start the BIOS (press the DELETE key when the system boots) and go to the disk partition. According to Smart Computing: “If your DVD drive is not the main device on any of the IDE channels, open your computer and switch the cable between the player and another device connected to that channel. You may need to change the jumpers (for details, read the user manual for these devices), but quite often all you need to do is change the cable (if your motherboard supports the cable change function, of course). "
Method 2 of 3: Buy What You Need
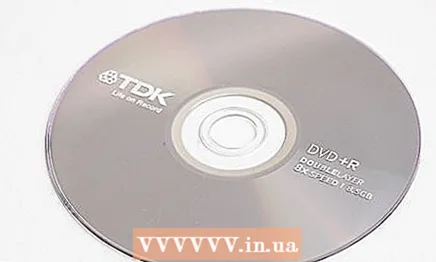
- 1 Purchase the correct DVD format. When you buy a recordable DVD disc, you might be surprised at the variety. If the disc ends in "R", it means that data can be written to this disc only once. If it ends with "RW" - this disc is reusable. If the title contains a dash “-”, this disc has passed extensive testing and conforms to standards, “+” says that this format is not allowed and is not supported by standardization, but they do not need to be “modified” to run on other DVD players.
- The DVD-R format is found most frequently in existing DVD players. Of course, the best option is to check which formats are supported by your DVD drive and only then buy DVD discs.

- Find out what formats your DVD drive supports. Knowing the model of your player, you can call the computer hardware store or go to the manufacturer's website to determine which formats your DVD drive supports.

- If you are new to this business, buy some DVD-RW discs for a test recording. If everything went well, you can start recording on a regular DVD +/- R disc. Of course, RW discs are a little more expensive than regular discs, but if you are unsure of your skills, chances are that you will turn many non-rewritable discs into junk.
- Take a look at the recommended write speed for the disc. Is it higher or lower than the speed at which your drive is operating? If below, then you may need to slow down your drive, which is not so bad if you want to reduce the risk of errors (how to do this will be described later), but inconvenient if you are limited in time.

- The DVD-R format is found most frequently in existing DVD players. Of course, the best option is to check which formats are supported by your DVD drive and only then buy DVD discs.
 2 Get the software you need for recording. When writing data to a DVD disc, you need a regular DVD burning software. If you are burning a video file to disc, look for a program that can encode it to MPEG-2 format. And if you are ripping a DVD movie that is actually a DVD-9 disc containing more data than a regular DVD-R disc, you will need to reduce the file size and re-encode digital control rights before the file can be converted to MPEG-2 format. ... See Warnings.
 - Check for updates before using the program.

- Check for updates before using the program.
 3 Buy a disk to clean your drive. Dust and debris can affect the burning process, so be prepared to periodically clean the drive for best results. It is recommended to do this once every six months.
Method 3 of 3: The recording process
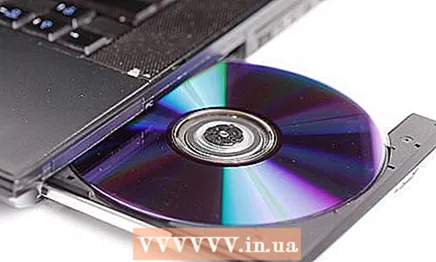
 1 Place the disc in your DVD drive. If you have attached a label to the disc, remember that it must be full-size for the entire area of the disc. Any lack of symmetry can lead to misalignment during the recording process, especially when recording at high speeds. If you want to write something directly on disk, use a water-based pen.Alcohol in markers can seep out and damage the data.
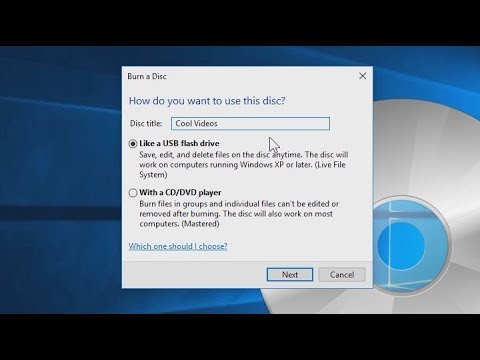
  2 Please indicate the size you want. Most programs will by default write to a regular DVD, on which 4.3 Gigabytes of memory are available (despite the declared 4.7 Gigabytes, but this is when using the decimal system, and your computer uses a binary system). However, if you are using a dual layer DVD, mini DVD, or CD-R disc, you will need to change the burning settings.
  3 Select the video file format. NTSC is used in the United States, while PAL is used in Europe and Asia.
  4 Reduce the write speed. Recording at the highest speeds can lead to errors. Reduce the speed to 4x for more reliable recording.
  5 Select the recording quality. The higher the quality, the more time it will take to encode the file and the more space on the disc for recording it.
  6 You can customize the menu if you want.
 7 Save the transcoded files to a specific folder on your computer. After the completion of the recording process, you can go to this folder and delete those files that have already been recorded.
  8 Wait. Burning a standard DVD takes about 20 minutes, but burning a multimedia disc will take you several hours. The most time consuming process of transcoding files. Do not use a computer while recording: do not check email, do not play games, do not touch the mouse or keyboard at all. See Tips for more tips.
  9 Take care of your burned disc. Store it in a specially designed box. After all, a DVD disc is made up of two chemically bonded discs, which is why it is much more fragile than a CD disc, which is why DVD disc boxes are designed to minimize bending when you take out the disc.
Tips
- • If the recording process stops due to lack of space, you will have to clear more space on your hard disk first. Find out on which disk the program stores temporary files and delete unnecessary files from it. Alternatively, you can change the location of the temporary files to whichever disk has more space available.
- When editing, don't forget your ultimate goal. Most likely, you will not be able to record more than 90 minutes of video in good quality on a single DVD disc, and additional effects like slow motion, fancy transitions, various effects and noisy videos in low light conditions take up disproportionate amount of memory.
- To help your computer “focus” on recording only, turn off your internet connection, firewall, anti-virus and other anti-malware systems during the recording process.
Warnings
- In some countries, it is prohibited to give and sell copies of licensed discs to other people.


