Author:
Christy White
Date Of Creation:
9 May 2021
Update Date:
1 July 2024
Content
Screenshots can be an ideal way to keep track of things or show someone a problem on your computer. Fortunately, taking screenshots is quite easy. Follow the steps in this article to take screenshots and edit them.
To step
 Open the file or program you want to take a picture of. If you take a screenshot, everything that is currently on your screen will be captured. You can take pictures from your desktop, browser, game or any program.
  Take the screenshot. To take a picture of what's on your screen right now, you can press the PrtScn button. A photo is now automatically saved to your clipboard.
 - If you take a screenshot and then share it with someone else, keep in mind that this will allow that person to see your full screen. Make sure that your private data and the like do not appear on the screenshot.
 Paste the image into a photo editing program. Open Paint or other software that you can use to edit photos. Then paste the screenshot into the program by pressing Ctrl + V. The image will now appear on your screen.
 - The image will be the same size as the resolution of your screen when you took the screenshot. For example, if your desktop is set to 1920x1080 and you take a screenshot while playing a game at 1280x720, the screenshot will have a resolution of 1280x720.
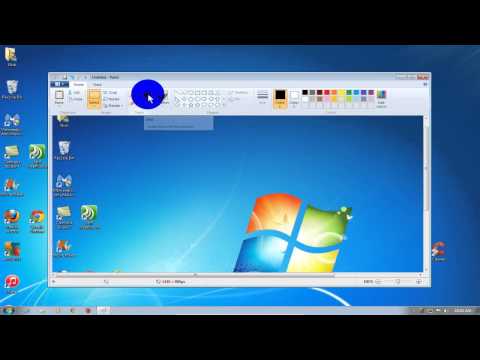
 Edit the image. Once you've pasted the screenshot into Paint, you can edit it however you want. The following editing methods can be useful if you want to share the screenshot.
 - You can crop the image by dragging the edges of the image inward.
- Make important parts of the screenshot stand out by drawing lines around them. Before you draw the line, set a striking color so that the lines you draw are clearly visible.
- You can also place circles or rectangles on the image with the buttons at the top of your screen.
- Add text to your screenshot using the Text tool. For example, you can place a caption and describe what is happening on the screen, for example.
 Save the image. Paint automatically saves images as bitmap (.bmp). This preserves the quality of the image, but allows the file to be large. If you want to share the file, it is best to change the format to JPEG (.webp). To do this, click on File, select Save as ..., enter the name of the file and select JPEG from the list of options.
 - You can save the image in many different formats. The quality of the image varies by format.


