Author:
Eric Farmer
Date Of Creation:
11 March 2021
Update Date:
1 July 2024
Content
This guide provides step-by-step instructions on how to replace a punctured tire tube during a bike ride.
Steps
 1 Prepare a travel bag with all the tools and equipment to replace your punctured camera. To collect a bag, you must decide on a few points:
 - The tube size must match the size of the tire. The size is often indicated on the side of the tube or tire. If you cannot find the size of the camera, then refer to the user manual or visit the manufacturer's website.
- Camera nipple type. It will be either an automotive type nipple or a sport type nipple. Automotive nipples are found on cheaper or older bicycles, while sport nipples are often found on racing and high-end bikes. The car nipple is wider and looks like a car nipple, while the sport nipple is much thinner. The easiest way to determine the type of nipple used in your camera is to consult your user manual or visit the manufacturer's website. If this information is not available, then contact your local bicycle store.
- This information is very important when choosing a pump, because if the pump nipple does not match the tire nipple, it will be impossible to inflate the tube.
- The size of the wrench used to loosen the 4 nuts securing the wheel axle to the frame. The dimensions of these nuts can be found in the owner's manual or on the manufacturer's website. If you cannot find this information, then the simplest solution would be to choose the necessary wrench that fits snugly against the nut.
- It is recommended that you bring a set of wrenches with you to ensure that you have the tools you need to get the job done.
- Make sure you bring a set of metric wrenches if your bike uses nuts with the correct size and vice versa.
- If the wheels are equipped with an eccentric lever, a wrench is not required.
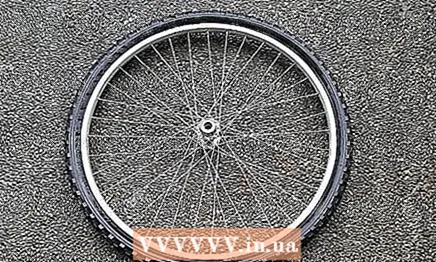 2 Remove the wheel with the punctured chamber using a wrench or an eccentric lever. The easiest way to do this is by flipping the bike over onto the seat and handlebars.
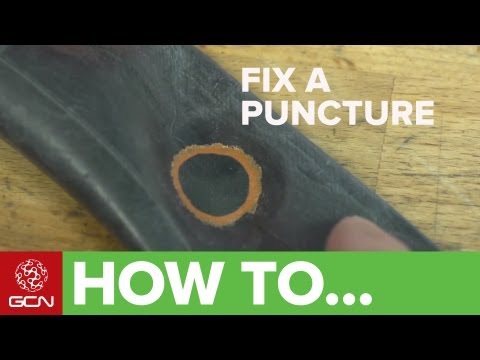
  3 Remove the tire from the wheel rim using a tire mounting / dismounting spudger. This is done by inserting the narrow end of the blade between the tire and the rim, and lifting the edge of the tire above it.
 - Warning: Be sure to remove the boot from the nipple stem and take extreme care to remove the stem from the rim.
 4 Once you remove the tire, it is not difficult to remove the inner tube from the inside.
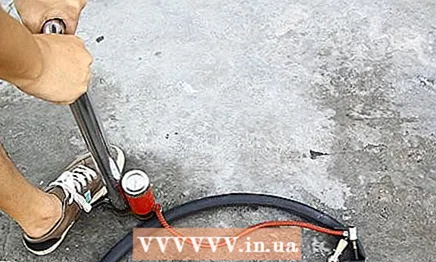 5 Pump the new tube until it is round. This will make it easy to insert the tube into the tire.
  6 When fitting the tire to the rim, make sure the tube nipple aligns with the nipple hole in the rim. Without the proper skill, fitting an entire tire onto a rim can be challenging. Use a spade to mount / remove the tire.
 - If you are facing great difficulties, then ask your friend to help you, because an extra pair of hands will make the difficult task easier.
 7 Use the nuts to tighten the wheel to the axle, securing it to the frame.
Warnings
- While trying to ride a flat tire may seem like an easy way out, you should never ride a flat tire. Riding on the rims, even for several meters, can cause irreparable damage to them. And replacing them will cost you about $ 100.
What do you need
- Camera of the correct size and with the correct nipple (Automotive or Sport).
- A wrench, or a set of wrenches corresponding to 4 nuts securing the wheel axle to the bike frame.
- Small, lightweight pump with matching nipple. The type of this nipple must be the same as the chamber nipple.
- Again, check that the pump and chamber nipples match. If this is not the case, then it will be impossible to pump up the camera.
- 2 paddles for mounting / dismounting the tire for removing the tire from the tube.


