Author:
Carl Weaver
Date Of Creation:
28 February 2021
Update Date:
1 July 2024
Content
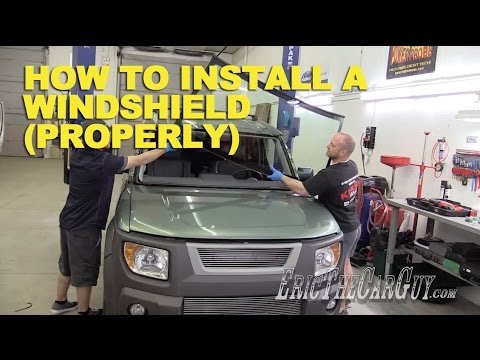
This article describes the basic techniques and principles for installing automotive glass, helps the reader navigate the automotive glass market and make an informed choice from glass replacement companies. This article outlines the process of replacing your windshield, but should not be considered a manual or instruction for replacement. The windshield is part of the vehicle's passive safety system and should only be installed by professionals. Due to the wide variety of different models and manufacturers, this article only covers the glass installation process in general terms.
Steps
 1 Purchase a new windshield to match your model. You can buy a new windshield or buy it at a car breakdown, in any case, make sure there are no cracks or chips before paying the seller. If you intend to transport new glass in your vehicle, use blankets and sheets to protect it from damage in transit. If you have not bought a new windshield, then it will have to be prepared for installation. You have to remove the old polyurethane glue from it or reduce its thickness by about 1 mm. This can be done with a sawing motion using a blade.
  2 Carefully remove the plastic parts and moldings around the glass. Do not remove the andapkas that hold the moldings, these andapkas are often individual for each car. You can remove the moldings faster without paying attention to the andaps, but then you have to glue all the moldings if there are no spare ones at hand. You will save no more than 10 minutes, but you will pay about 300 rubles. for each andapka. Most moldings perform a purely aesthetic function and are a strip of plastic a couple of centimeters wide. They do not participate in any way in the fastening of the windshield, except to improve the appearance. But some cars have extremely complex fasteners that provide a secure fit of the moldings to the windshield.
  3 Cut off the adhesive between the glass and the seal with a special knife. Depending on experience and the availability of a quality instrument, this procedure can take from 15 minutes to an hour. Polyurethane adhesive is quite flexible and at the same time provides good contact, its plasticity prevents the formation of cracks on the glass during shaking on the roads.
 - The problem with this method is cracking of old glass, if during the previous installation the glass was installed too close to the sealant so that there was no room for the knife. Very often, replaceable windshields have such dimensions that after installation there is only a couple of millimeters left, and this does not allow the knife to be inserted normally. This leads to the fact that the glass must be broken, which in turn leads to the formation of fragments. Debris often ends up in the air intake of the passenger compartment fan.
- The windshield can also be cut from the interior. In this case, you can use a knife with a special handle, which will be convenient for many cutting movements. Many professionals use a special power tool, but in this case there is a risk of damage to the paint near the seal, although this is not a big problem if a special primer is included with the glue. This operation can of course be performed with a sharp kitchen knife, but it will take several hours and require a lot of effort.
- Polyurethane retains its strength up to a pressure of 1000 atm. With practice, you will understand how much force you need to apply to the knife so that it cuts and does not break. You will also understand how long the cuts need to be made so as not to damage the ceiling and other interior details. Everything comes with experience, and if not distracted, it turns out quickly enough. The old polyurethane adhesive must be trimmed to a thickness of about 3 mm.
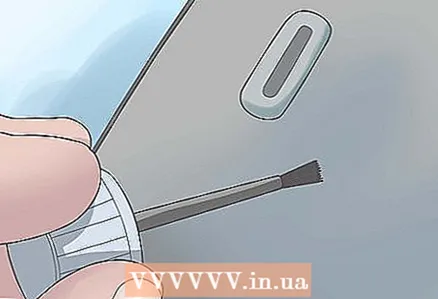 4 Prepare the seal. Clean the seal with a brush and water. Then trim the polyurethane to a thickness of 3 mm. Use a blade.All areas where the polyurethane has fallen behind due to rust should be brushed down to metal. Get rid of the rust completely, then prime the damaged areas.
  5 Apply a special primer to the glass to improve adhesion to the adhesive. This primer will prepare the molecules around the back of the glass that will come into contact with the sealant to react with the adhesive molecules. If the master traces, he will ignore this step, and he will not really care if your glass will fly out while moving - he will skip this step. Once the primer has been applied, it is time to apply the glue.
 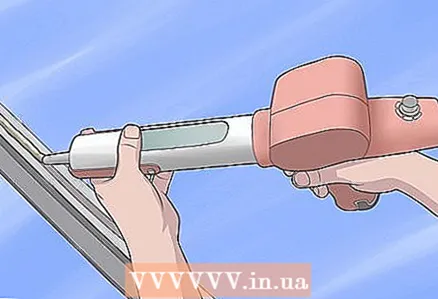 6 Apply polyurethane with a special gun. The new polyurethane adheres best to the old polyurethane, but the old layer must be clean and free from grease. A problem many people face is dust settling on the seal before the polyurethane layer is applied. This dust is lifted into the air by the wind or, for example, by passing trucks. Of course, polyurethane glue can be applied without a special gun, but then it is much more difficult to achieve an even layer and avoid smudges.
 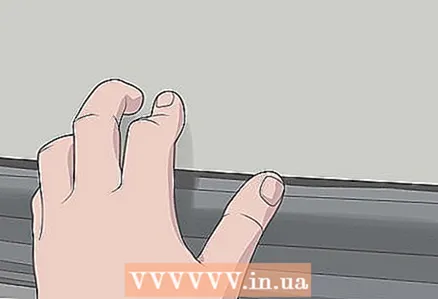 7 Install the glass very carefully, placing the sides in turn. Some cars have special holders on which the glass can be leaned over. Do not touch the surface of the glass on which the primer is applied, as this will reduce its effectiveness and impair adhesion. Wear rubber gloves to avoid leaving greasy fingerprints.
Warnings
- The author is not liable to any person or company that caused damage, directly or indirectly, based on the materials in this article or books.


